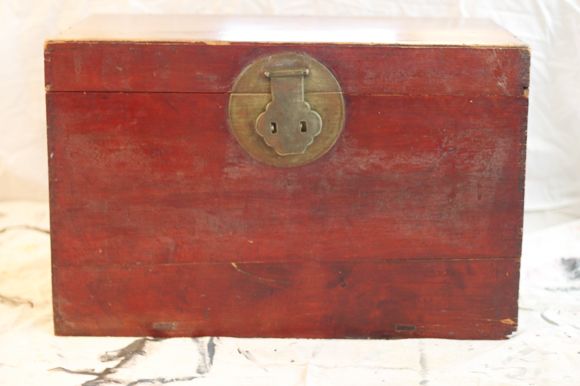
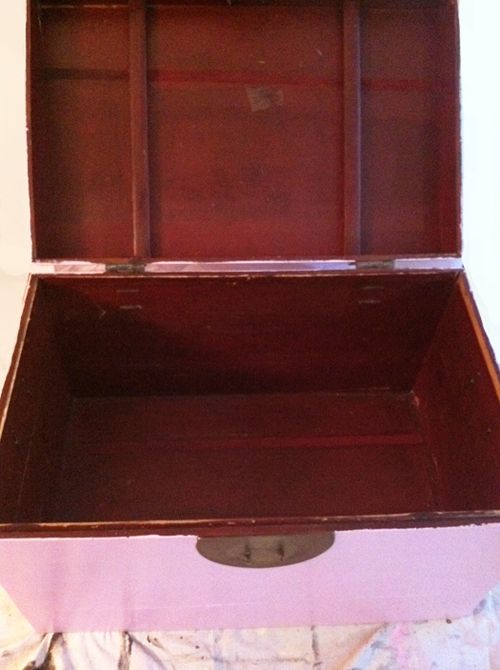
The first toy box we had was a clearance aisle find from TJ Maxx or Marshalls and it lasted us several years then finally kicked the bucket during the move to NYC (like, it broke in the truck I think). Then oddly enough the day we moved in, our neighbor across the hall was hauling this gigantic chinese chest out to the curb and I did the awkward - 'Hi nice to meet you! What's that? what are you doing with it? So you don't want it any more?' conversation. What a lousy first impression right? #embarrassing
Also embarrassing is that the chest has seen no improvements in almost two years other than an occasional wipe down. I know it doesn't look it, but it is super clean, just very old and beat up.
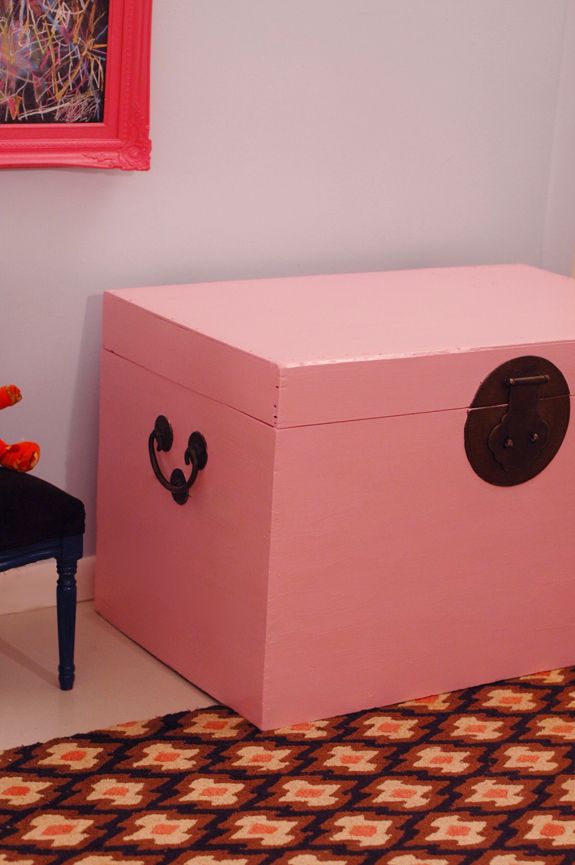
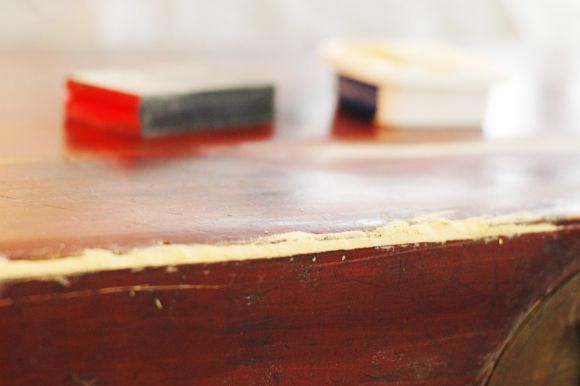
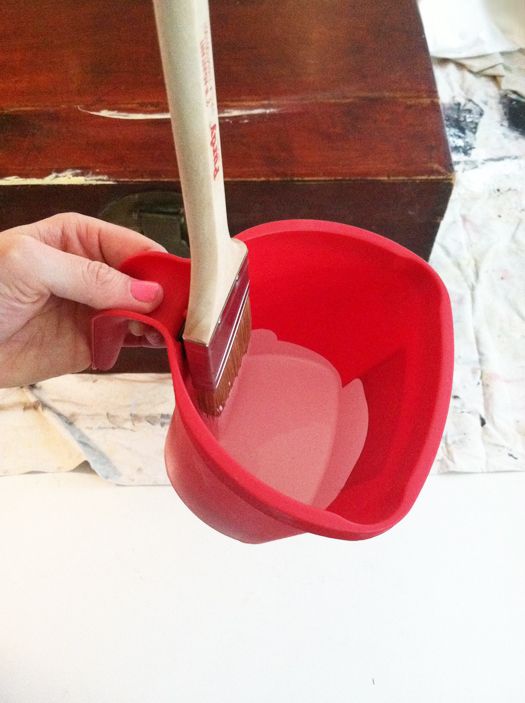
I've been pumping out a couple projects for the girls room this week though, so the toy box finally got some attention yesterday. I wiped it down again, filled the (many) cracks with wood filler, and then painted it with Sherwin Williams' In the Pink.

I finished the first coat of paint, stood back and had a weird deja vu moment. Then I suddenly remembered this image from Sibella Court/Vogue Living:

What the WHAT with that box color! It's so weird how ideas seep into our subconscious!
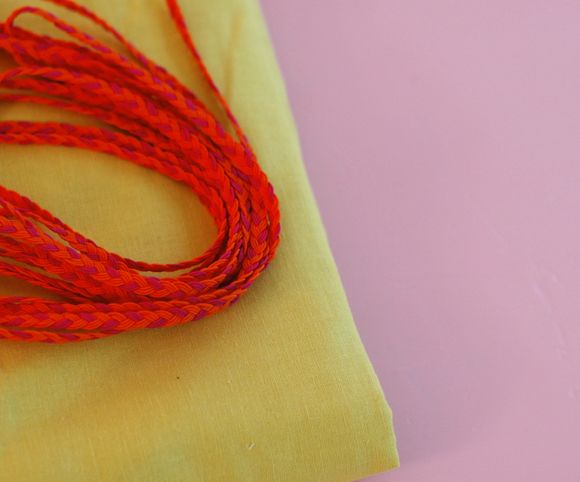
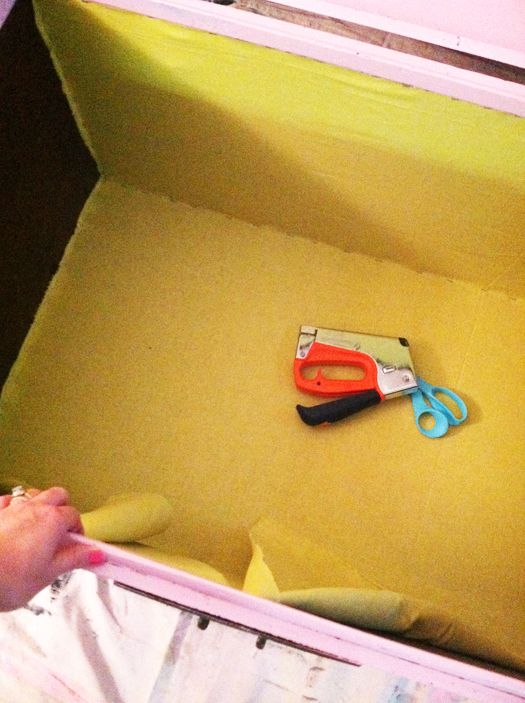
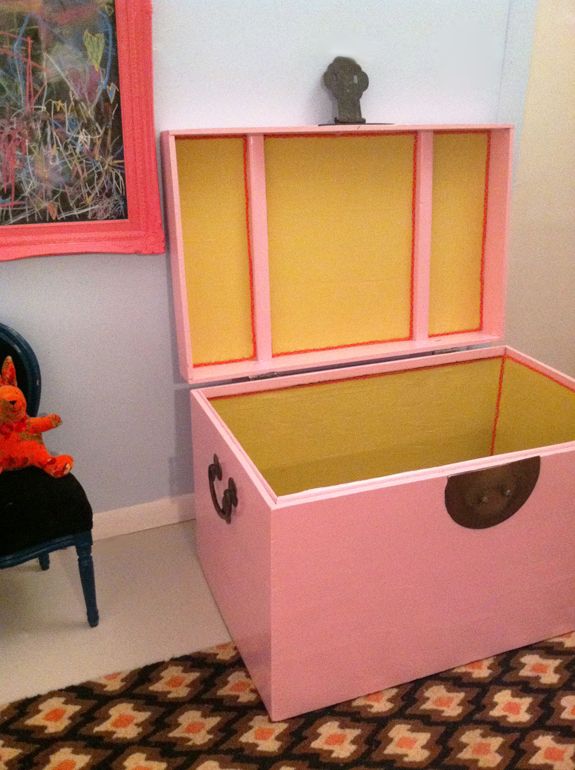
Since the toy box lid is open 99% of the time, I wanted to do something fun with the lining of the trunk. I thought about just painting it a contrasting color, but I had a bunch of this chartruese linen on hand and I thought it looked so pretty with the pink. I got both the linen and the orange/magenta braid trim at SAS in Phoenix, AZ (one of the greatest bargain trim stores EVER - I practically clean them out each time we visit home).
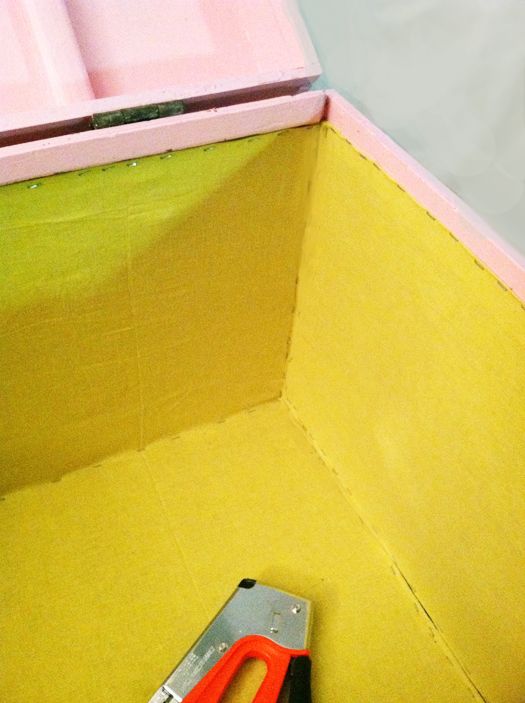
Using my trusty staple gun, I just ran a line of straight staples along the top of the fabric inside the trunk, then along the left side, then I pulled tight and stapled down the right side. Then I pulled really tight and stapled along the bottom. (basically my approach to every upholstery project is the same)
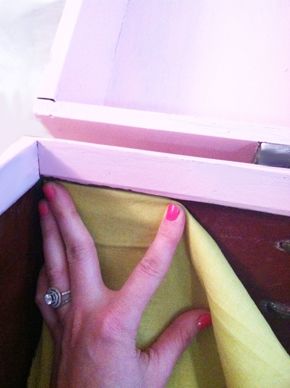
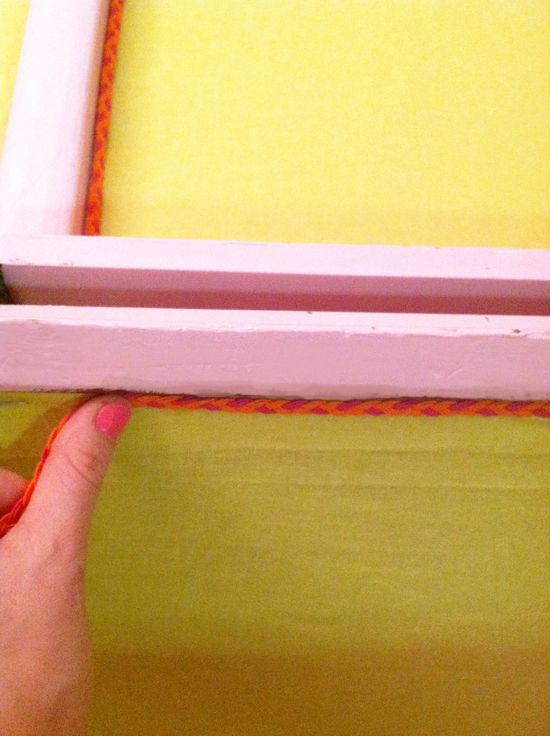
It's okay if your lines aren't perfect - that's what the trim is for. The goal here is tight fabric.
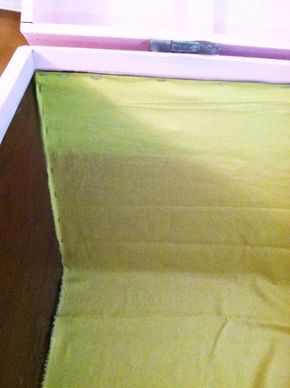
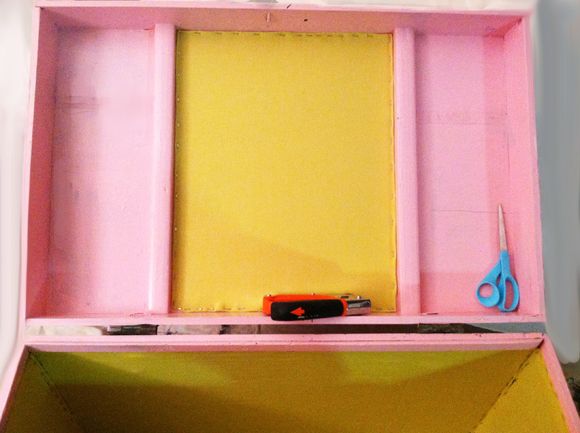
Once I finished the inside of the box, I did the three panel insets in the top of the lid too.
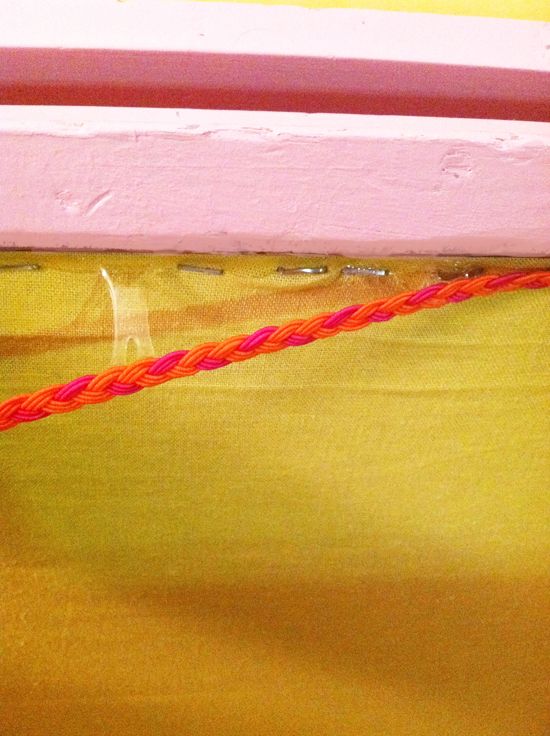
Then I used a little Magnatac to glue the trim on top of the staples. Magnatac is super-strength, so I think it will hold up well, but I'm also thinking about putting in a few small nails to keep the trim extra secure.
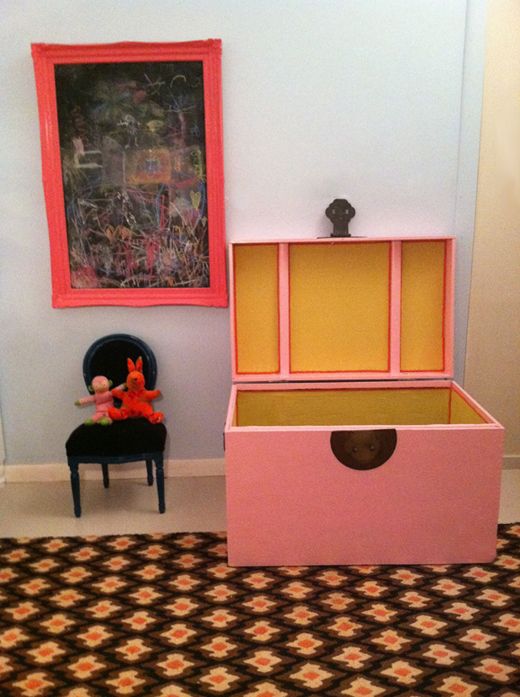
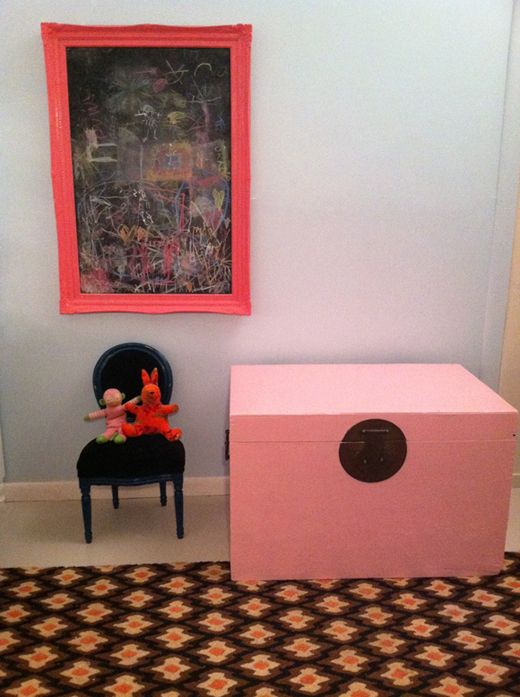
I love the way the toy box looks opened and closed now. I'm so sad I let this project go undone for so long.
I'm giving the glue a night to fully dry, so the girls will be able to enjoy another morning of toys all over the dining room floor. I guess this was a good project for spring break :)
0 comments:
Post a Comment