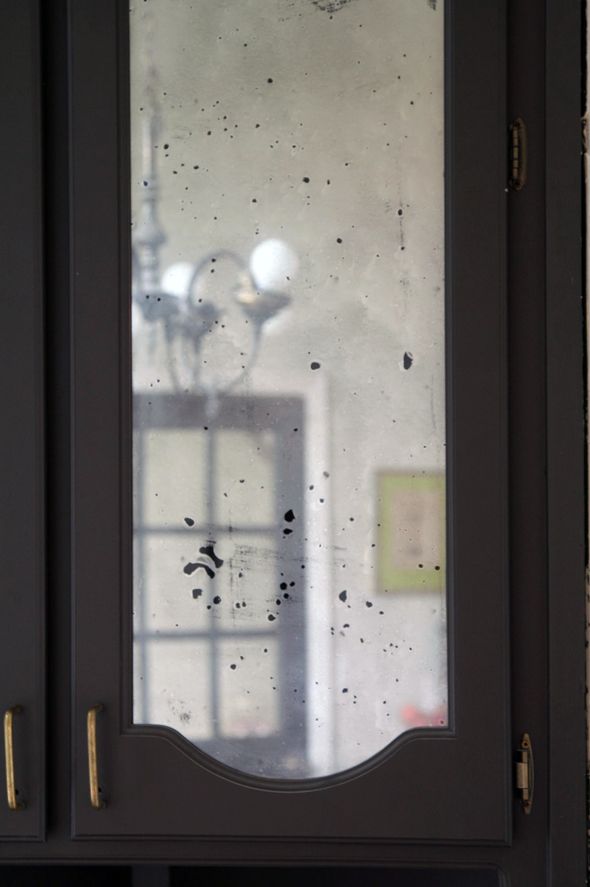
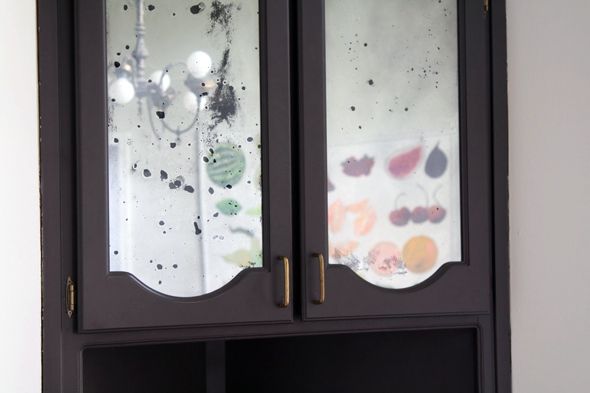
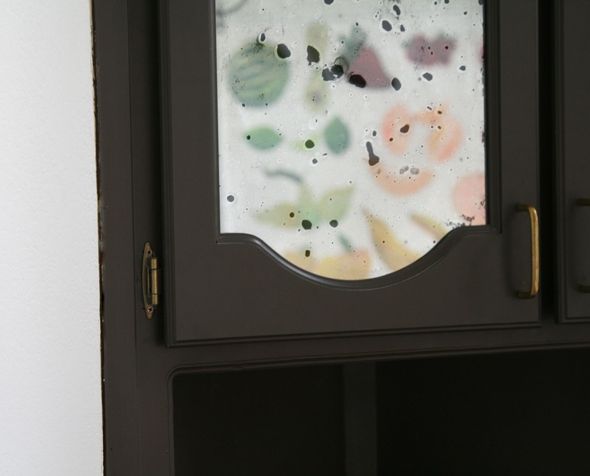
I tackled those doors recently and I LOVE the way they turned out! It looks so much more like real antiqued mercury glass mirrors.
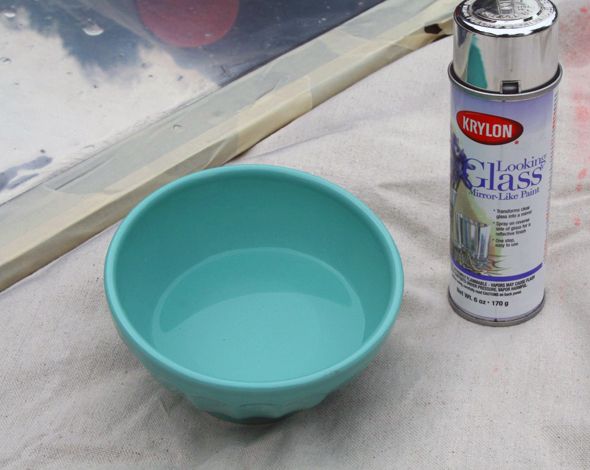
I used one full can of Looking Glass spray paint for four large cabinet doors, but I was really shaking that can toward the end! It's really important that you use only this exact spray paint for the project or the results will be completely different. It's pretty crazy how the finish is seriously mirror-like! Just a bit darker than a typical mirror. It seems like the spray is only available any more at Hobby Lobby, but it's about a buck cheaper on Amazon.
So, there are just a couple things I did different this time that made all the difference in the end result, and they are all things that made the project even easier, so, bonus!
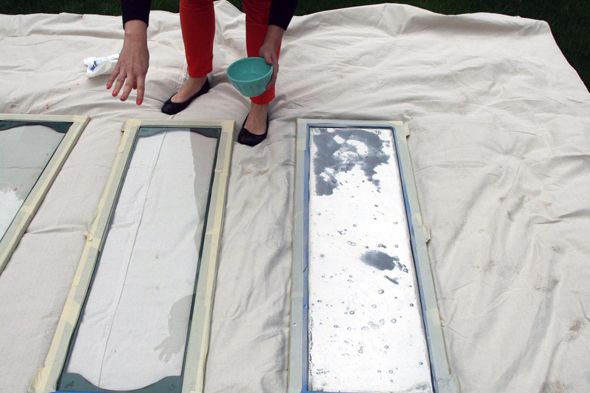
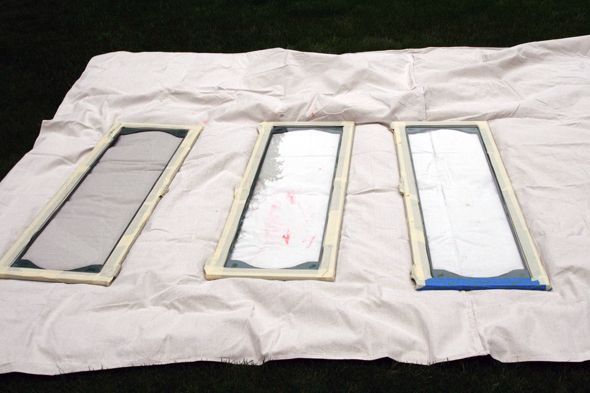
First thing, put down that windex! Go ahead and leave any dust or slight smudging on the glass - they'll just help add to the character of the glass (unless there's a seriously intense smudge - clean that up first). And next, rather than spraying the water-vinegar mixture from a spray bottle like I did last time, I dipped my fingers in the mixture and flicked drops right onto the glass. If any of the drops are too big, you can use a paper towel to dry it up some or all the way. You want a good mix in the size of droplets.
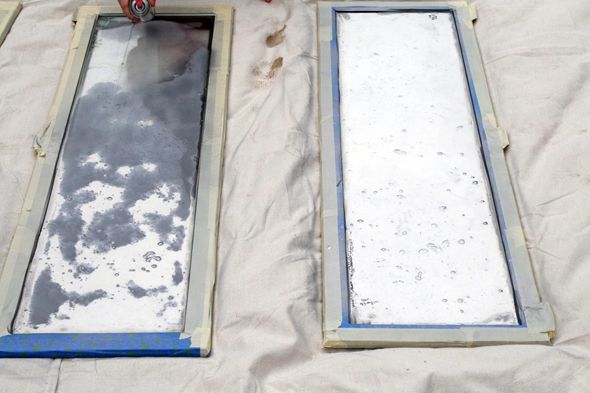
Right after flicking the water-vinegar onto the glass, you'll give the dripped-on glass a good coat of the Looking Glass spray paint. This will be your one and only coat, so make sure to get even coverage. The paint dries super fast and changes color (from charcoal to bright silver) right before your eyes. The water-vinegar droplets will stay put and the paint will sort of just sit on top.
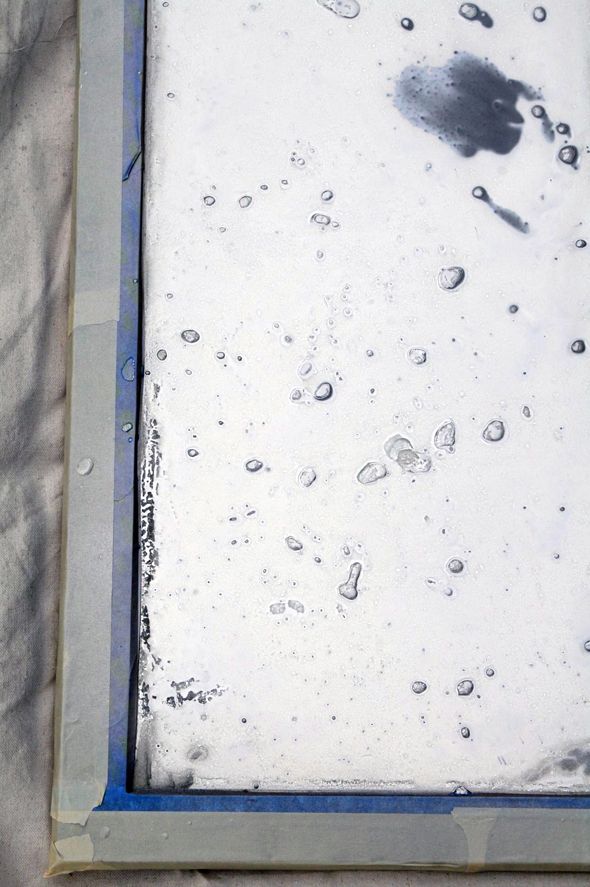
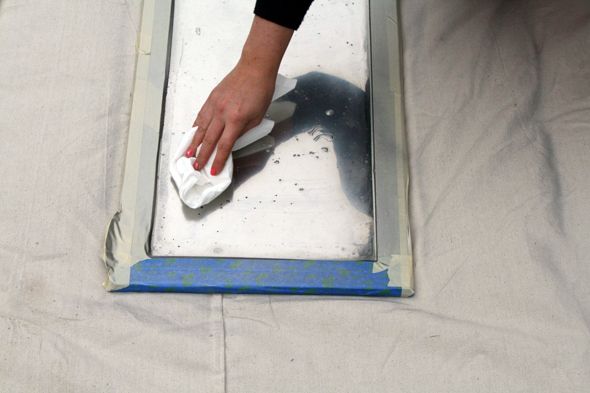
After the paint has had a minute or so to dry, you can very, very lightly pat at the sprayed glass with a bit of paper towel, and the droplets will totally disappear. If you wipe too hard at this point, some of the paint will probably wipe right off, which you might want a little bit of, but it's easy to go overboard with the removal step. I mostly wanted my glass to look spotty, not patchy, you know?
If the space behind your cabinets is not dark the way my cabinets are, you'll want to spray paint the back of the glass black after the Looking Glass spray is fully dried. It's the dark contrast in the spots and wiped off patches that give the "mirror" dimension and make the panes look a lot like real antiqued glass.
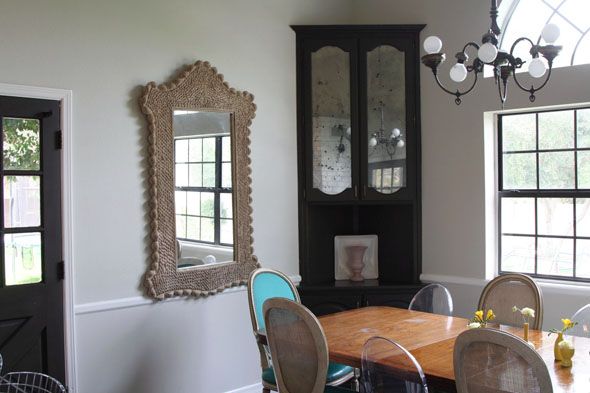
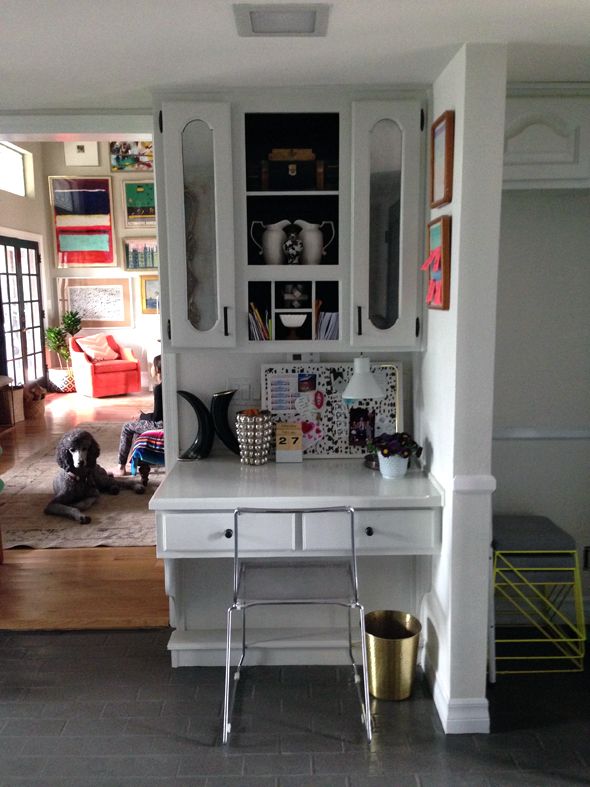
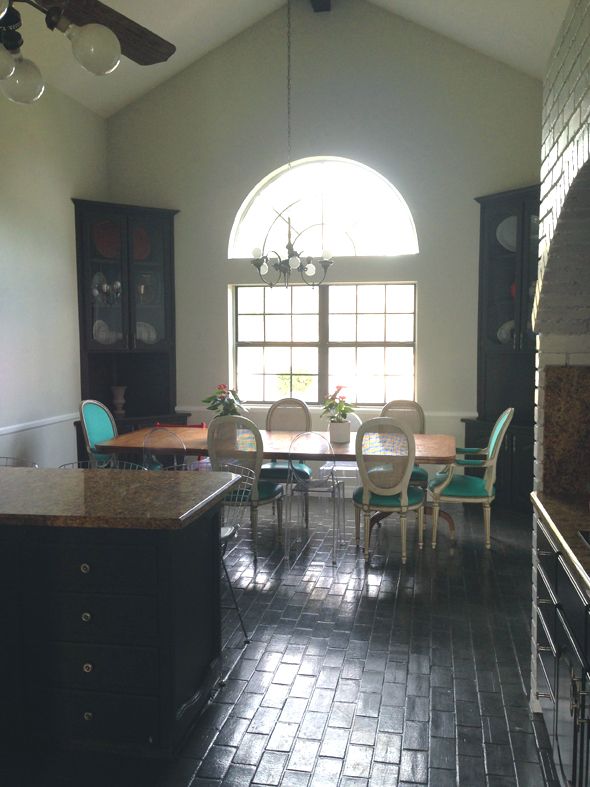
The cabinet doors above the kitchen desk look so flat and boring in comparison now, but the glass panes are so small, it ended up being a good way to try out the method in the first place.
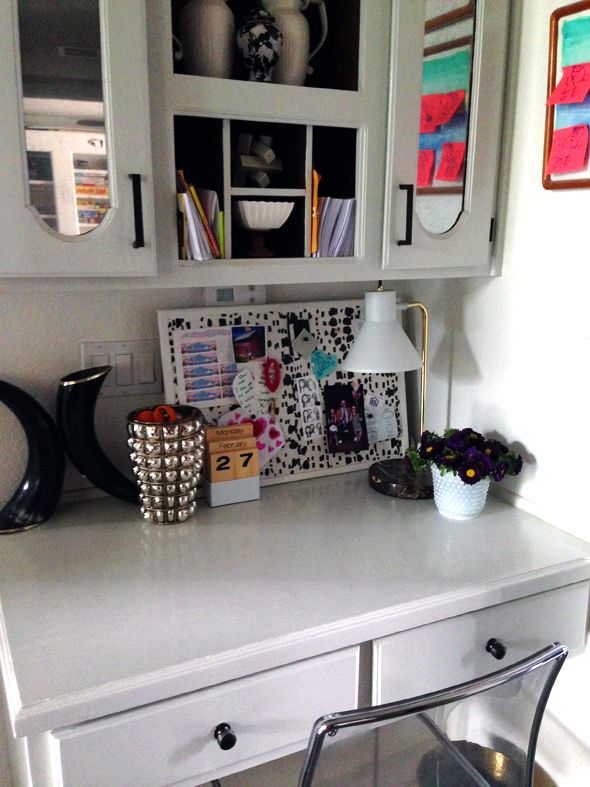
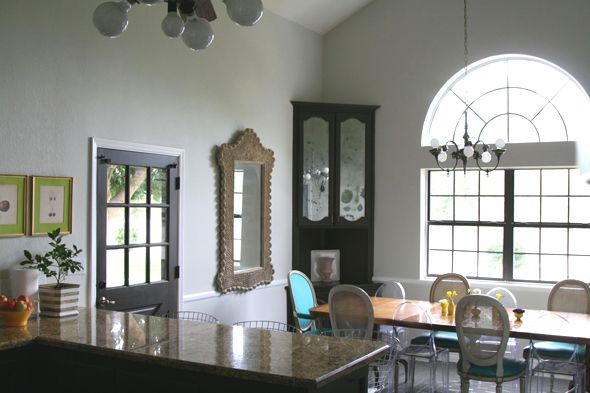
I much prefer the contrast in my 2.0 version. Also, it's an easier way, and easier is going to win pretty much every time in my book. :)
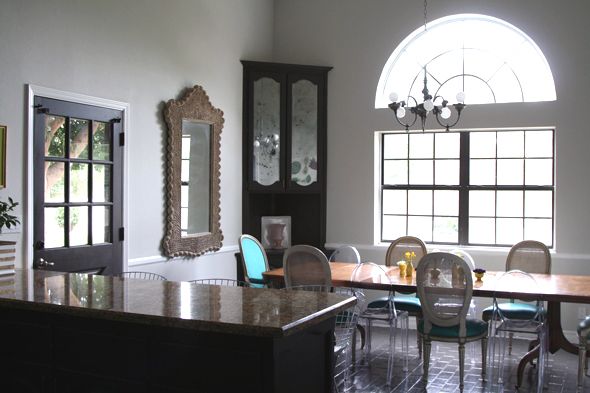
It's so much brighter and cleaner looking in here now compared to the clear glass before!

0 comments:
Post a Comment