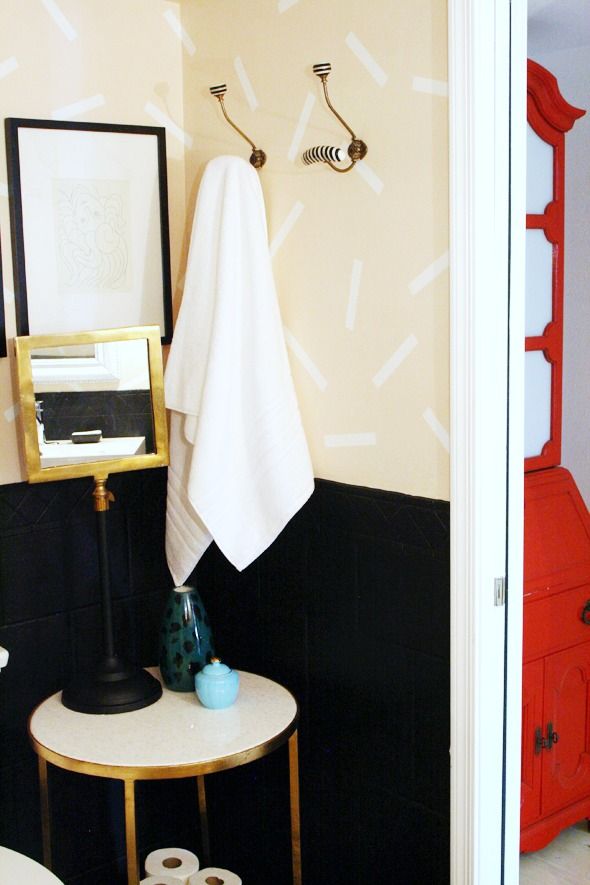
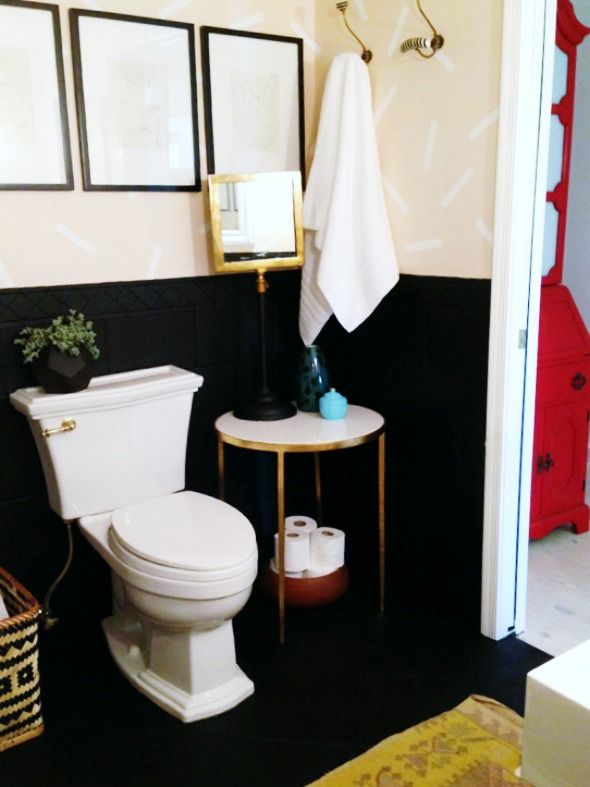
The previously white walls felt really stark in here since the only light source was (and still is) a pair of wall sconces, so I decided to warm up the color and to get a little experimental with a fun pattern.
After swinging by The Home Depot and picking up a few rolls of Scotch Blue™ Painter's Tape to experiment with, I finally had a lightbulb moment.
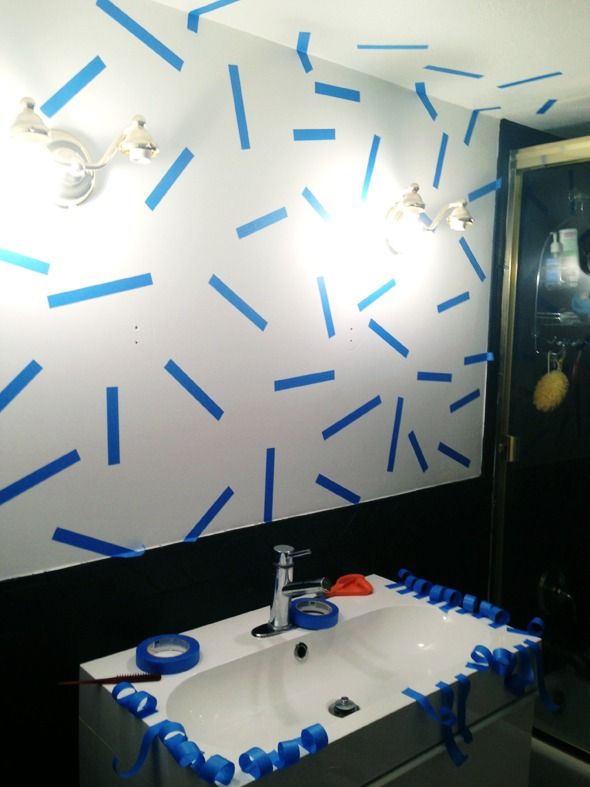
I used a roll of .94" ScotchBlue (it's the Original Multi-Use 2090) to make an abstract line pattern on all the walls above the tile and even on the ceiling. I was inspired by this uber-talented artist that Domino featured in the current issue. He did a similar treatment to the walls in his home using duct tape. I love how these little lines are so simple and they make such a big visual impact.
To make a pretty fast process go even faster, I cut the tape (5-7" or so in random lengths) in large batches all at once before applying the strips to the walls.
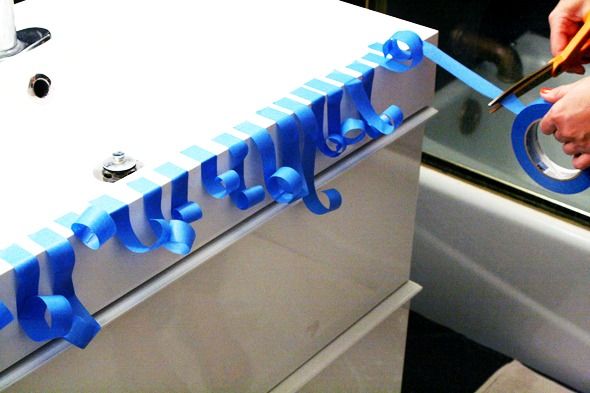
It's easy to make the abstract pattern and it actually looks best if you don't over-think things while you're placing the tape on the walls.
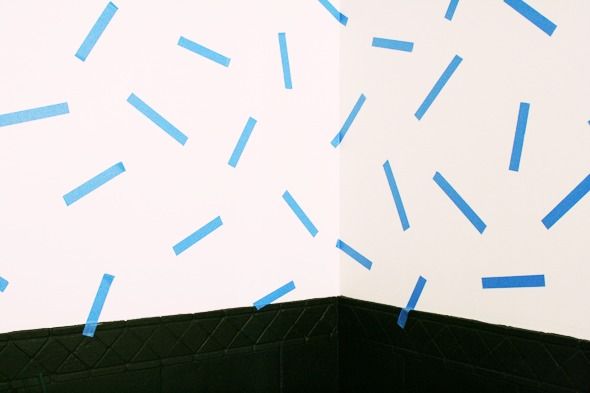
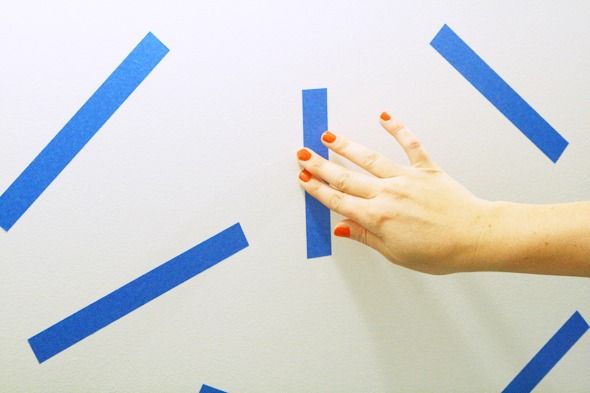
Don't forget to let the line continue in and through the corners and be sure to start some pieces below the actual starting line (the tile in my case). This makes the pattern look more like wallpaper.
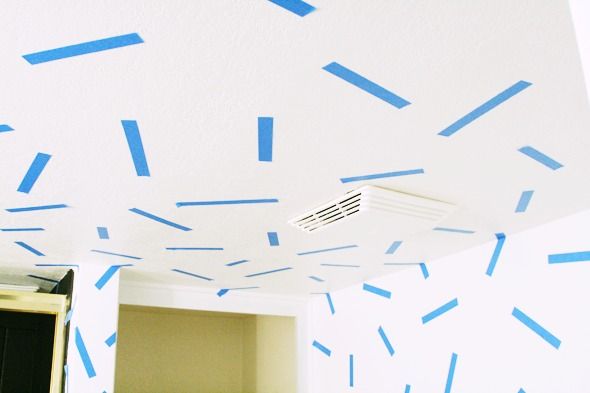
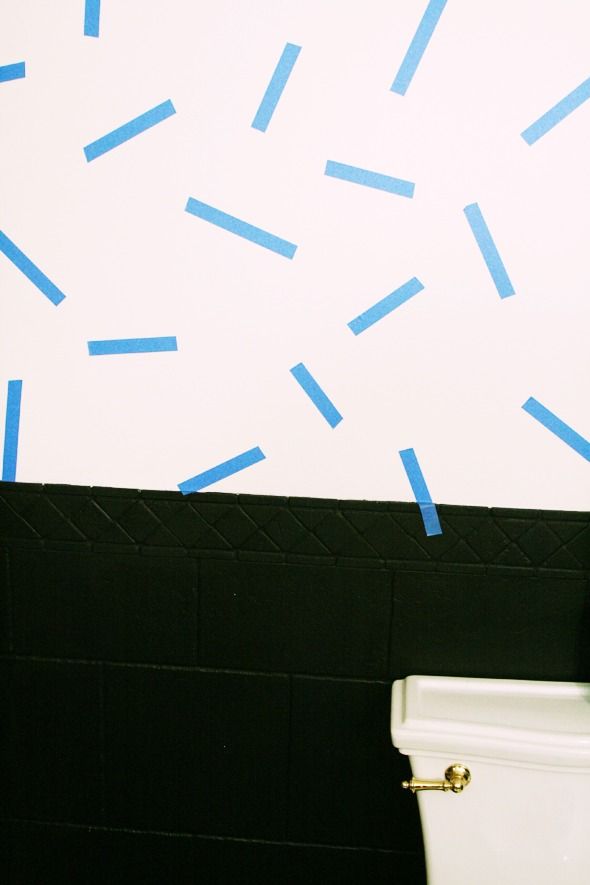
We have some slight texture on the wall in some places so I did my little trick of sealing the edges with a quick layer of the base coat before painting the top coat. Works every time!
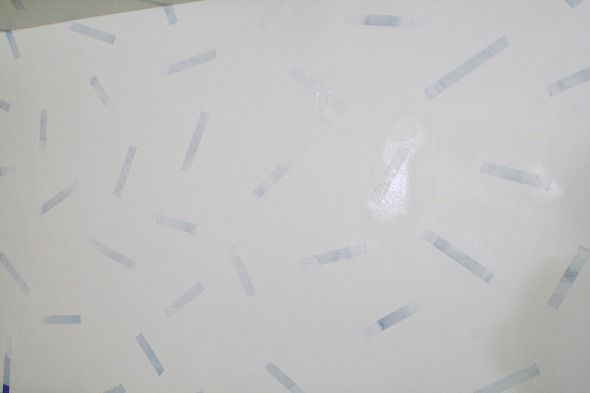
I like to peel the tape off while the paint is still wet. I don't know if that makes any difference in the end result, but it feels like it would, right?
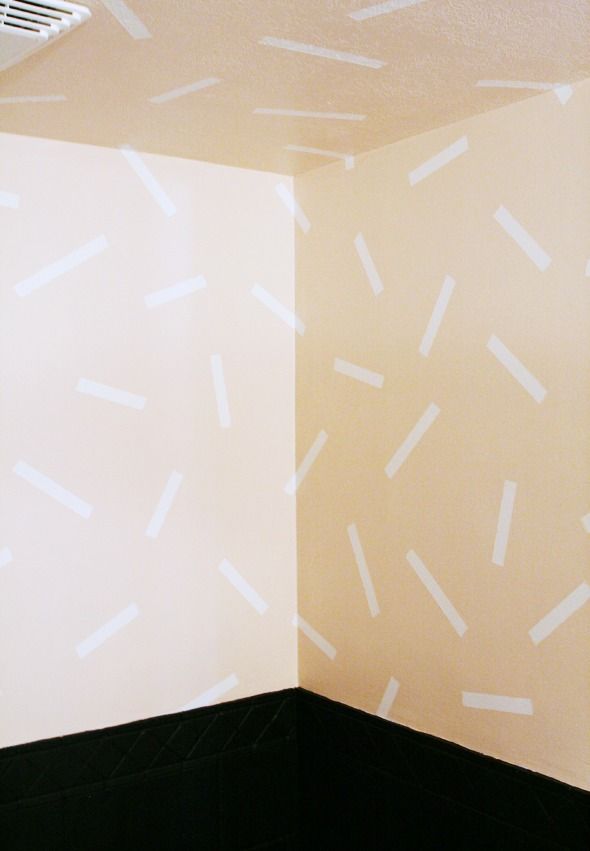
The color we used for the base coat is my favorite white, Benjamin Moore's Chantilly Lace, and the top coat is the prettiest blush color called Spun Sugar by Sherwin Williams (I had both color matched at Home Depot). We don't have any windows in this bathroom, but I'm thinking this color would be gorgeous in natural light. So pretty and soft for a bedroom.
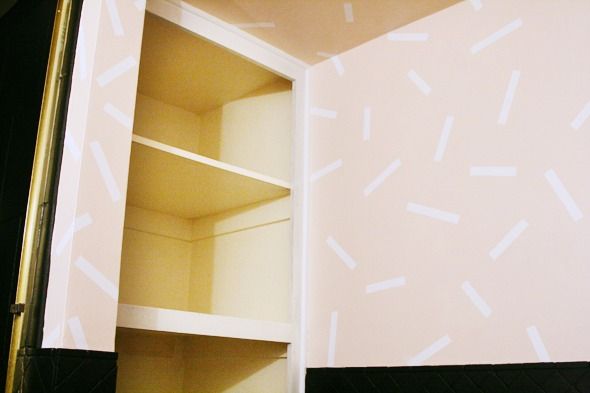
The pattern is playful enough that it would look adorable in a kids room, but when paired with black and brass accents and with lots of art hanging on the walls, the abstract pattern feels modern and cool.
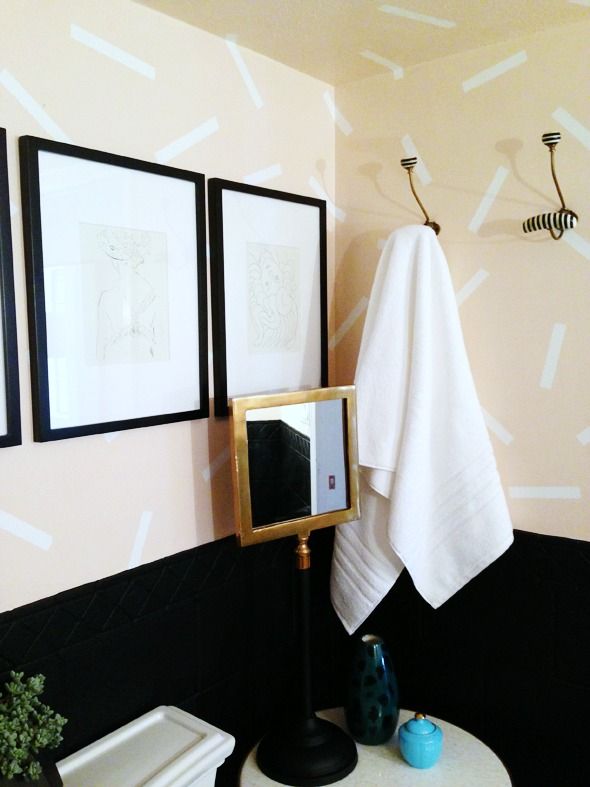
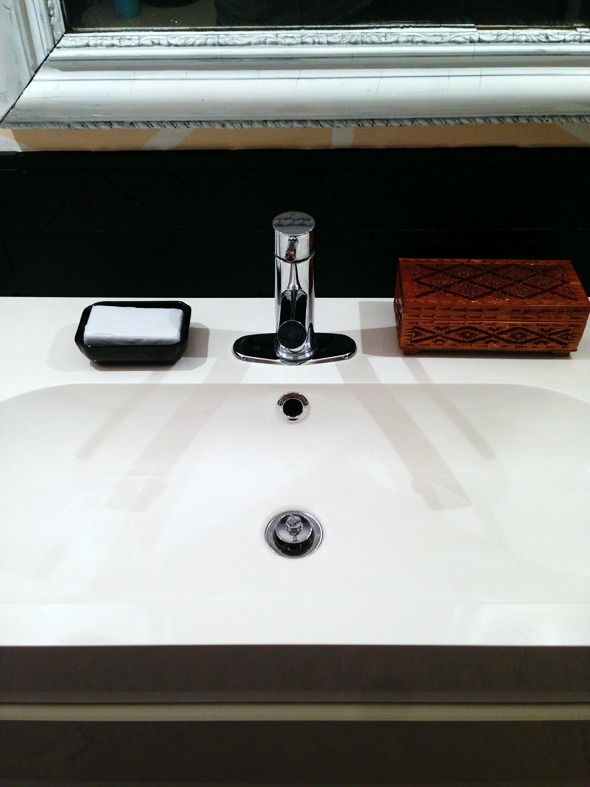
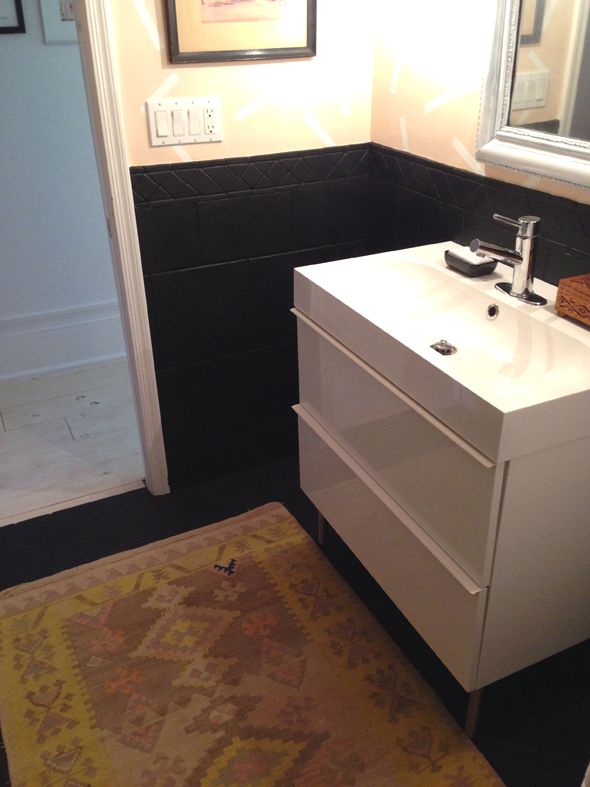
I added lots of white to the room to break up the sea of black tile and to balance out the warmth of the Spun Sugar walls.
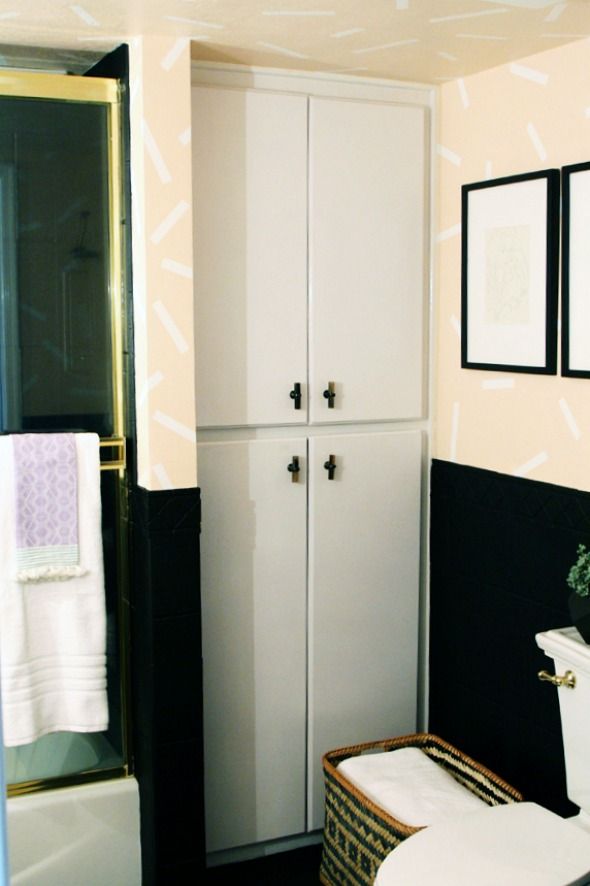
I also came up with a new way to reface old 80s cabinets that I'm really happy with. The basic idea is to use hardboard to create a faux front. I think I'm going to put a twist on the technique for a redo of our kitchen cabinets, so stay tuned for that tutorial!

The pretty horn knobs are from Anthropologie. I LOVE them!
Lots of big artwork helped to brighten this space too. I picked up these frames at Target and I love their extra-wide mats.
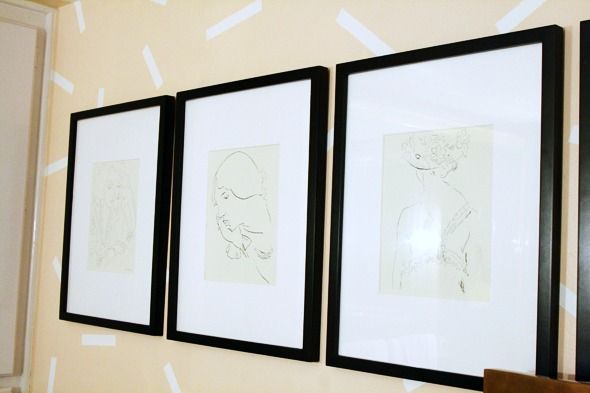
Luckily the mat openings were meant for 8x10 prints and I had just picked up this book of Matisse prints in the same size for just a buck at a used book store.
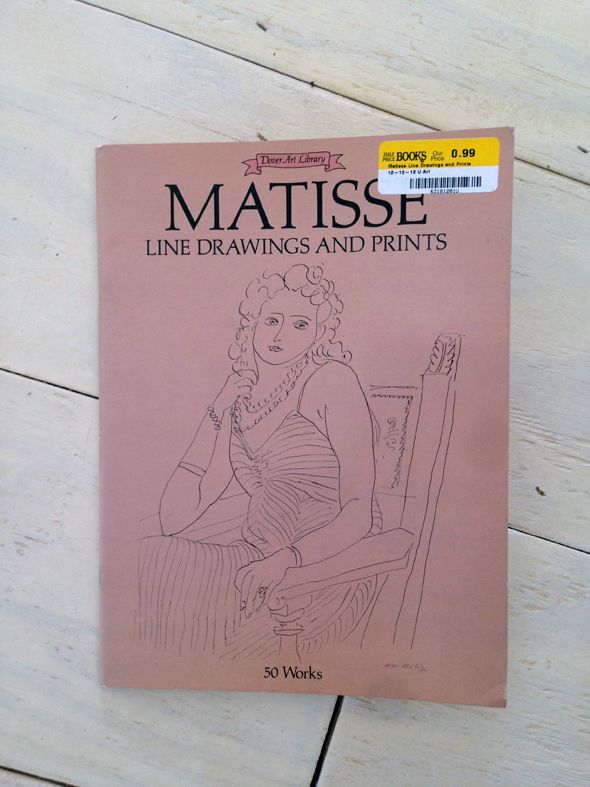
Doesn't get much more girlie than this right?
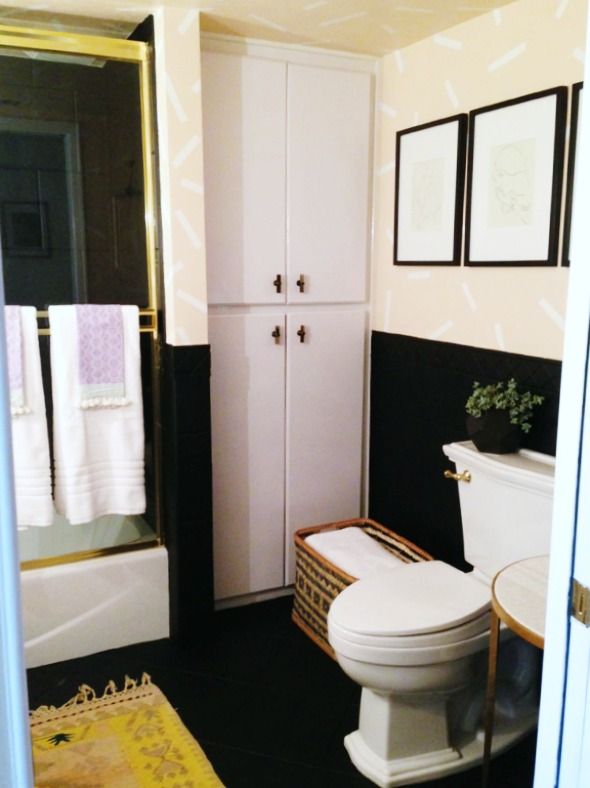
Also did you notice how I moved the Safevieh gold and marble table in here? It fits well and I love the way it looks against the black tile.
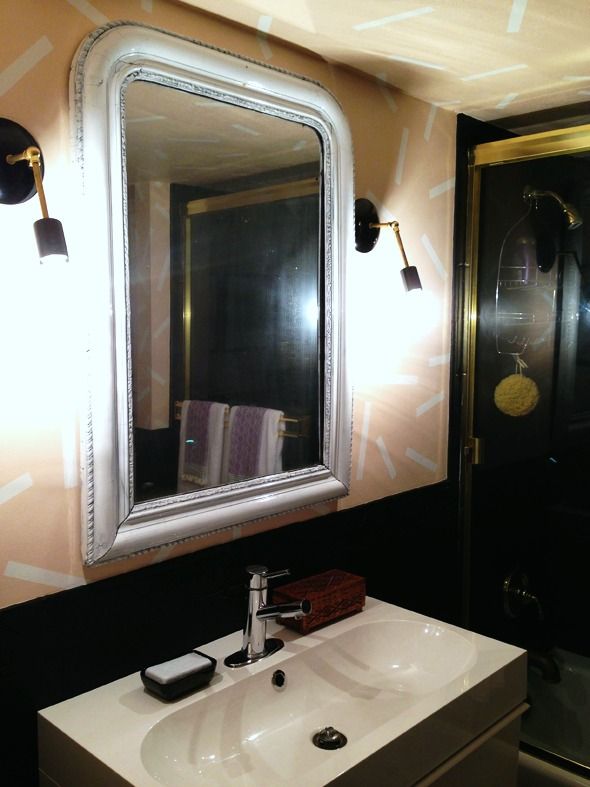
I had to turn down the contrast in this photo so you could see the new sconces. I talked about them here. They're from Triple 7 Recycled on Etsy and they literally could not have been easier to install, especially since the mounting hardware is exposed. I had these babies up in about 20 minutes! I love them and I love the way the light from the exposed bulbs plays on the abstract line pattern on the walls. It's really soft and dreamy in person.
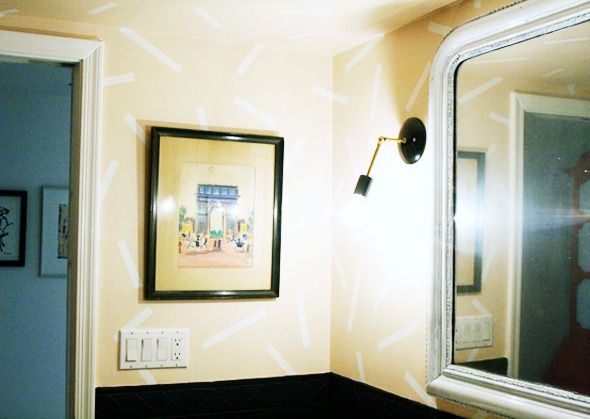
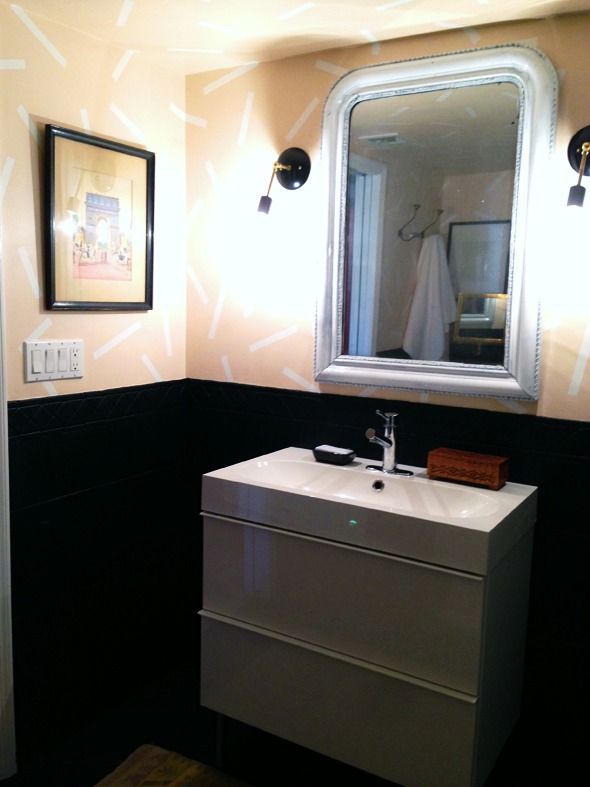
I'm all for complicated, time-consuming DIY projects (you know I am!), but sometimes simple-and-quick hits the spot, you know? I love the way this one turned out! :) A big thanks to ScotchBlue Painter's Tape for coming through for me yet again.
(PS Check out their Pinterest page for some really great painting ideas!)
(PPS ScotchBlue™ Painter's Tape gave me a $50 e-giftcard to the Home Depot to share with you readers. Just click here to enter.)
Visit ScotchBlue™ Painter’s Tape on Facebook, Twitter and Pinterest.
Visit Home Depot on Facebook, Twitter and Pinterest.
Visit Home Depot on Facebook, Twitter and Pinterest.
I am proud to be a 3M- sponsored blogger, and, as part of my responsibilities, I get the opportunity to evaluate new products from ScotchBlue™ Painter's Tape. Opinions are my own and additional product used in the project were selected by me.


0 comments:
Post a Comment