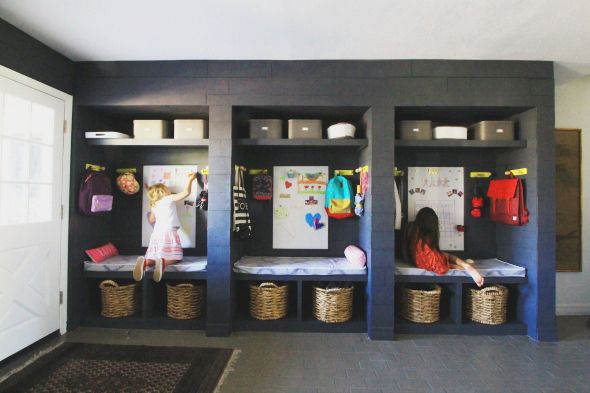
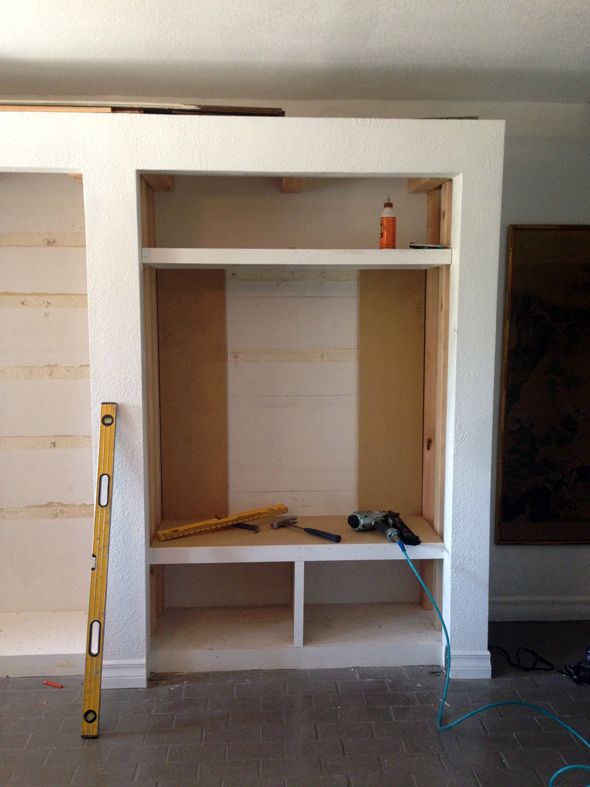
I really wanted to finish up our mudroom space before school started this year, and we made it, just under the wire! I was really excited to get to team up with Amana again on this project. You might remember that one of the first projects we tackled in our house after moving here was paneling in the mudroom. We held off on paneling the closet walls, just because there was a lot of work to do there first.
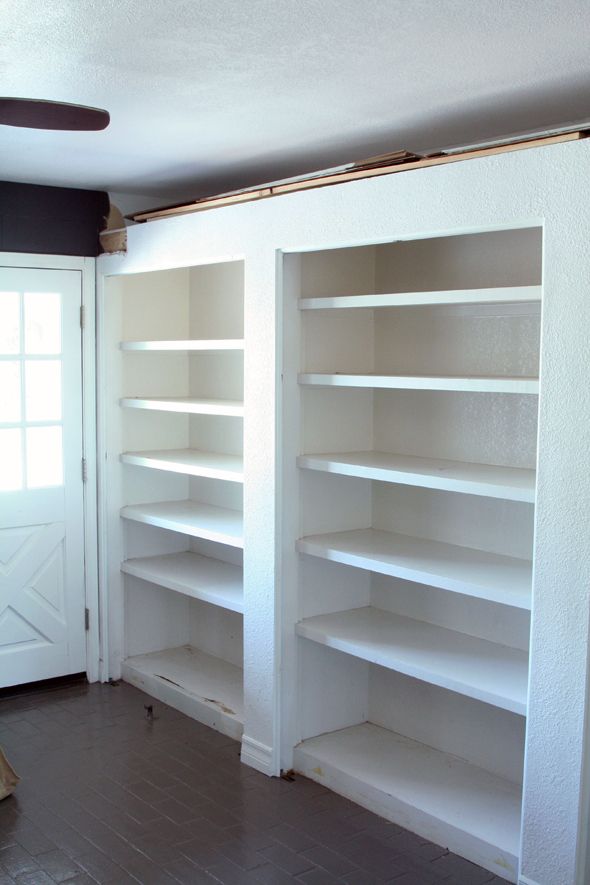
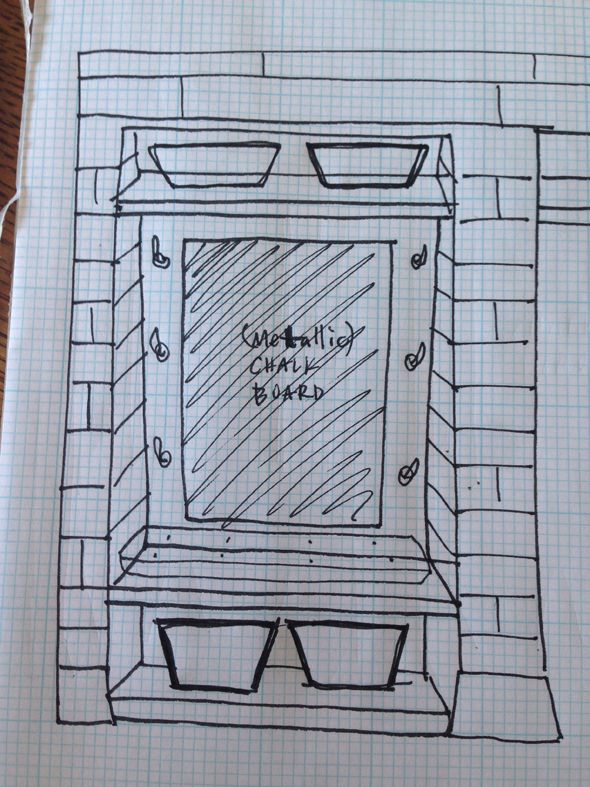
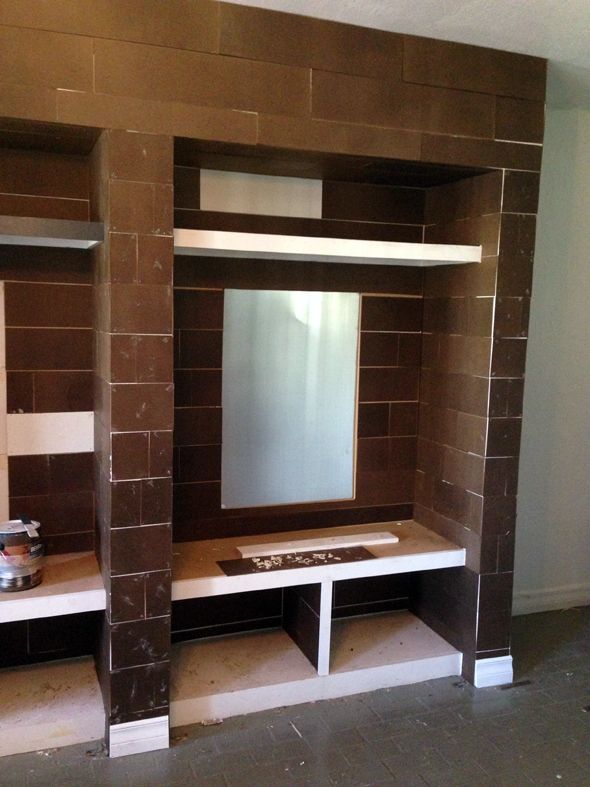
I really wanted the nooks to be flush on the sides and tops, and I wanted to add some benches. So last month, I hired my handyman to come in and prep the closet spaces and then Kate and I installed and painted the paneling, just like in this tutorial. It's really not hard to do, it's just a little time-consuming.
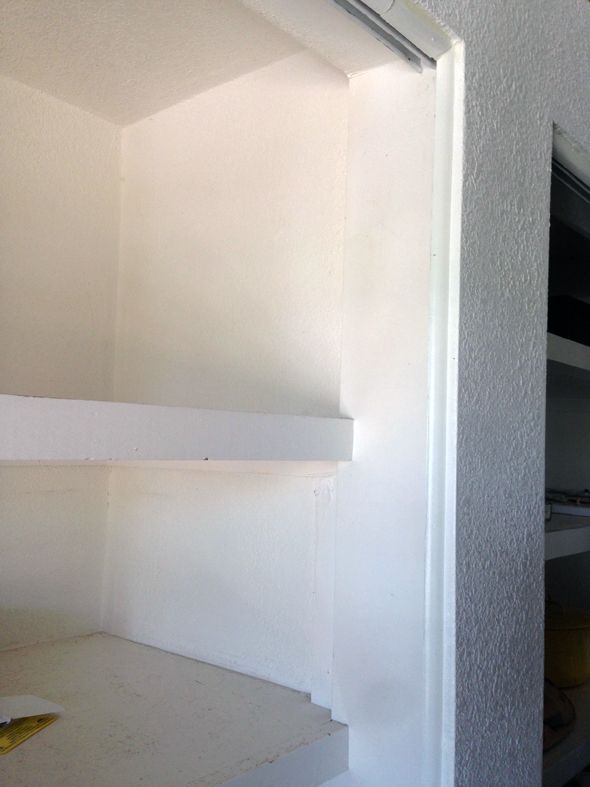
The basic idea is we used inexpensive sheets of hardboard cut down at the hardware store to make shiplapping on the walls. The paint color is Benjamin Moore's Day's End in a flat finish.
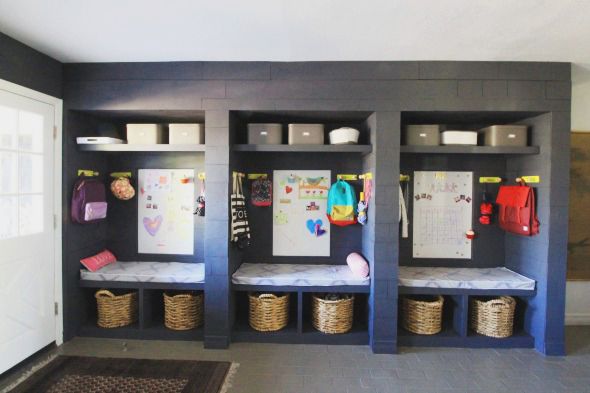
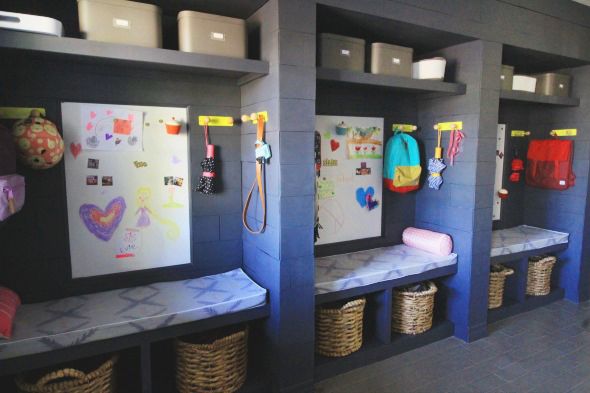
I wanted the girls to each have a nook space of their own, complete with a bench and a high shelf for paperwork storage.
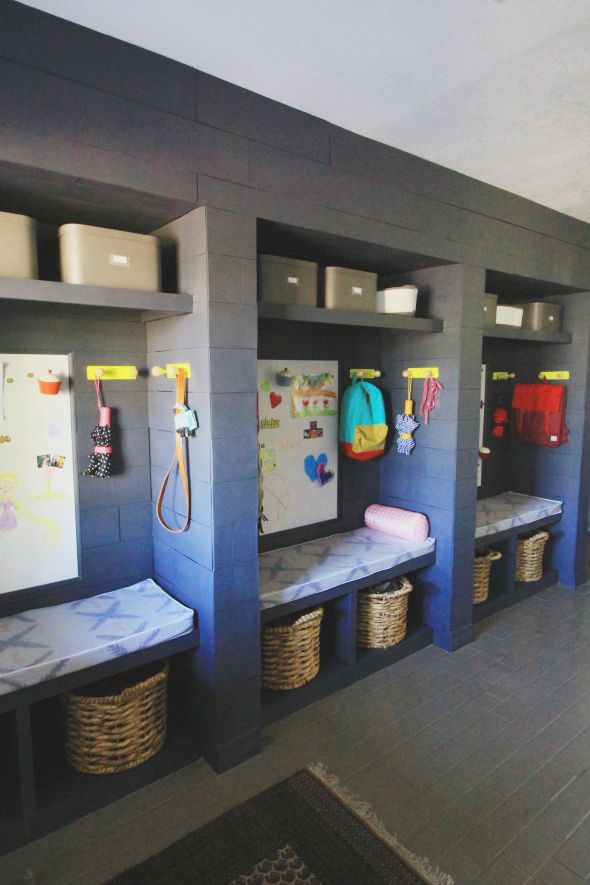
To help keep the floors in my house clean and to make it easier for the kids to get ready for school, we made separate nooks for jute shoe baskets. One is for casual shoes and the other is for dress shoes! It was a little tricky to find baskets that fit the nooks just right. These two were contenders from Homegoods, but the sizing was a little off and they were pricey (not to mention, I would have had to drive all around Phoenix to find six matching baskets).
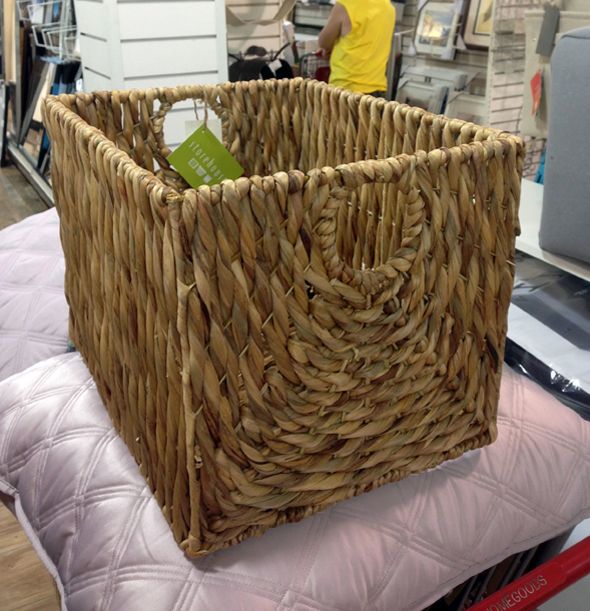
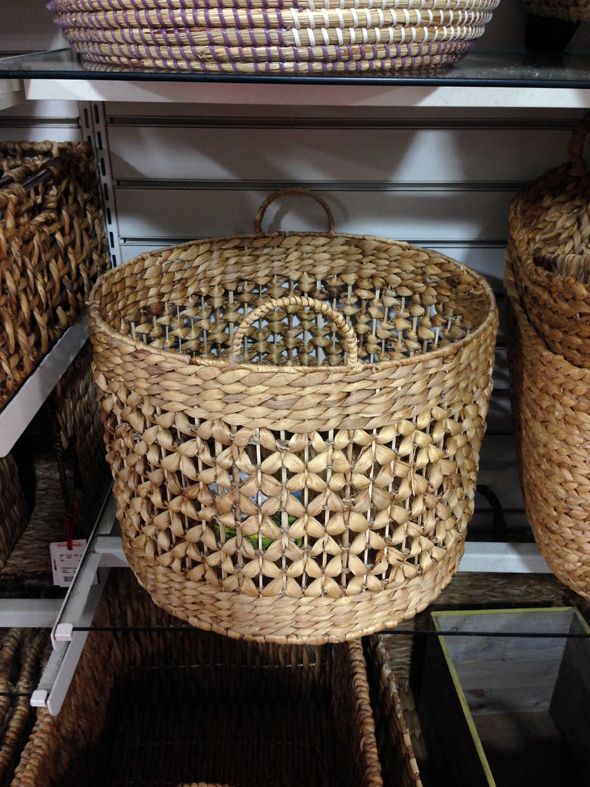
And then I totally hit the jackpot at World Market with these Jessica baskets. They were 50% off, which made them only $12.50 each! They're made of really thick jute and so far they're holding up beautifully!
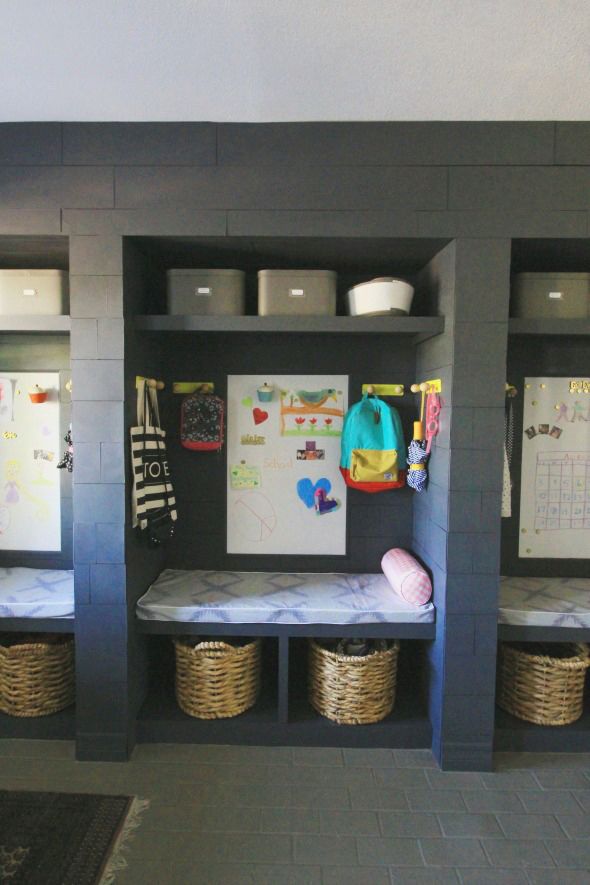
For the bench tops, I made a bench cushion using upholstery foam that I cut to fit the nooks. I made the fabric with drop clothes and fabric dye before sewing them into box cushions. My girls helped me with parts of the fabric painting, which made them so proud! They love getting to display their work in each of their cubbies!


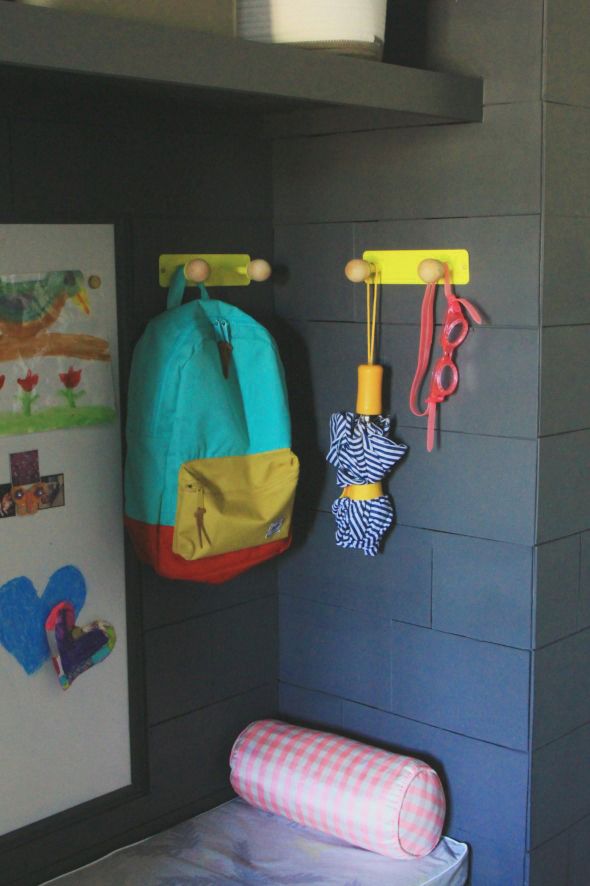
The hooks ended up being a bit different from what I had initially envisioned (with a vertical row of hooks), but I'm so happy with these. I spray painted simple hooks from Target a bright acid yellow, which I think really pops against the navy paneling, and epoxied wooden craft balls to the ends to give each of the hooks a sort of Eames feel.
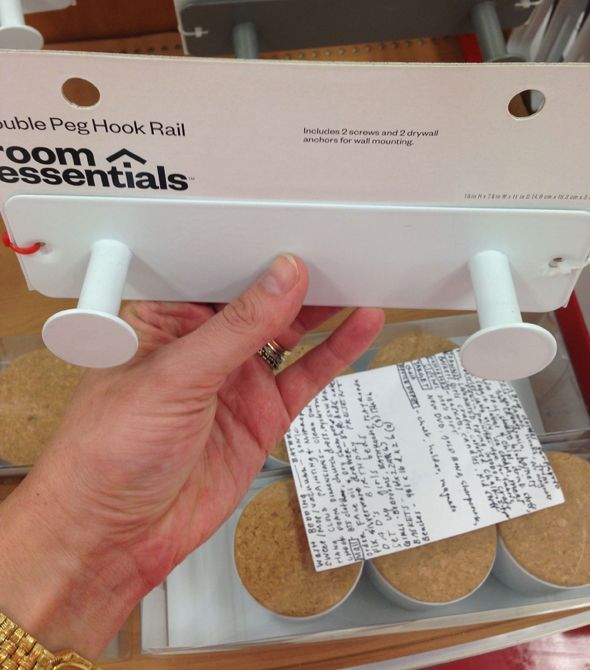
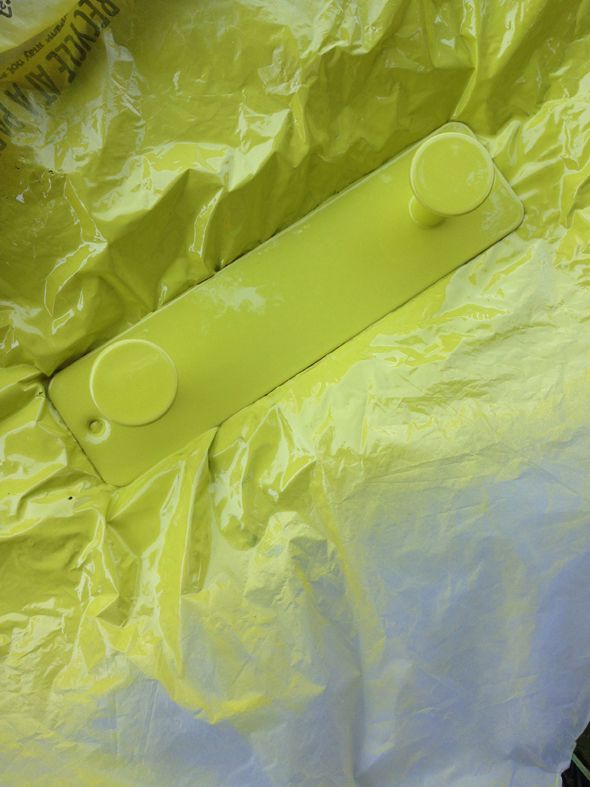


I think the more hooks in a utility space, the better! The original vertical hanging idea would have been awkward anyway - things would have been stacked on top of each other. We keep all sorts of things on these hooks, from the obvious, like backpacks and lunch bags, down to swim goggles and binoculars! :) These hooks are doing wonders for my sanity - it's so easy for the kids to hang up their stuff now.
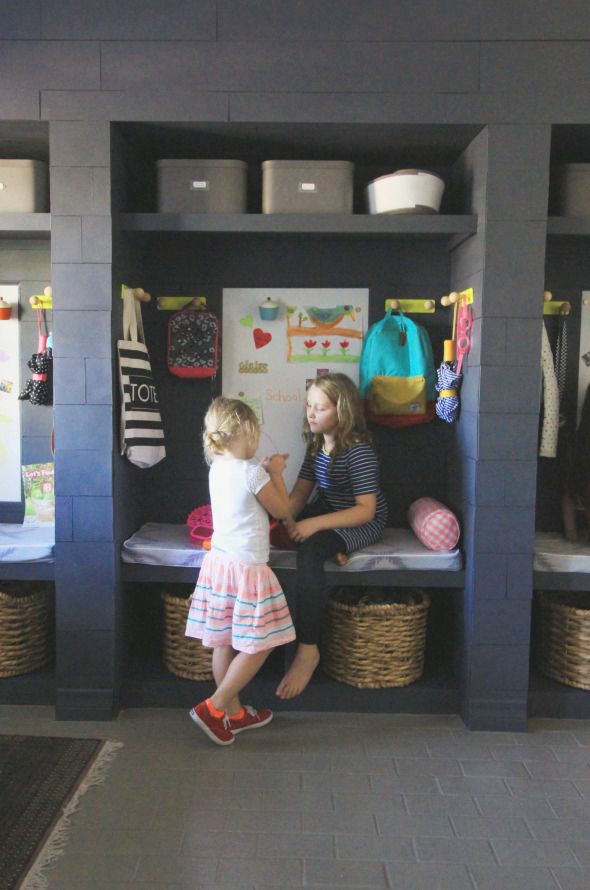
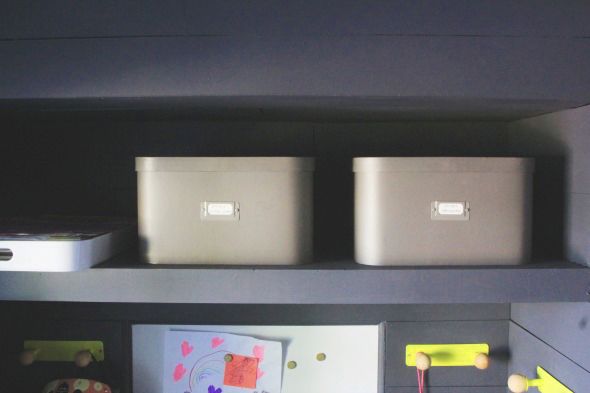
On the top shelf of each nook, I added labeled storage boxes that say either Artwork or School Work. My girls come home from school with adorable projects and work all year long and I love the idea of having an easily accessible place to store the most special of these keepsakes!
At the back of each nook, we installed a magnetic chalkboard for tacking up notes and writing messages! I made my own white chalkboard paint with latex paint and non-sanded grout and painted it on to a sheet of galvanized metal from the hardware store. We glued these sheets up to the drywall and paneled around them. It is wonderful for the girls to have a spot to leave each other and themselves messages every day!

I dressed up super simple ceramic magnet circles and dollar store alphabet letter magnets by spray painting them all with gold spray paint! Making them all a uniform color makes them feel special and less cheesy. The little cupcakes are containers filled with chalk for the girls. We epoxied magnets to the cupcakes so they can stay up on the chalkboards.
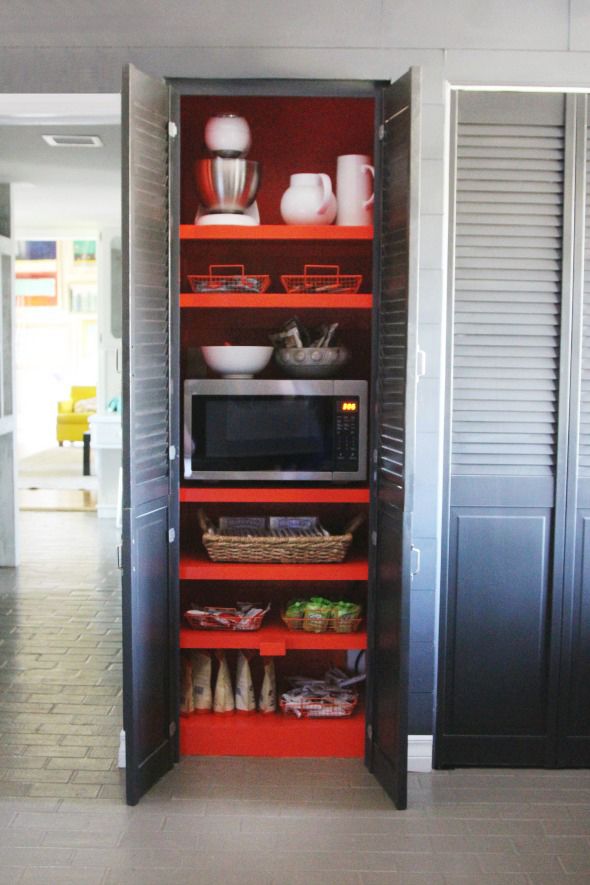
Across from our cubby nooks, we made our after-school-snack pantry extra pretty by painting it a bright, poppy red. Inside we have snacks for my kids (and any of the neighborhood kids that stop by!), including fruit leather and granola bars, and snack-sized microwave popcorn (my girls favorite!). We actually keep our Amana microwave in this pantry, which makes popcorn an even easier snack!
I'm so happy with our (finally finished!) mudroom. It has made the back-to-school transition so easy and organized. I'd love to hear what things you're doing to help make back-to-school easier on you and your kids!
This post was a collaboration with Amana, a wonderful, eco-friendly company devoted to making life easier on families, one appliance at a time! :)
0 comments:
Post a Comment