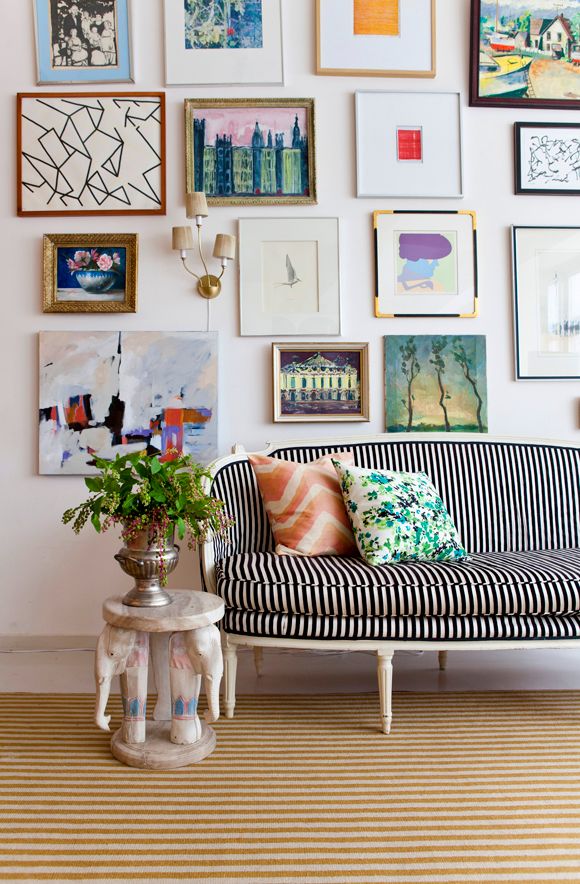
I used this silk watercolor fabric from the Brunschwig sample sale that I scored for $3 and the fabric from the other pillow was seen here. I love how they look together above!
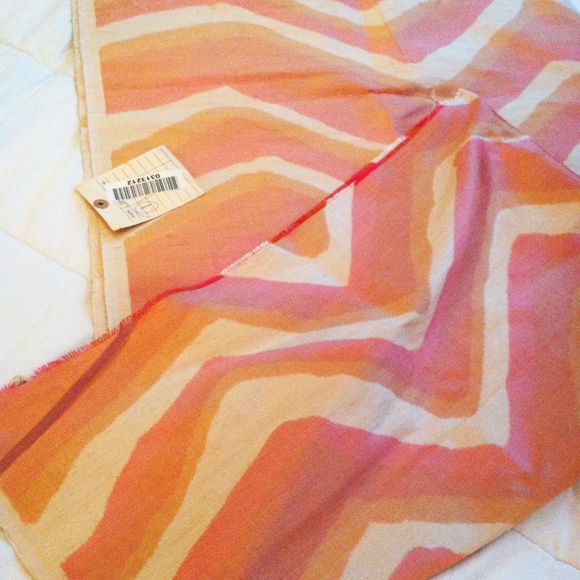
Because I'm not the hugest fan of sewing in zippers, over the years I've come close to perfecting the art of the 10-minute envelope pillow. It's so easy! If you know how to sew a straight line, you can make this pillow fast. Here's the down and dirty:
1) For a standard 20" pillow (which works great with these $7 down inserts from IKEA, or these $14 favorites from Crate and Barrel), cut out a 20x44" piece of fabric. I cut out two pieces so I could make a pair of pillows easily at the same time.
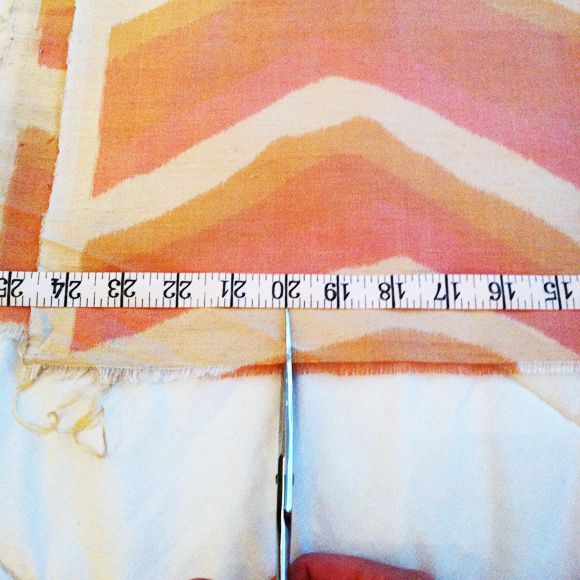
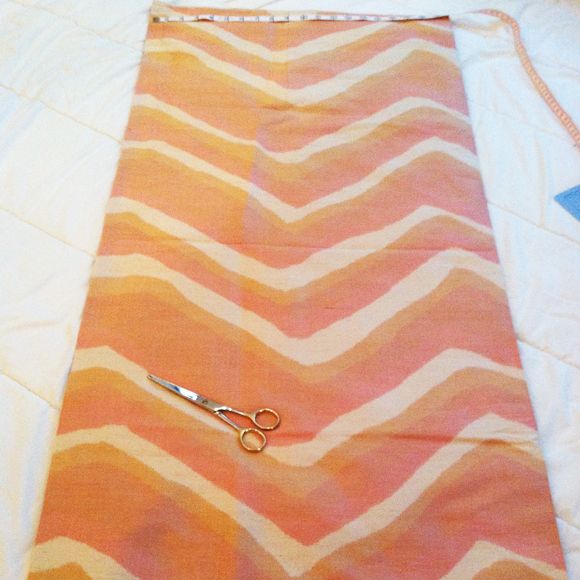
2) On just the 20" wide ends, fold over the fabric about 1/2" and iron down. If you want to prevent any chance of messy-looking fringing, where your threads start pulling out, you can roll under the edge a little or you can serge or use a zigzag stich to bind the edges. It's not a necessary step though.
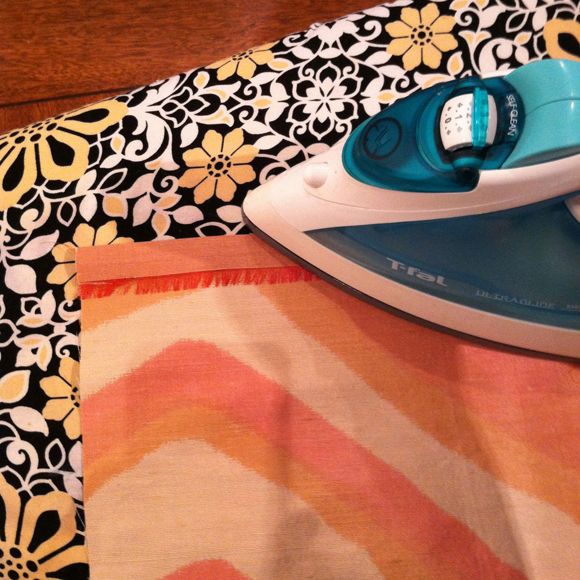
2) Sew a line down your pressed edge. (Both edges)

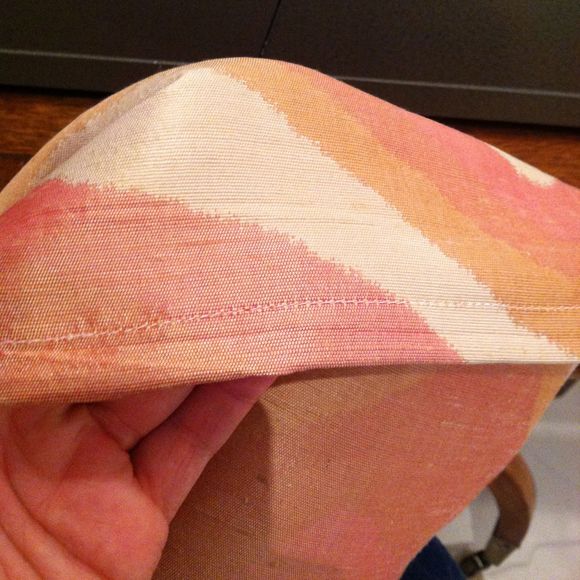
3) Now that both the top and bottom edges are sewn, fold your fabric like an envelope. Note that your fabric should be right-side in.
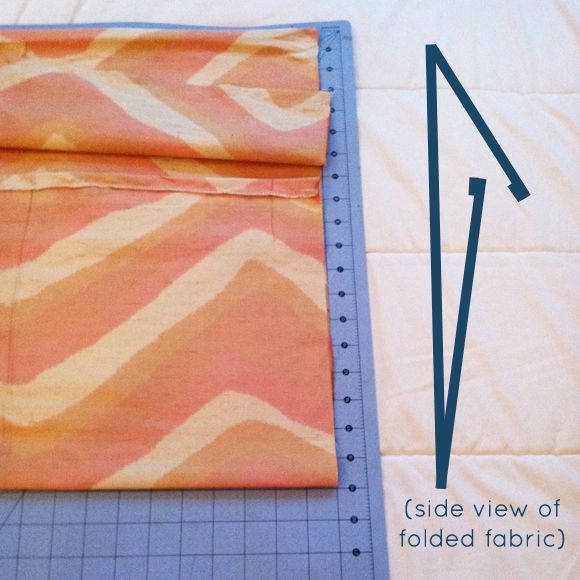
The total length of the envelope should be 19". I always sew my pillows to be an inch shorter than my insert size. I like my covers a little more taut than baggy.

4) Put in a couple straight pins to keep all the layers in place. To make it really easy to pull the pins while you're sewing always place them so the head is nearest the edge.
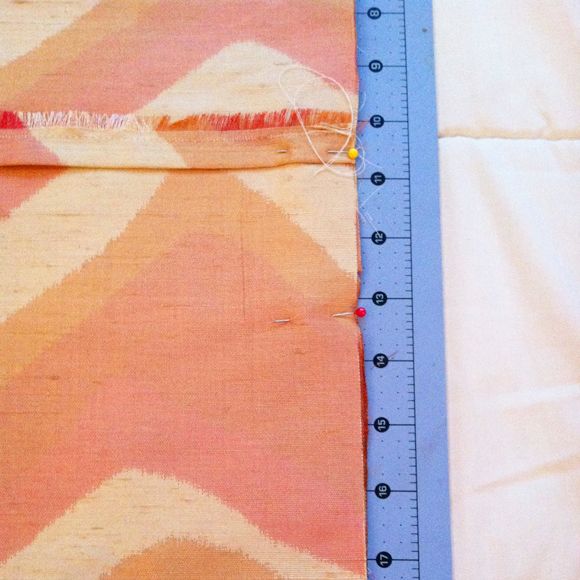
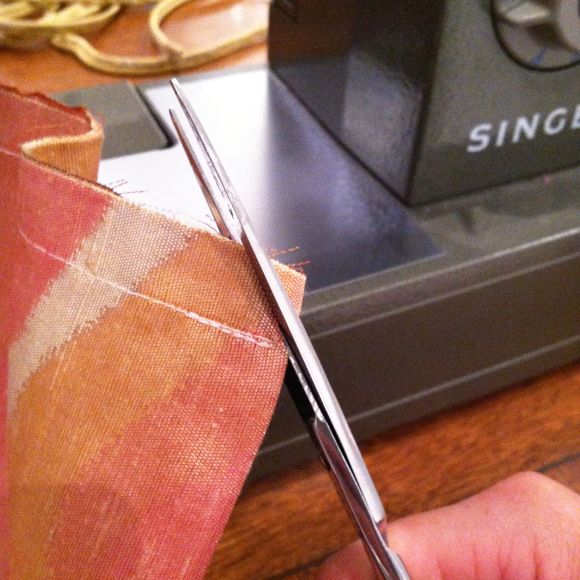
5) Sew a line down both edges and then snip off the fabric behind the seam on the very corners. This prevents bunching.
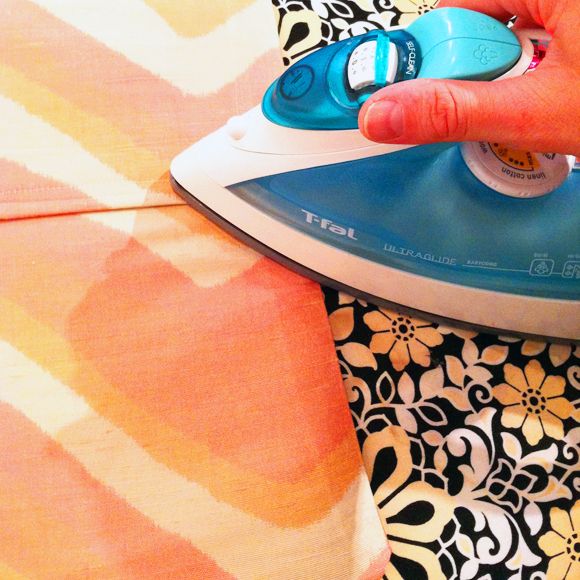
6) Home stretch!! Just flip the pillow right-side out and then press everything down.
I made five pillows in less than an hour for the shoot. If you're making one - you might as well make five! :)

Pretty photos taken by Nicole Franzen, styled by Kendra Smoot.
0 comments:
Post a Comment