When I needed a pair of lamps for our bedroom, I felt like it would be a good place to bring in a bright shot of color. I found these lamps on clearance at Target and I thought they might paint up well.
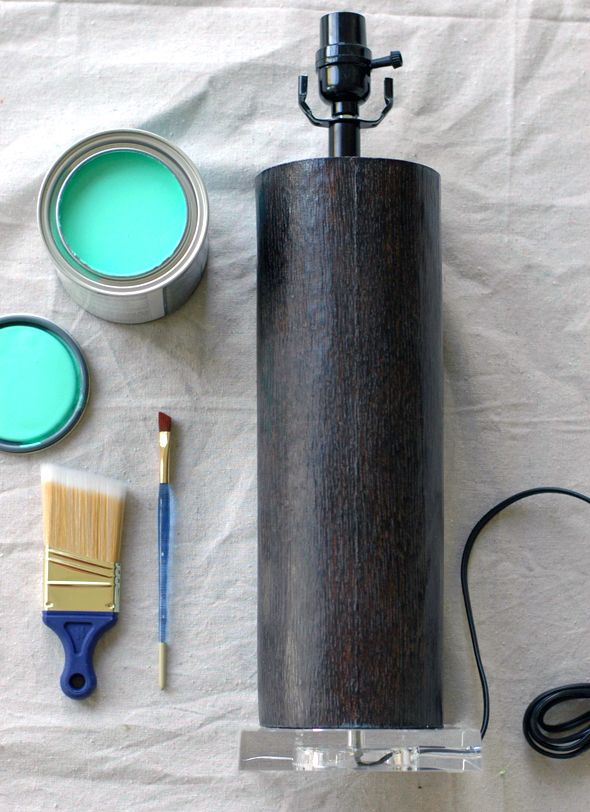
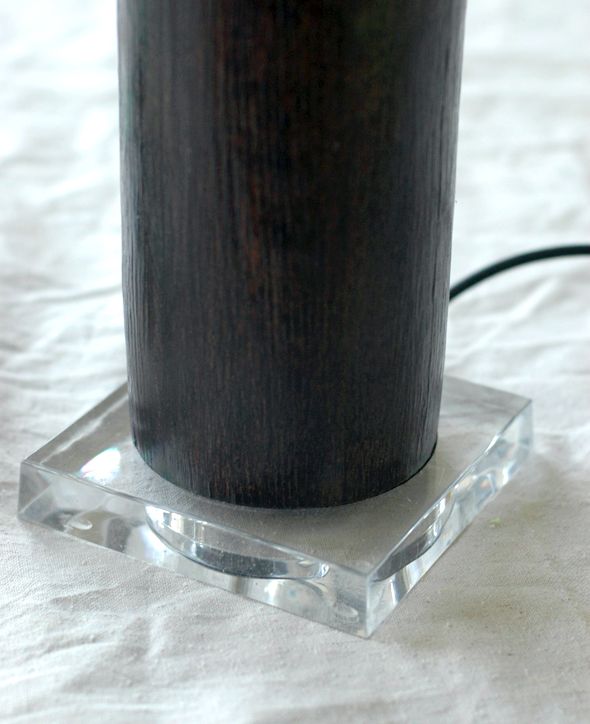
I don't think the lamp base is made of real wood, but it looks a lot like a cut log on a lucite base. I thought a painted version would be a little like this idea.
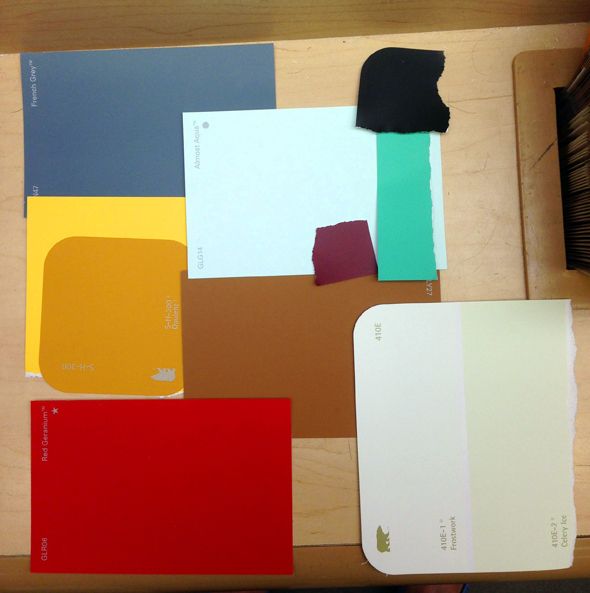
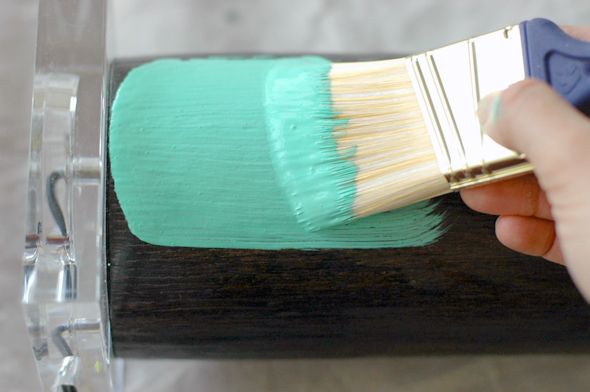
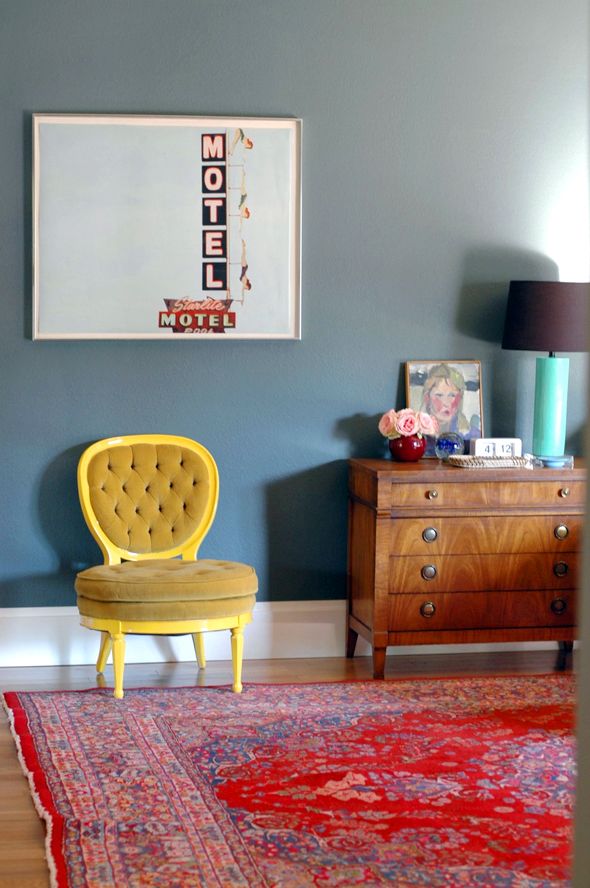
I wasn't sure what color I wanted to paint the lamp bases, so I mocked up the room using paint swatches at the hardware store. I'm sure the guy at the paint counter thought I was nuts, but it really did help me in a pinch to see how all the colors I already had in the room would work together with the new lamp color. I picked Glidden's Spearmint Gum and got a quart in high gloss.
I just used an artist's brush to cut in on the edges and then a 2" angles brush for most of the base.
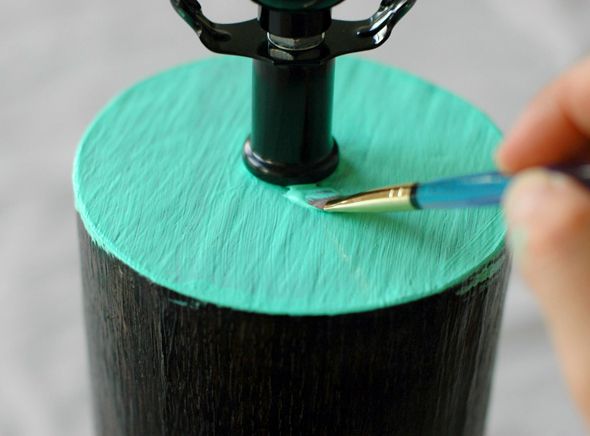
Later I clean up any mess-ups with a razor blade, but it was pretty easy to stay mostly on the wood part.
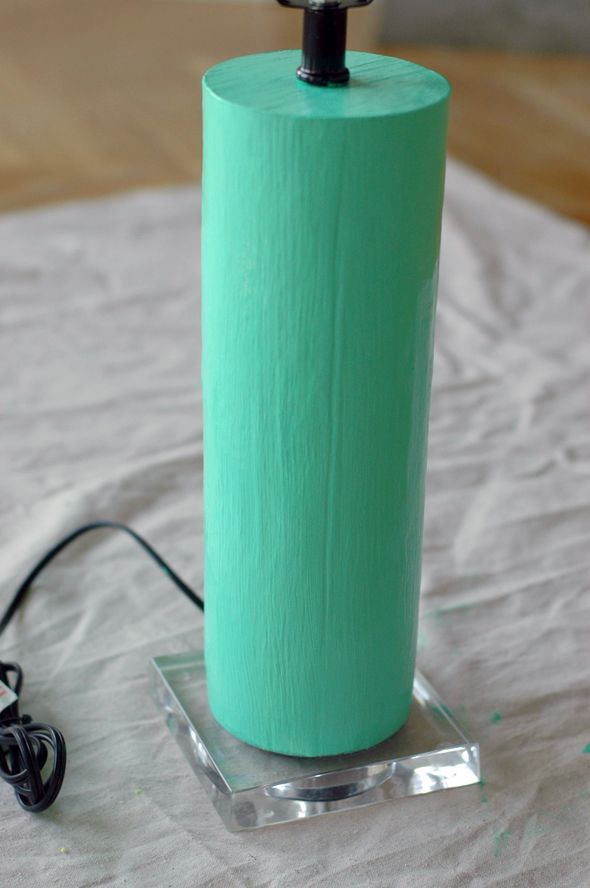
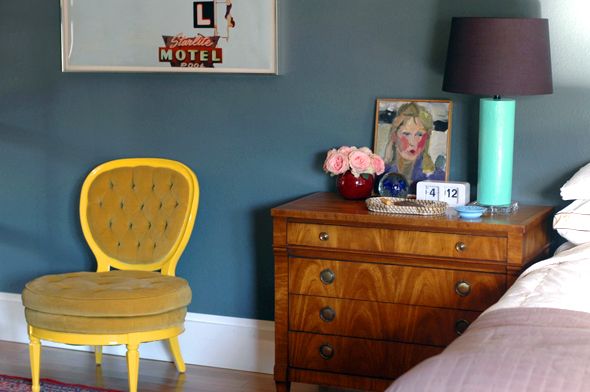
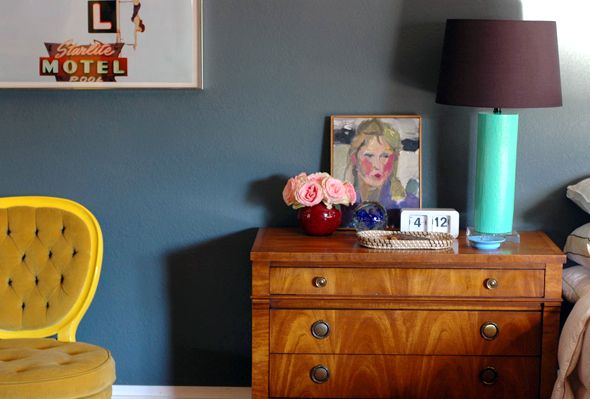
I love the slight texture of the wood-like grain under the glossy green paint. I think it's such a pretty combo with the lucite base and the black linen shade.
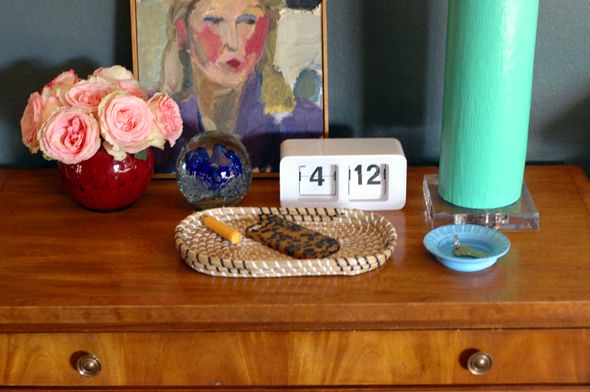
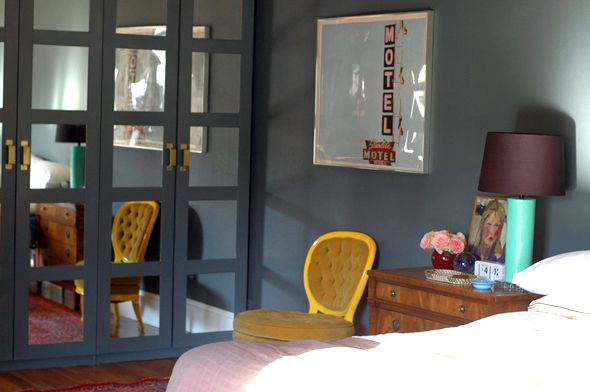
And the pop of bright green is just what the space needed. I think colorful lamps are always a good idea.
PS Here are a couple other lighting DIYs I've done over the years, in case you feel like browsing today:
- Painting a ceiling fan
- Painting a lampshade
- Inexpensive black lampshades
- Spray painting vintage metal task lamps
- Painting a giant brass chandelier
- DIY Sputnik
- Painting vintage sconces
0 comments:
Post a Comment