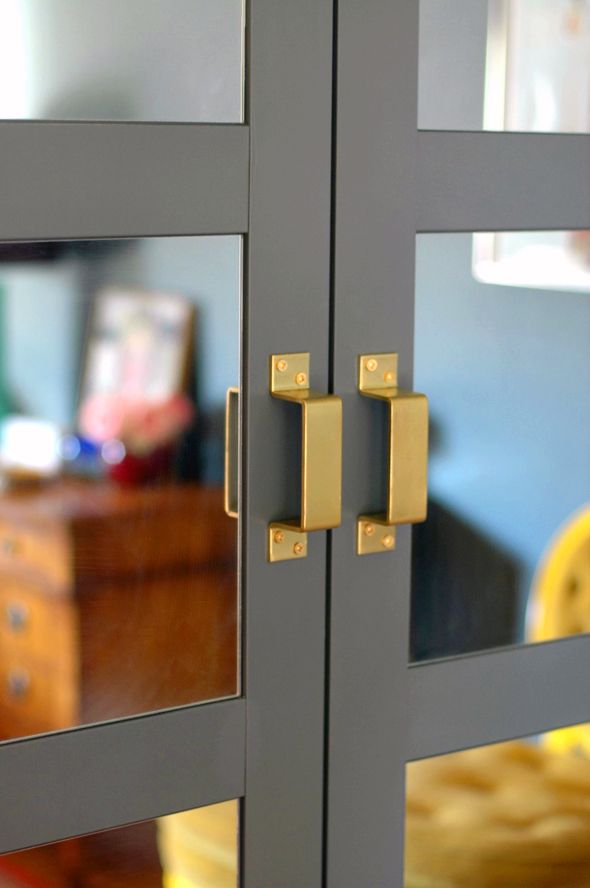
This spray primer is life-changing for those of us with itchy spray-trigger fingers! Especially if you've ever wanted to (successfully) spray paint knobs and pulls. In the past (like when I sprayed my laundry room hardware gold) I've been a little iffy about whether or not spraying hardware for kitchens or other high-use areas is actually good idea. I was always worried about chipping/adhesion issues.
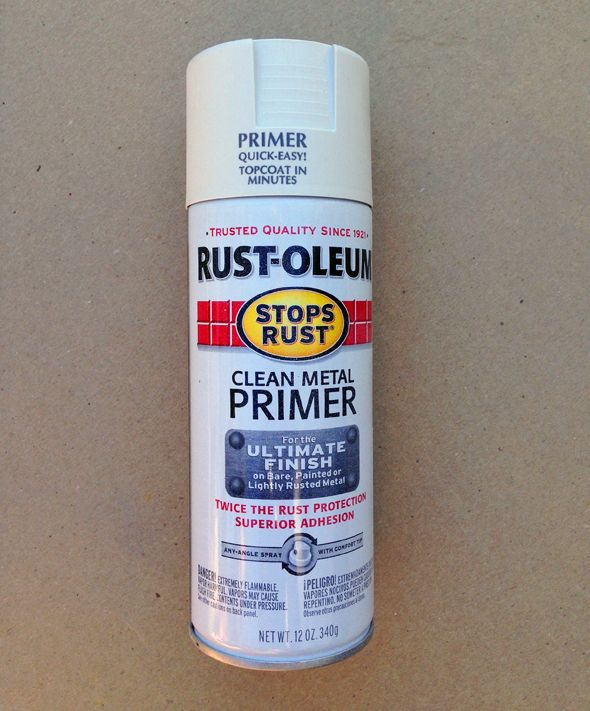
Seriously though, this Rustoleum spray primer, which is specially formulated for metal applications, works like a dream. It coats thickly, but evenly, and it really sticks to the metal and provides a great new base for your paint to hold on to.
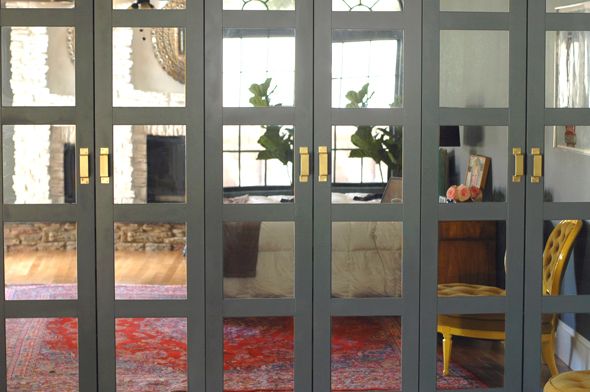
When I found these industrial pulls below, I knew I wanted to spray them to look brass and that I would need a really good primer to pull that off. And you know what they say - necessity is the mother of spontaneous purchases. And this one totally worked out for me!
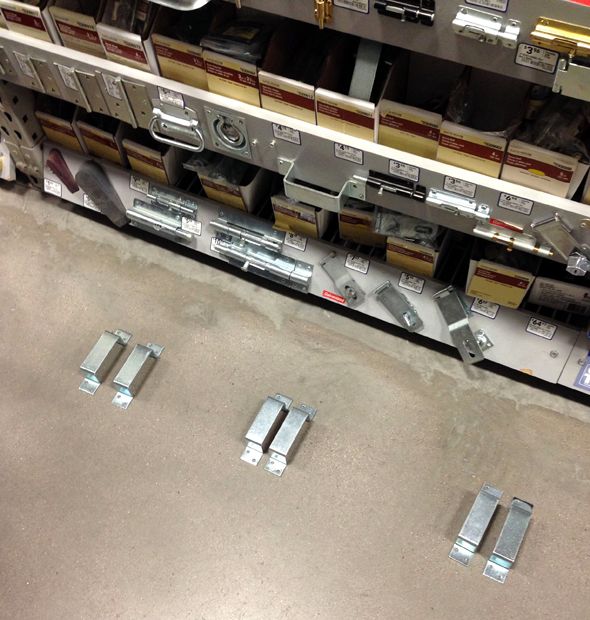
I found the pulls in the hardcore hardware aisle (not the same aisle as the regular knobs and pulls). This aisle has window sash pulls, latches, hinges and garage door pulls. It's usually the aisle that also has rope and and chain at Home Depot and Lowes. I love how chunky and squared off these were, but I picked up a few garage doors handles too, just for comparison. I think my gut was right about the square pulls, but I also think these others could be cool in the right application. Filing away for later!
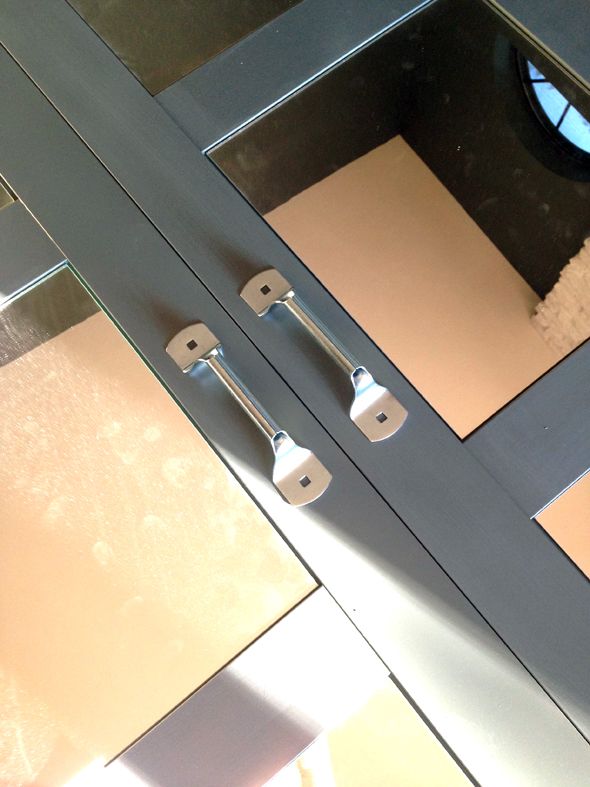
So, some people might want to use a deglosser or a TSP spray as a first step before spray painting hardware, but I sort of feel like the primer makes that effort unnecessary. Depending on the existing finish you're working with, deglosser can make for a slightly uneven finish - it can sort of gunk things up sometimes and you never really know when. So I think it's best to only use it if you have to.

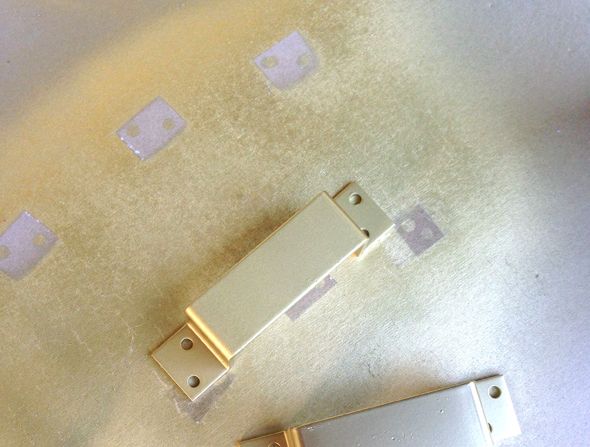
I did lightly sand the top of the hardware first, just to make sure there were no bumps or residue anywhere. Then I flipped them over and sprayed the underside first.
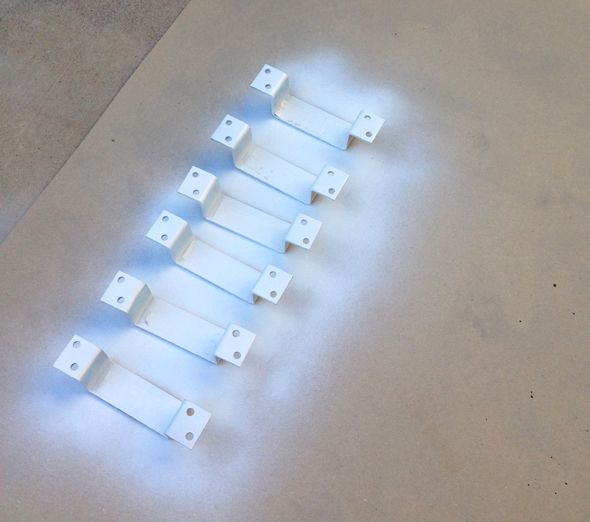
The key, always and every time you're painting anything, is to do multiple light coats with drying time in between. Even and maybe especially with your primer. After two good coats on the back side, I flipped the hardware over and sprayed the tops.
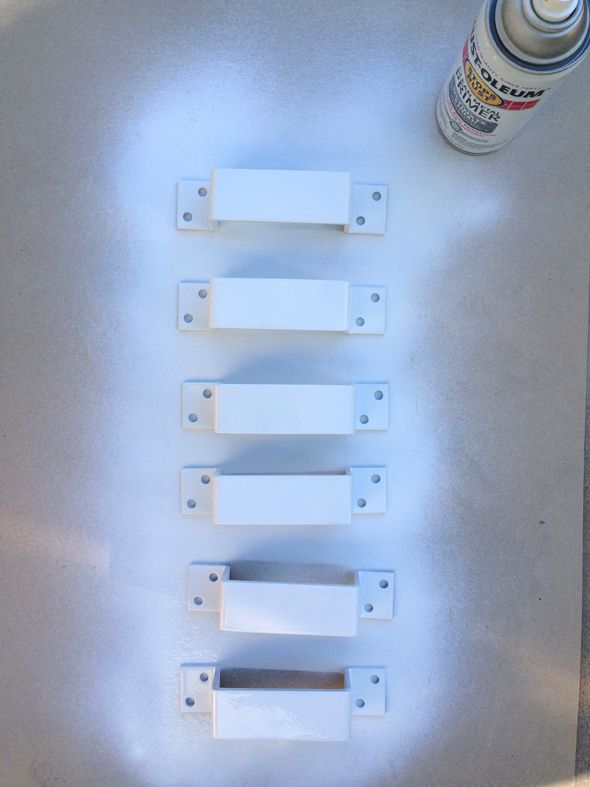
If you notice any bumps, drips or dust specs, leave them to dry and then lightly sand them off after the primer has cured. Often dust specs will just wipe away with a cloth after the paint has dried. Don't mess with wet paint!
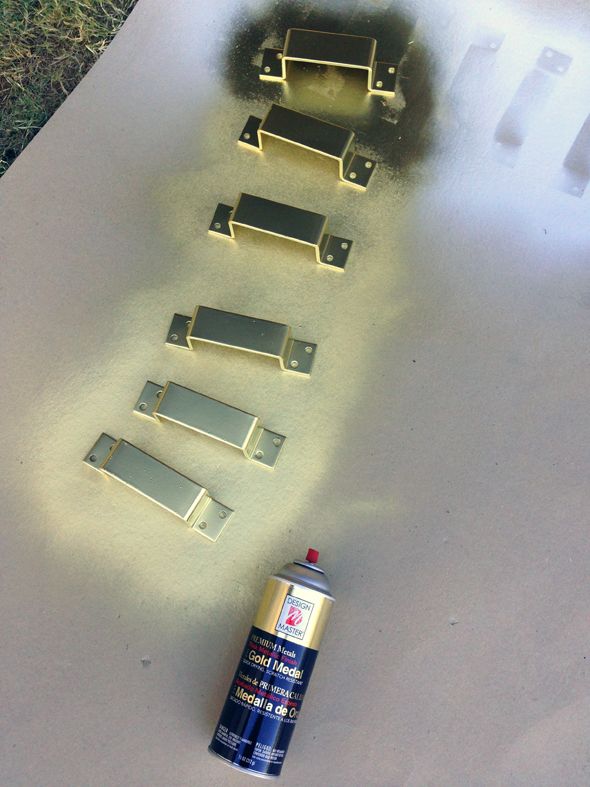
I repeated the same process with my beloved Design Master Gold Metal spray paint. Man, this gold is perfect! The paint is a great quality, but the color is spot-on for what we're all looking for in brass-like hardware, especially after it fully dries.
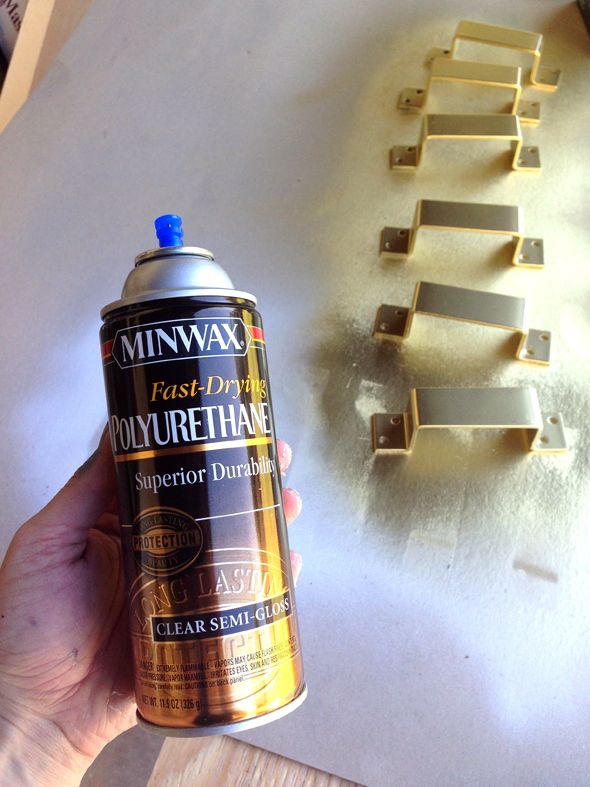
I did one final step and used a spray lacquer on the tops, just to give it an extra layer of protection. It did change the look of the finish a bit (it's a bit more shiny now and the extra layer changes the way the light refracts, so the gold is a touch less bright). The jury's out on whether or not I would repeat this step next time. It is nice to have that safety precaution though. Maybe I'd just try a matte sealer and do a really light coat?
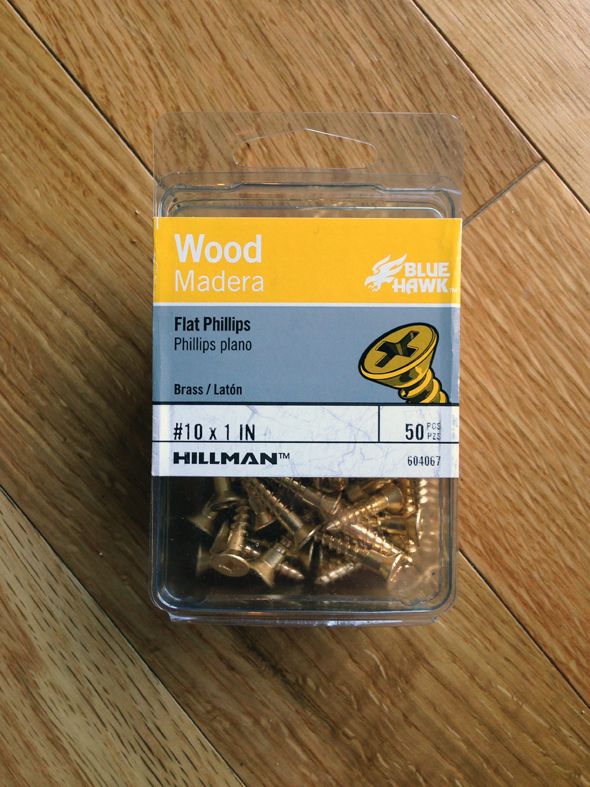
To install the pulls I bought a box of #10 brass 1" screws. It's a good idea to drill pilot holes first just to ensure you're installing them in the exact right spot. One of my pulls is slightly off and it's driving me nuts (must fix!!).
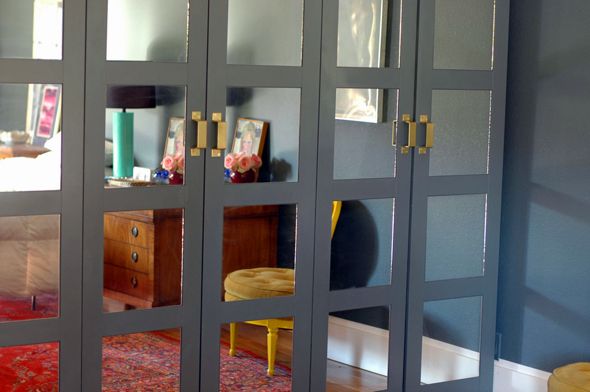
The sprayed pulls are holding up perfectly and I love them more the more I see them. My mind has been racing, thinking of other projects to do with that amazing metal primer. (that white board tutorial is coming up though! Stay tuned!)

0 comments:
Post a Comment