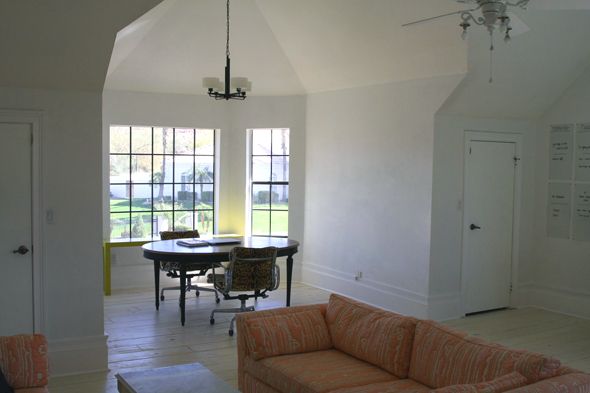
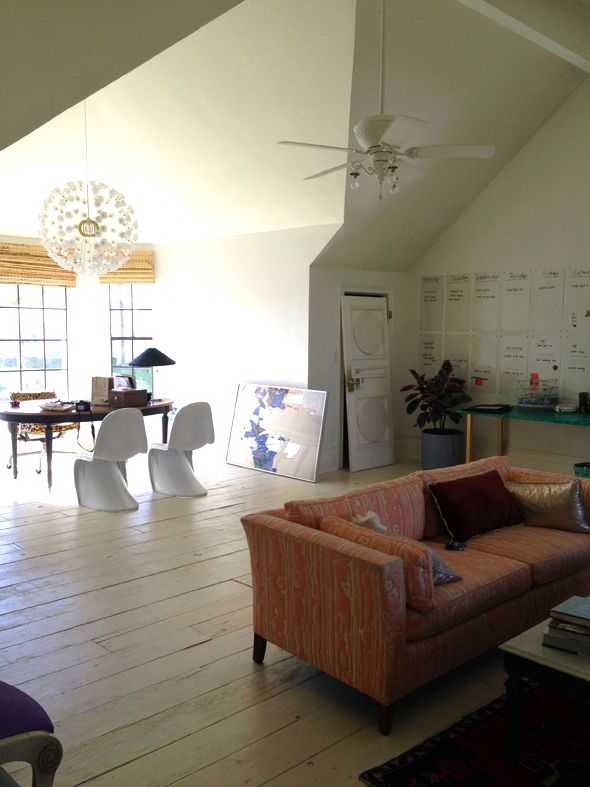
Here's a sort-of during shot of the studio, after we had painted the walls and done the floors and other trimwork, but before I did any decorating.
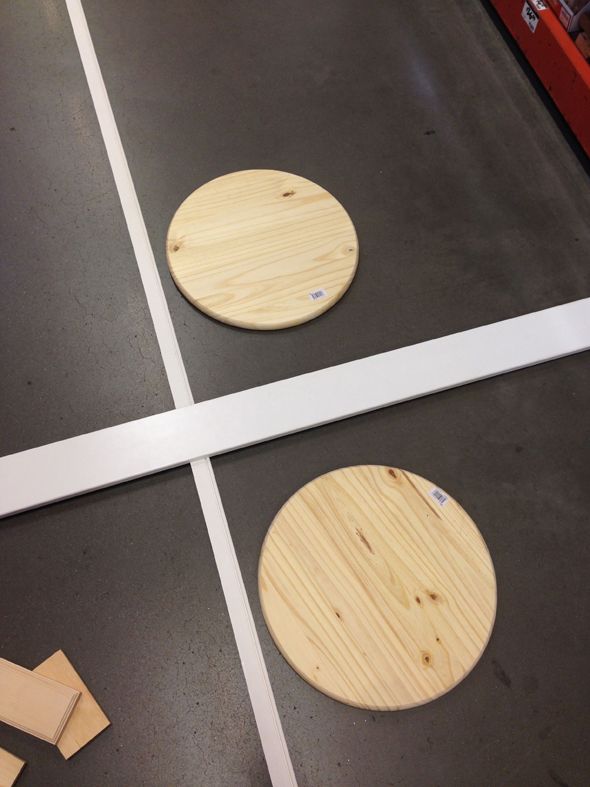
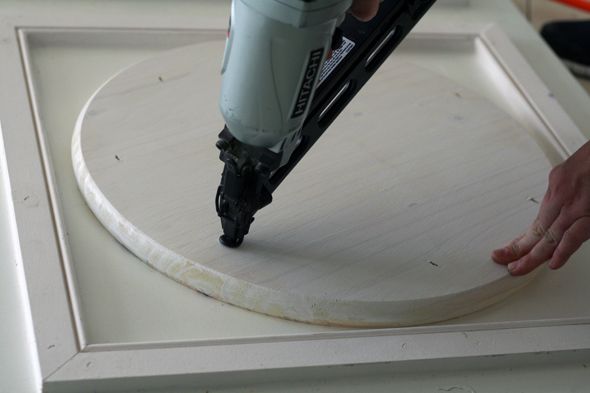
I remembered these wooden rounds from Home Depot and found some trim (it's called brick moulding) that was the same thickness as the rounds.
When I got home I experimented with tape patterns to try and figure out something that would work with the door proportions. It can be a little tricky to get it right with the door hardware and while leaving a sort of toe kick/kick plate area at the bottom. These doors are short too, so it felt extra difficult. At first I tried to make three circles work and they didn't really fit, but mostly it just looked like a giant stop light. Not cute.

I knew what my circle + square dimensions had to be, so I cut out four of the squares first for the two doors. Then I played around with the scrap moulding to figure out a rectangle for center area. I tried a few different sizes and even tried a rectangular panel to match the layering of the circle + square, but in the end I decided to keep it simple and small with just the brick moulding.

So the real trick with adding moulding to any door is to spend your time on the top shape and get that one perfectly perfect and squared with the edges of the door. And then the other shapes can just be placed using the lines of the first shape. Hopefully your first square is not at all crooked, but if it is, it's better for the other shapes on the door to be equally slightly crooked. That sounds weird, but your eye won't really notice if the whole thing is just a little tiny bit off, but if the individual shapes have been corrected and are off in relation to each other, that's when thinks start looking wonky and bad-DIY.
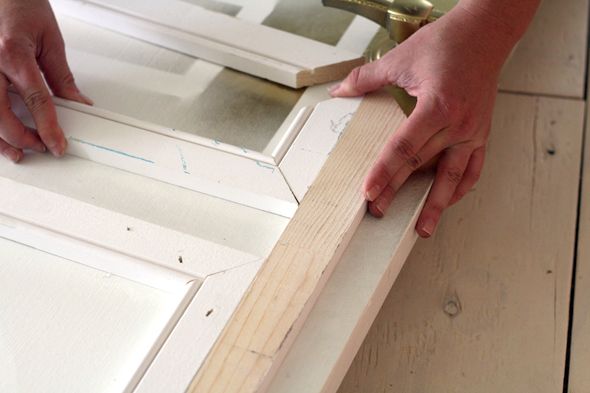
So, after I measure out and spend a lot of time getting that top square right, I just used a piece of scrap wood to line up the trim for the next square. The line will be perfectly even and straight this way.
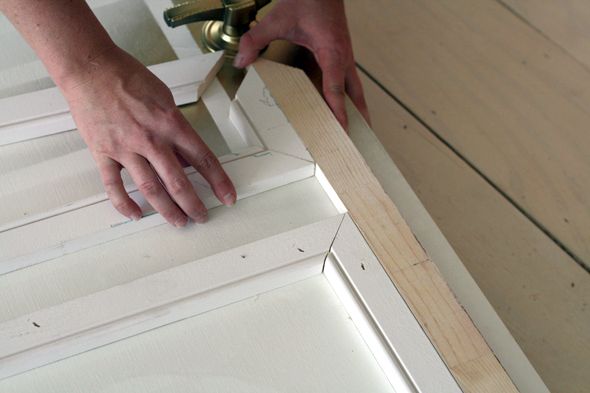
I nailed on the paneling with my angled nailer with 1 1/4" brads, since the wooden round and brick moulding were so thick. And then everything got caulked and a light sanding.
I guess I didn't take a photo of this step, but before I painted the doors and paneling, I sprayed the door handles gold outside (without removing them first! Rebel!). I also replaced the old door hinges with new solid brass ones.
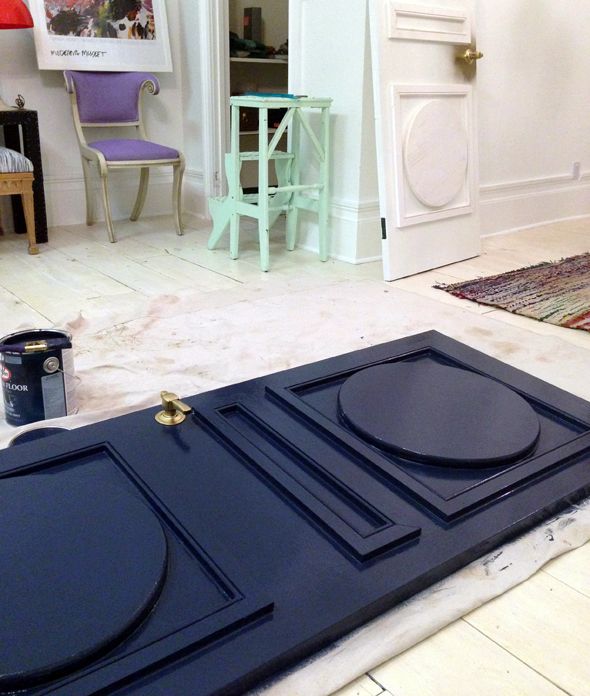
I regret not taking the time and effort to spray the doors with my Critter spray gun, but I was up against a time crunch, so I just brushed them with oil-based paint tinted to Benjamin Moore's Gentleman's Gray, which is actually a really beautiful, deep navy.
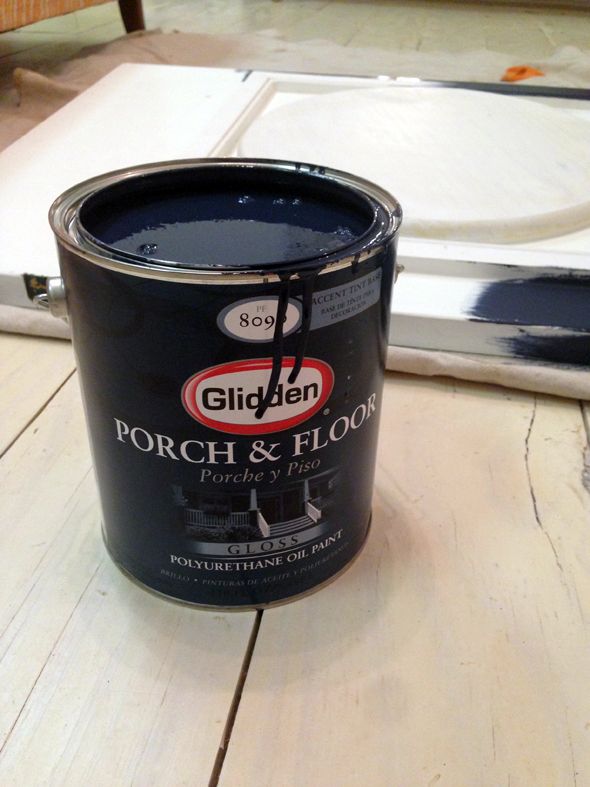
The finish is not bad since I laid the doors down to paint them and oil-based paint spreads really beautifully. But it's not exactly perfect like it could have been if I had sprayed them. :(
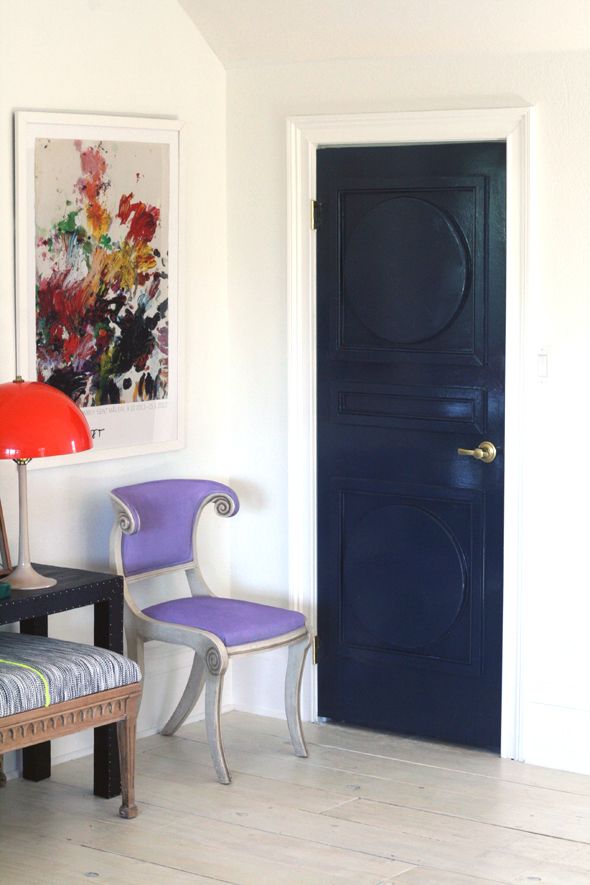
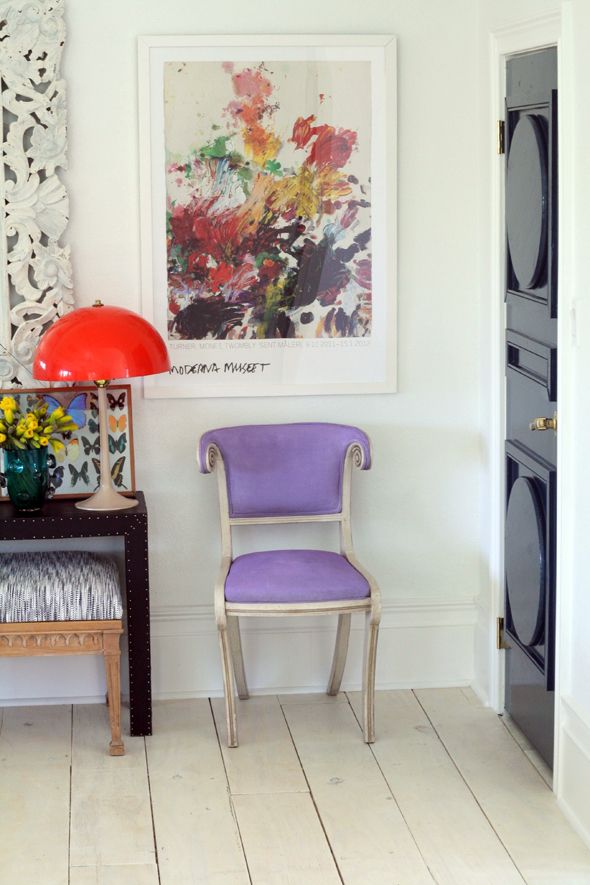
I'm still happy with the doors though! They make the weird closets that flank my desk sort of a fun part of the room now. Eye-sore-turned-room-feature is my favorite kind of DIY.
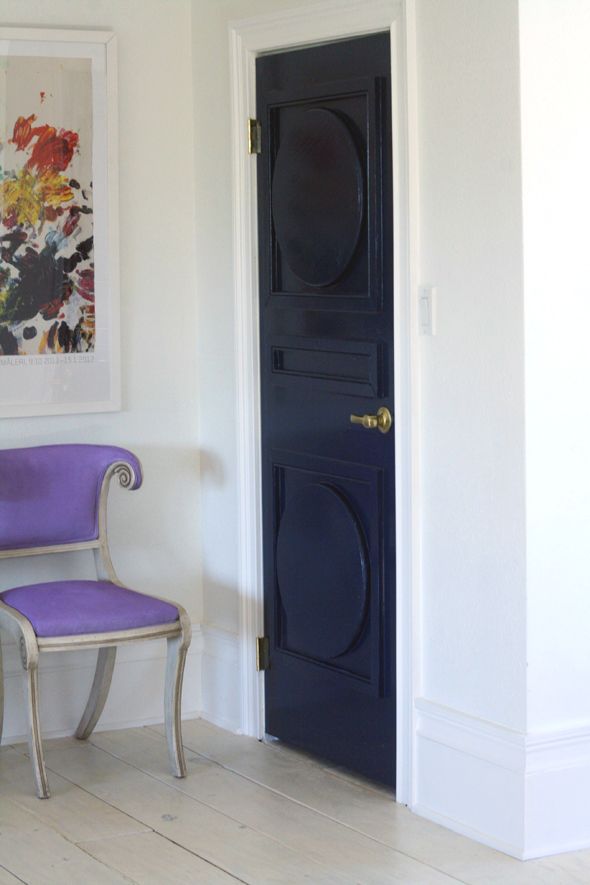
I especially like how the light catches the dimension of the paneling in such a pretty way. I love all the shadows.
0 comments:
Post a Comment