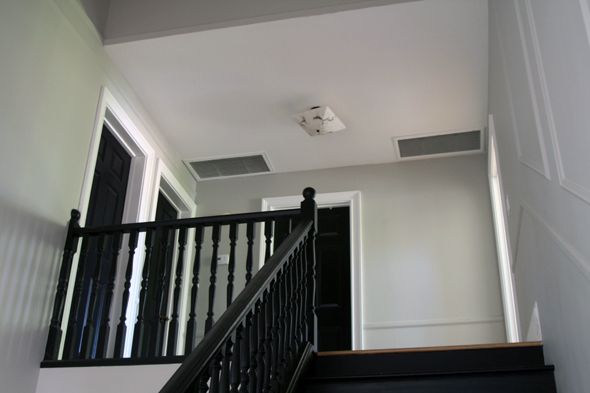
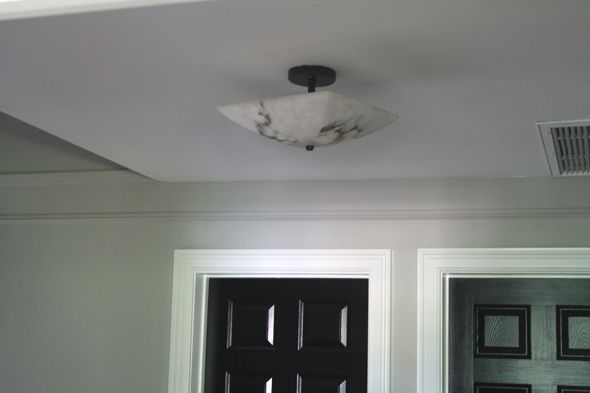
So for this lighting DIY, I desperately needed a new fixture for the upstairs landing. The old one was a big bummer, and after splurging on a new Arteriors chandelier for the entry, I didn't want to spend hardly anything on this light. I remembered posting this idea years ago and it felt like the perfect quick solution for our landing light!
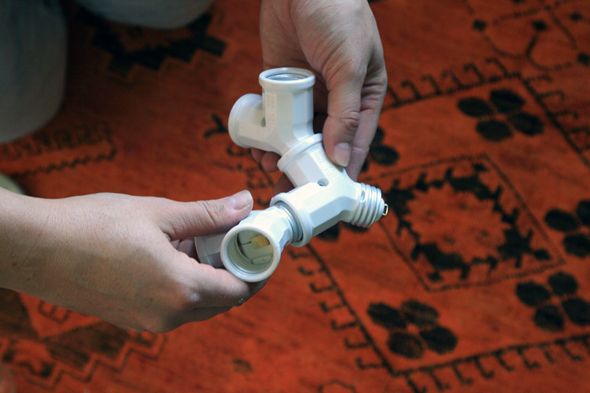
I picked up 12 socket splitters at Home Depot. They were about a buck each, in the electrical aisle by all the outlet and switches. In the same aisle, you can find a simple porcelain canopy socket for about two dollars.
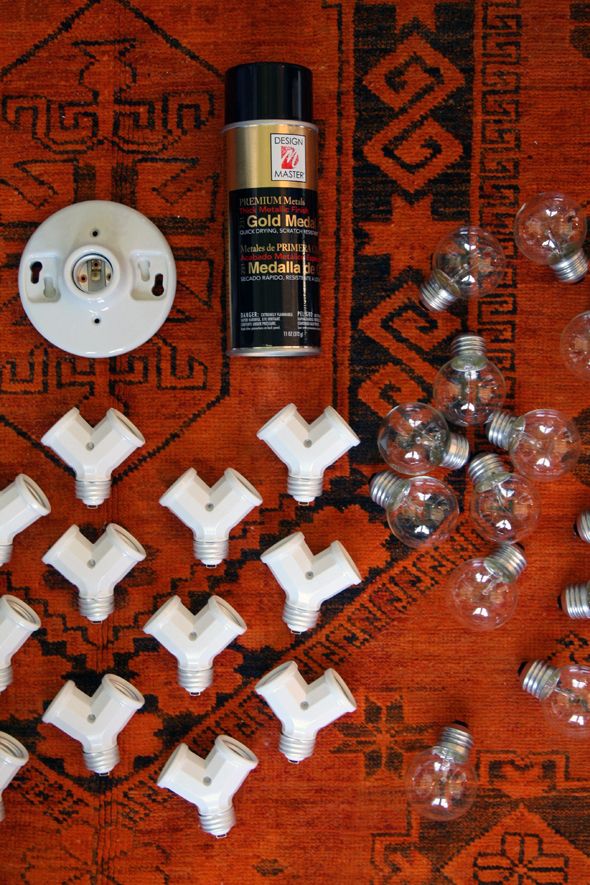
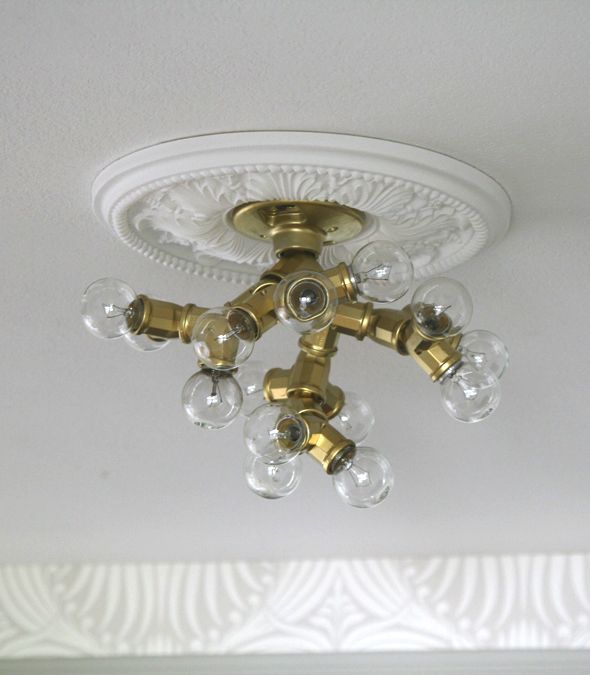
After taking all the stickers off, I screwed in the sockets and figured out the overall shape I wanted for the light. What I love about this project is you can shape the light however you want. You can make it more organic and branch-like or you can keep it pretty compact like I did. The ceiling on our landing is not super high, so I needed to keep the fixture short.
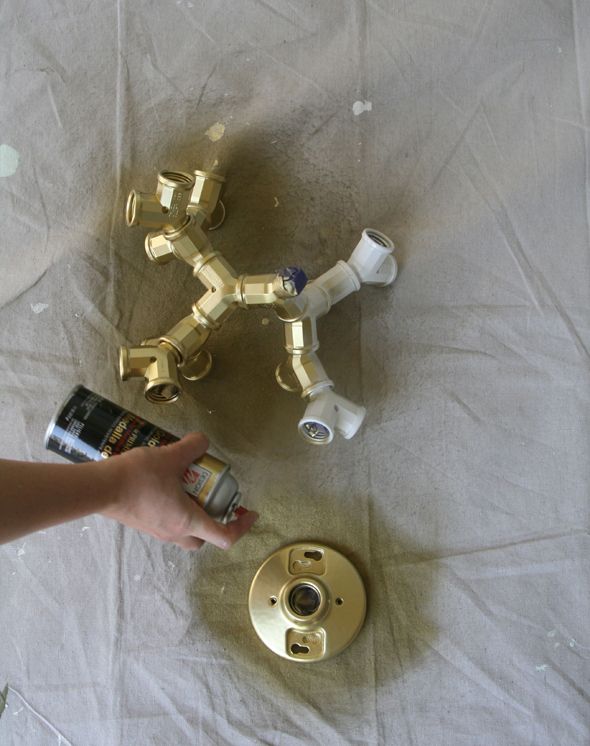
I spray painted the canopy and the assembled fixture (which is easier to spray when it's put together) and I used a little painters tape to protect all the electrical parts. After two good coats and drying time, the light was ready to install.
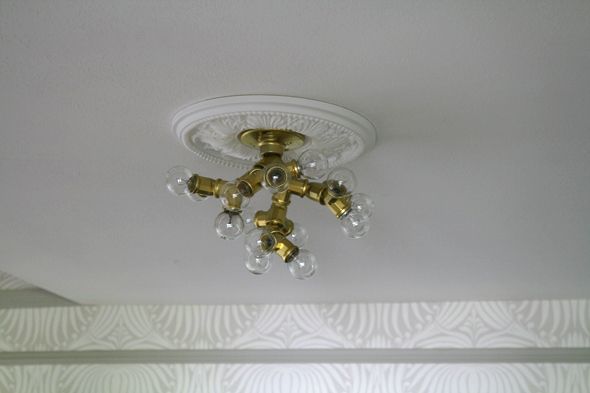
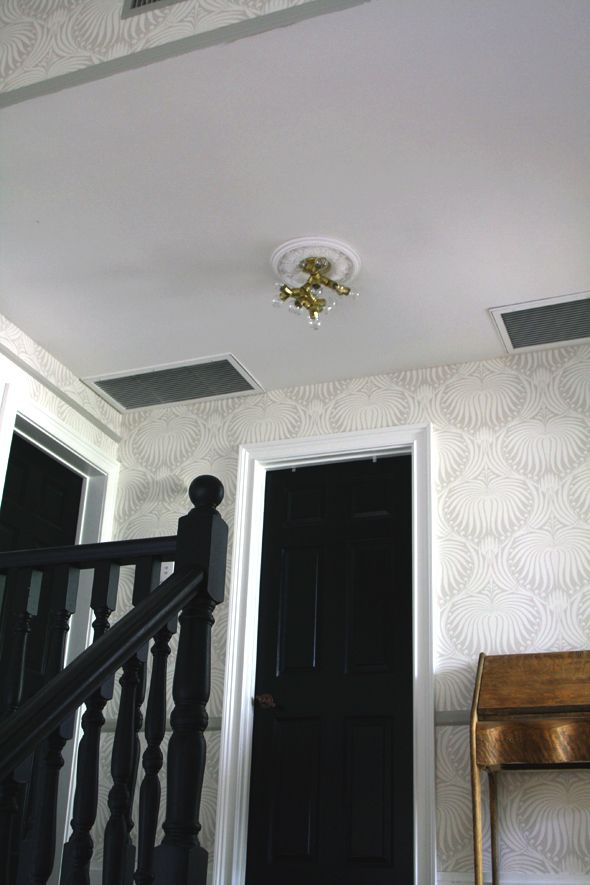
I also ended up buying a ceiling medallion from Home Depot. I like the way it finishes off the fixture and makes it look a little more fancy. I think it's so pretty to mix really traditional things with more modern ones.
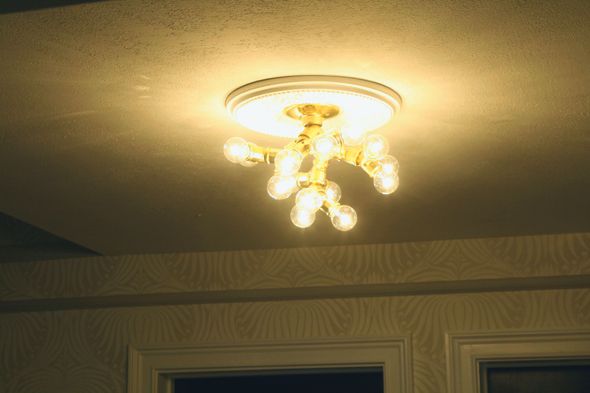
Twelve of the splitters makes a pretty good-sized fixture that produces quite a bit of light. I used I think fourteen 25-watt bulbs. It's so sparkly! :)
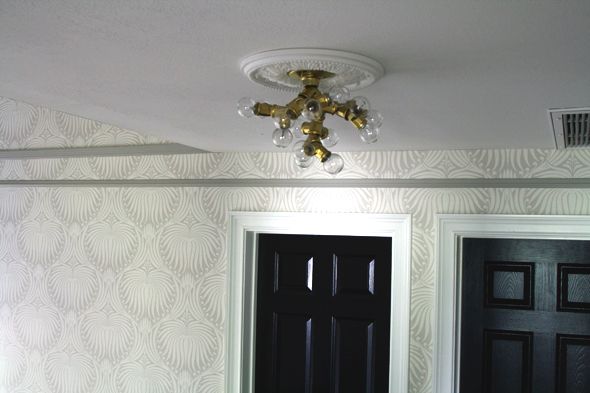
And I LOVE how it looks with our new wallpaper! Such a quick and cheap project, but I am so happy with how it turned out!
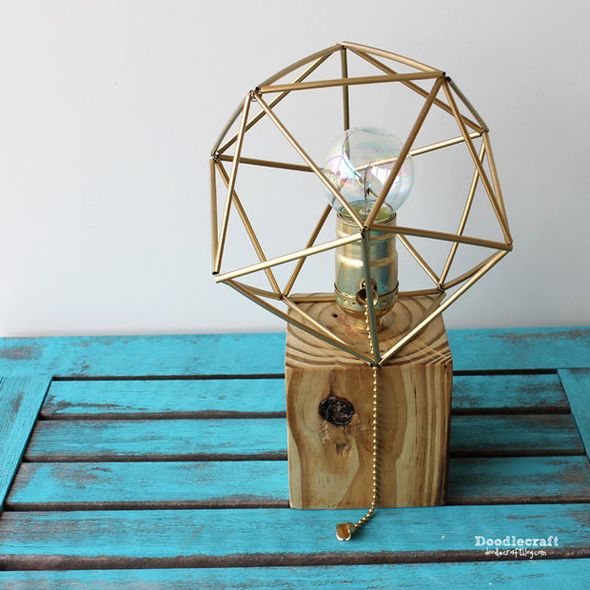
PS The people at The Home Depot who invited me to host this upcoming DIY workshop sent me a link to a lighting contest they did with Instructables.com. The winning project was this pretty reclaimed wood lamp. That geometric shade is made from straws! Very cool!
0 comments:
Post a Comment