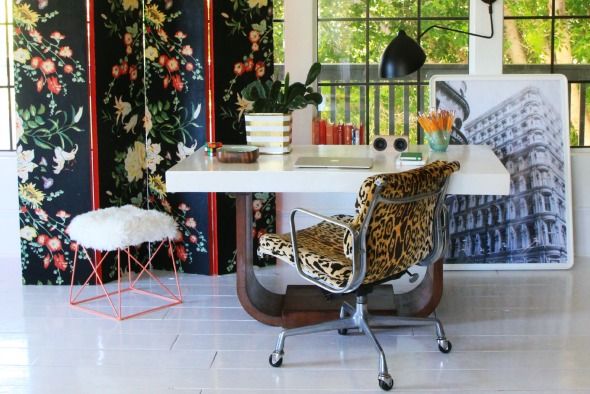
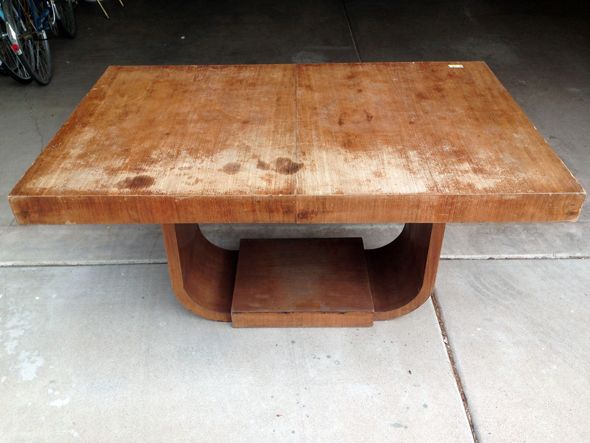
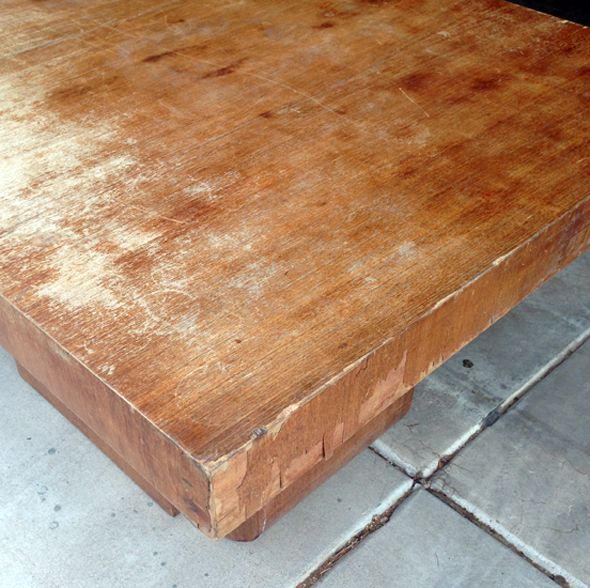
A few weeks ago I found a desk at Goodwill that was in not-so-great shape. The veneer on the table top was badly chipped and what was still there had pretty intense water rings and discoloration. The table base though, which is what really caught my eye in the first place, was in pretty decent shape, so I decided to buy the desk and cross my fingers that I could salvage the top.
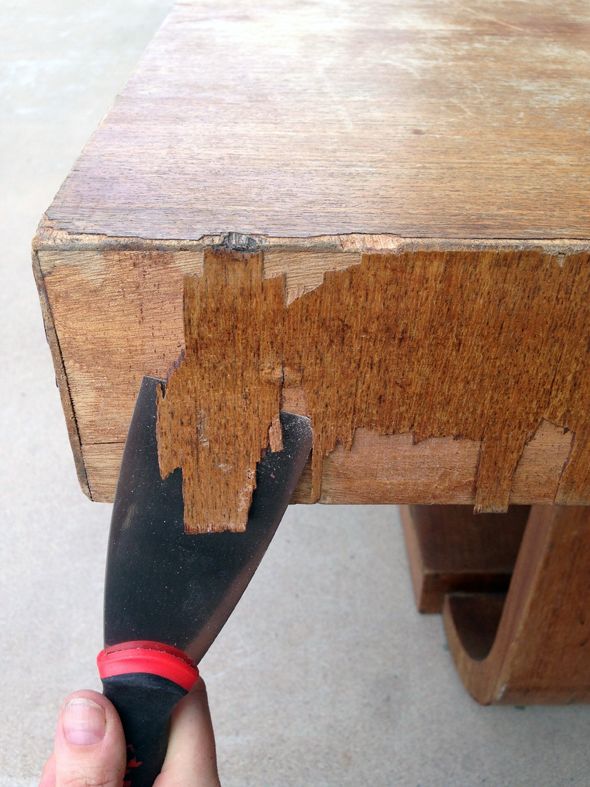
I took a closer look at the veneer when I got the desk home and quickly realized the only real choice I had was to remove the worst of the veneer and paint the top.
To make the surface as smooth and even as possible, I whipped up a couple batches of Bondo that I applied in thin coats.
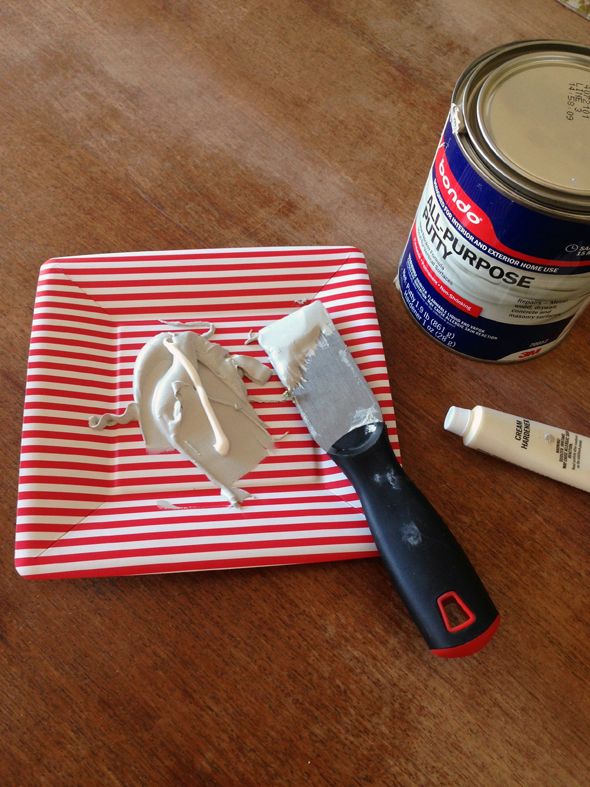
Bondo feels a little hardcore the first time you work with it (so, you know, maybe don't try Bondo-ing an entire staircase like I did). It's like epoxy in that you have to mix in a hardening cream and that you have only a few short minutes to apply the mixture before it starts to harden (also it has a very... distinctive smell). But, truly, it's not that scary once you have a batch or two under your belt - and it repairs and seals like nothing out there.
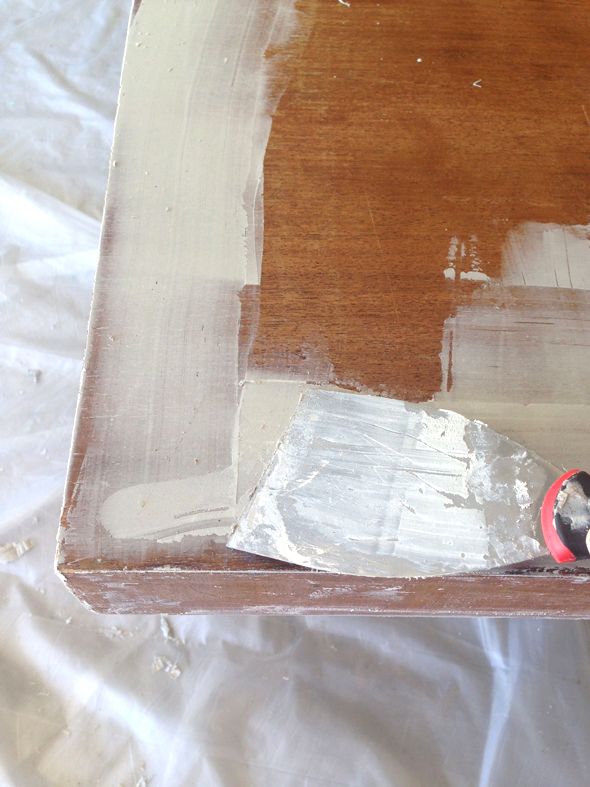
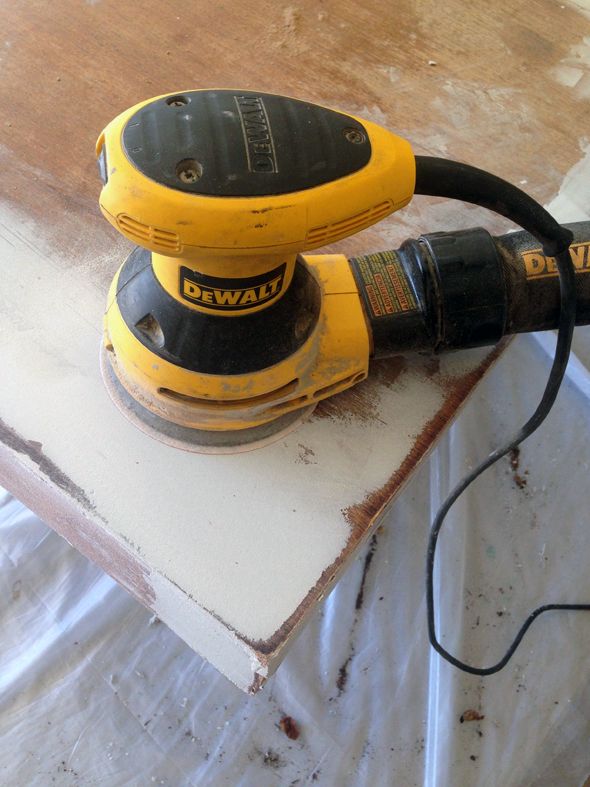
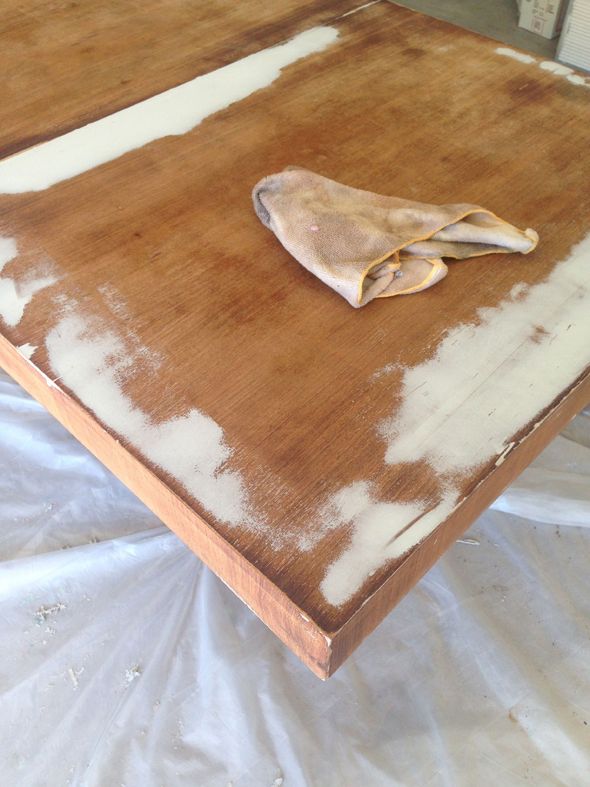
I Bondo-ed over the center seam (since the table didn't come with a leaf) and around all the rough spots, waited a good 30 minutes or an hour before sanding and then wiped everything down. There were a few places I missed the first go-round, so I made one more quick batch of Bondo and did some touch ups before painting the top.
I just used my trusty standby of Rustoleum's pre-mixed enamel line. I wanted a creamy white this time so I made my own color - about half of their white with half of their Almond color. It's so easy to get a pretty finish brushing on oil-based paints when most of the surface is horizontal. The paint spreads and smooths out so beautifully. I put on a pretty thick coat on the table top and applied two or three lighter coats on the vertical edges, to help avoid drips.
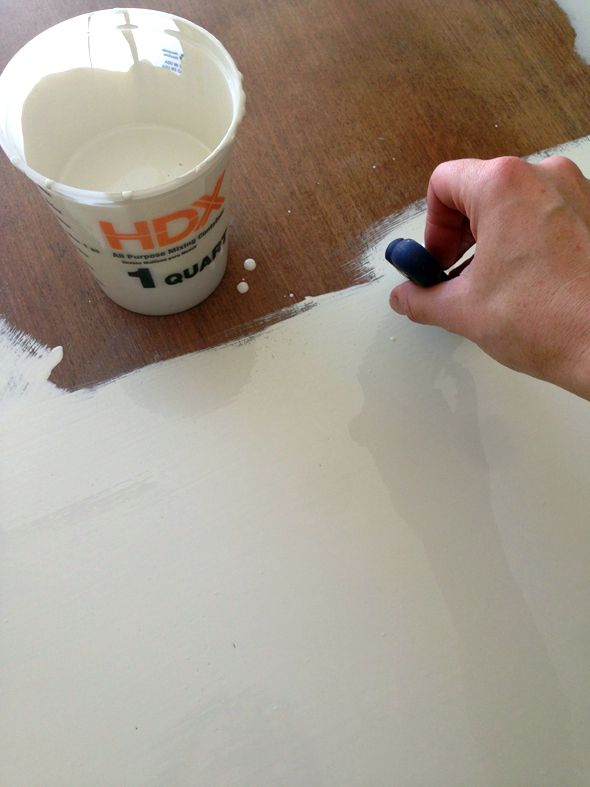
Oil-based paint takes a long time to dry, but the hard-wearing (and water-repellent!), extra beautiful finish is worth all the effort to me.
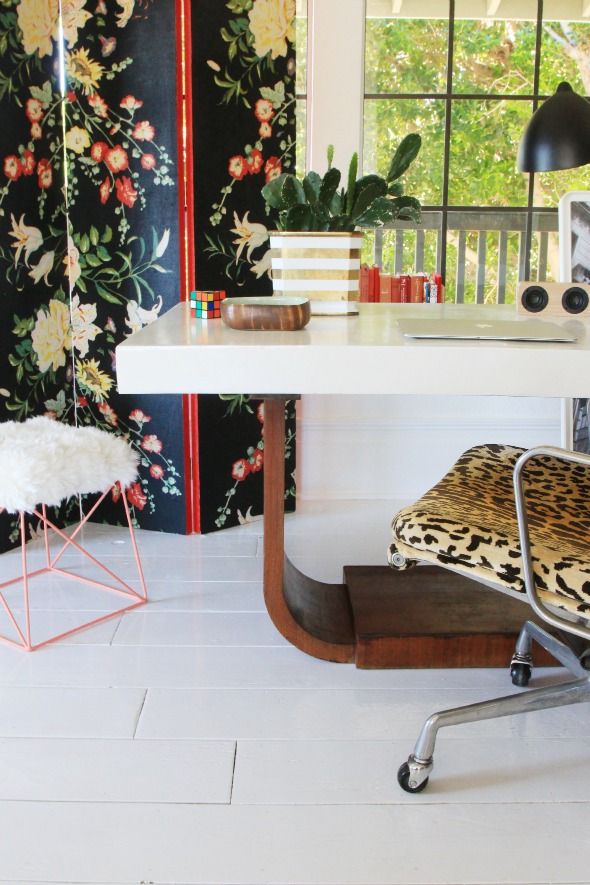
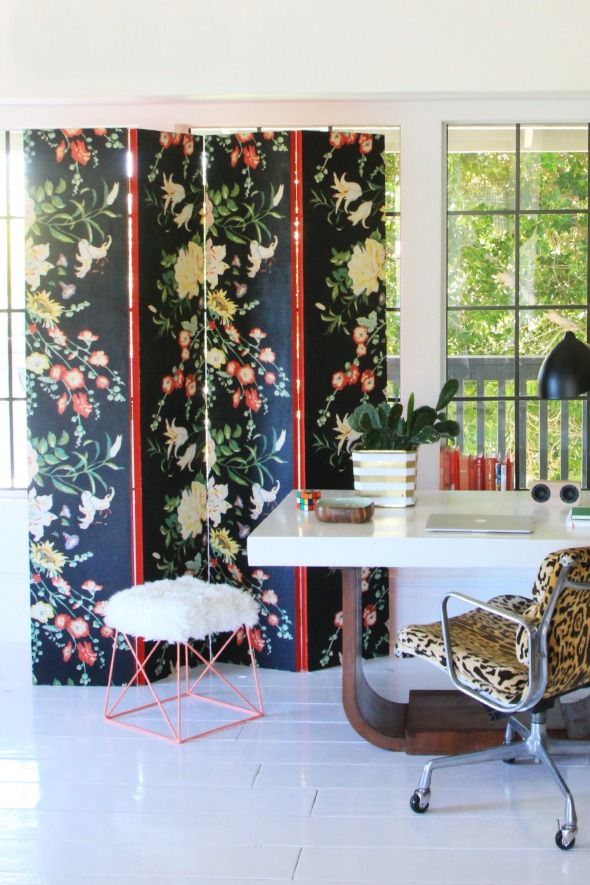
The wood base is still in "vintage condition" but it cleaned up pretty well with a quick wipe down of Restor-A-Finish on a rag and that was pretty much it! It's so fun to have a new, super unique desk in my studio for almost no money!
0 comments:
Post a Comment