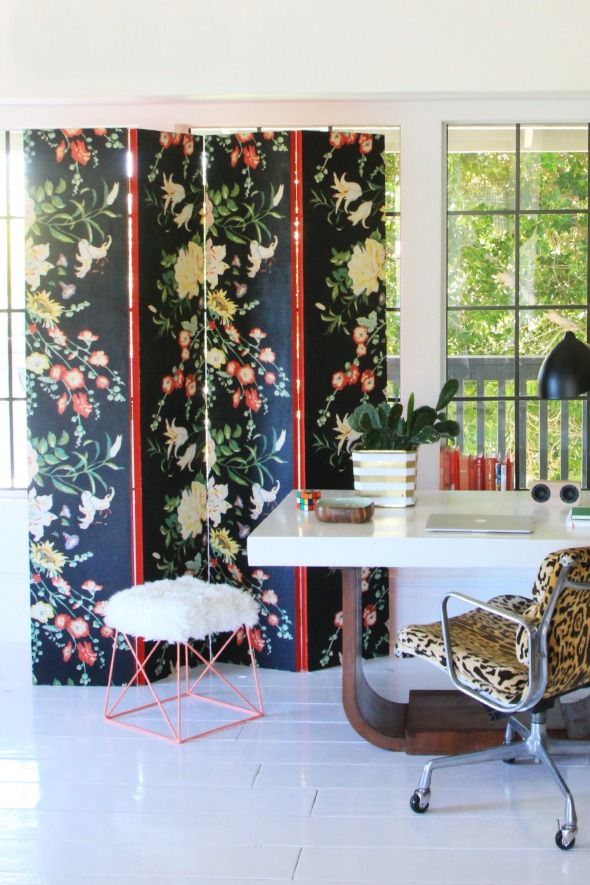
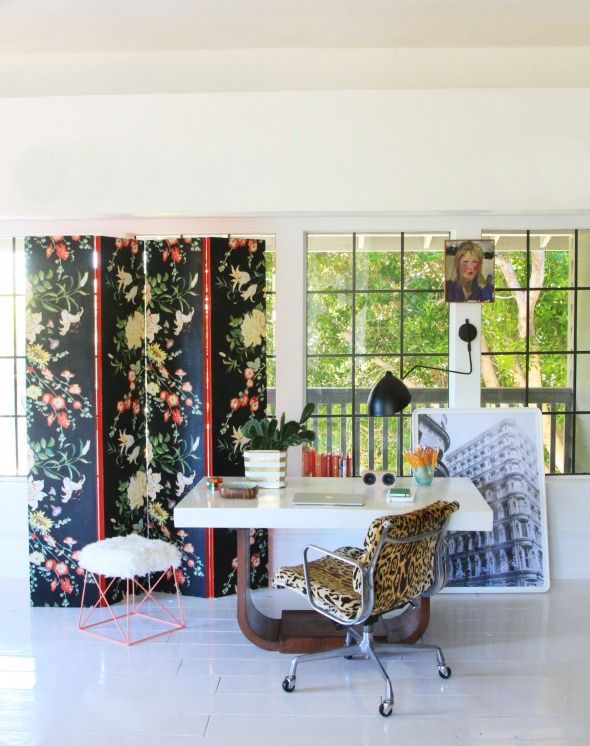
I've always loved a good folding screen! They are super useful and versatile for large homes and tiny apartments alike. And the best part is they are a cinch to make yourself using inexpensive hardware store bifold doors!
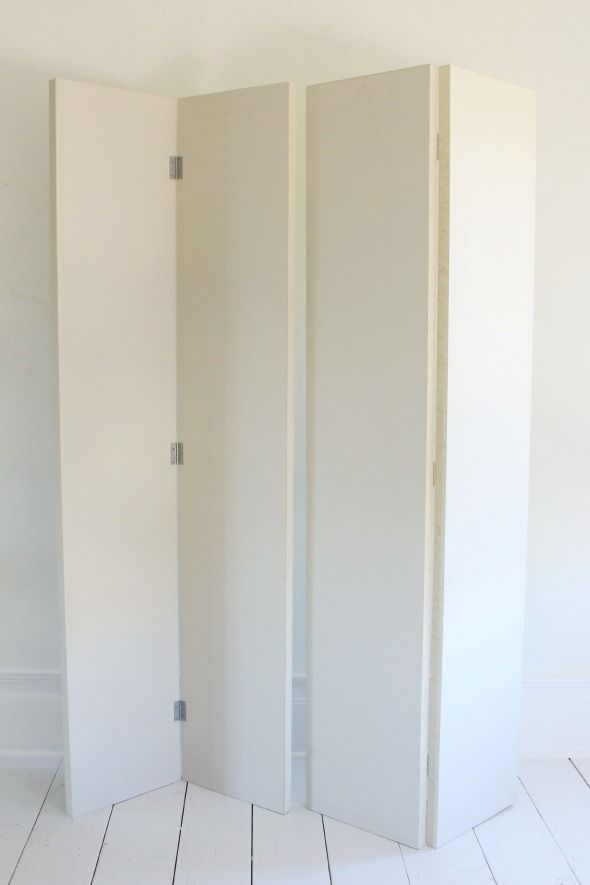
I got these flat masonite doors at Home Depot for $40, which was cheap enough, but looking back I probably should have checked Habit ReStore before buying new. They sell a ton of closet doors just like these for just a couple bucks usually.
The masonite was pre-primed, so we rolled on a good coat of my forever-favorite Safety Red enamel paint as a first step.
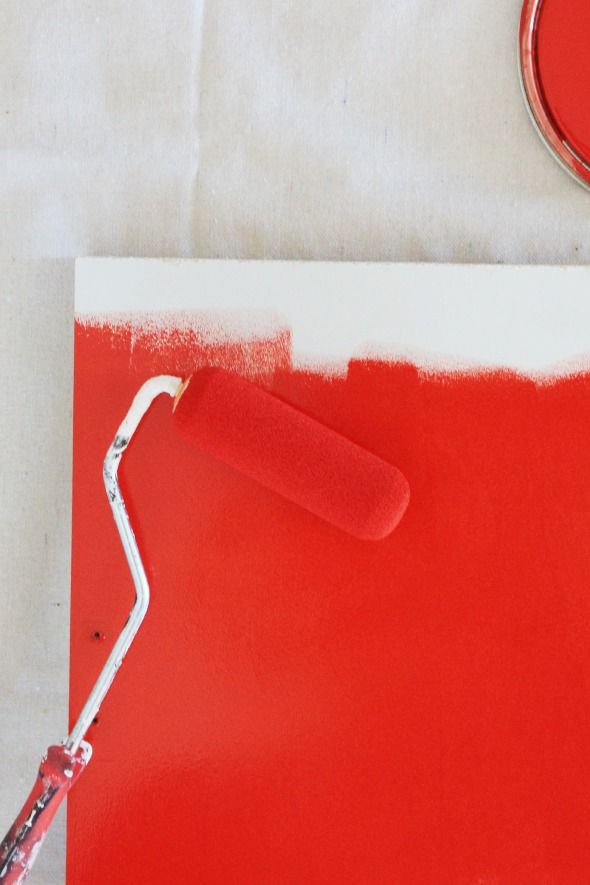
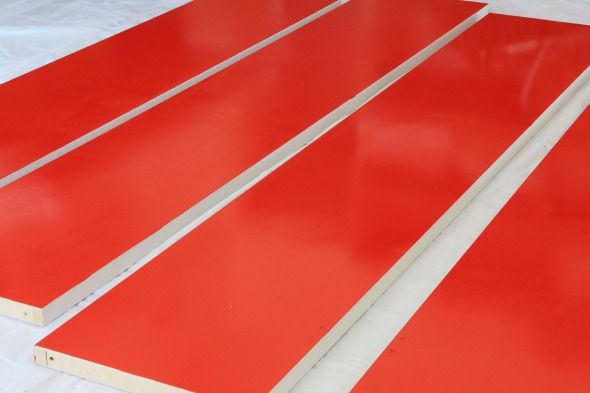
We rolled on the backs first and then all the edges. We left the fronts white for the floral fabric application.
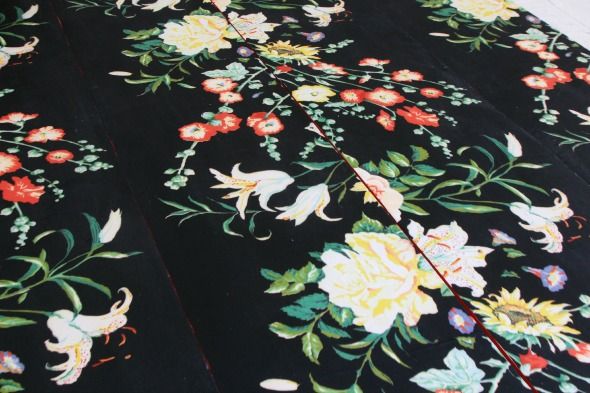
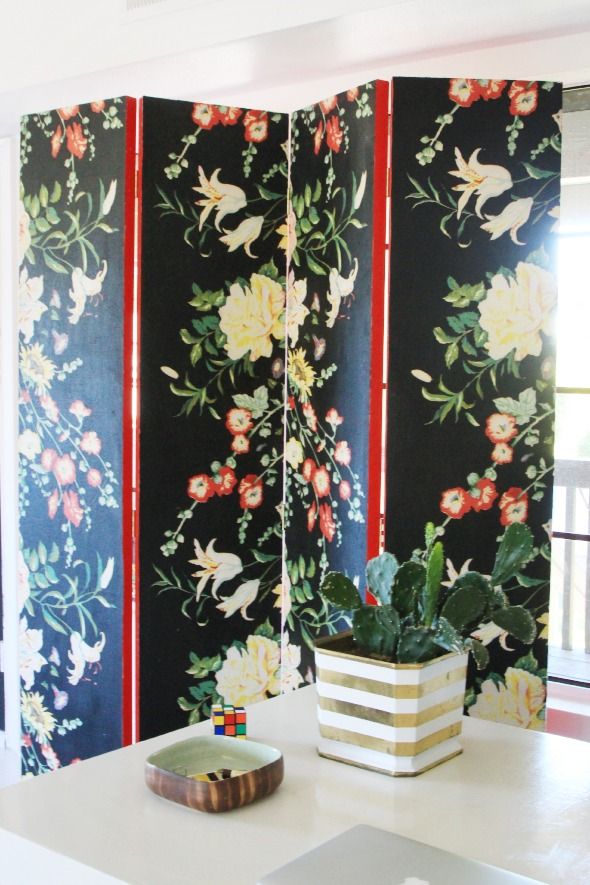
I had yards and yards of this pretty Brunschwig and Fils floral that was the perfect candidate for the decorative fronts of the screens. I should have taken a photo of the full width of the uncut fabric, but it's basically a thick wall of florals in the center of the pattern, with lots of black negative space on the edges. Since each door panel is only 15" wide, we were able to make the most of the black space (which felt a little more modern to me) and then create a new pattern with placement of the fabric repeats.
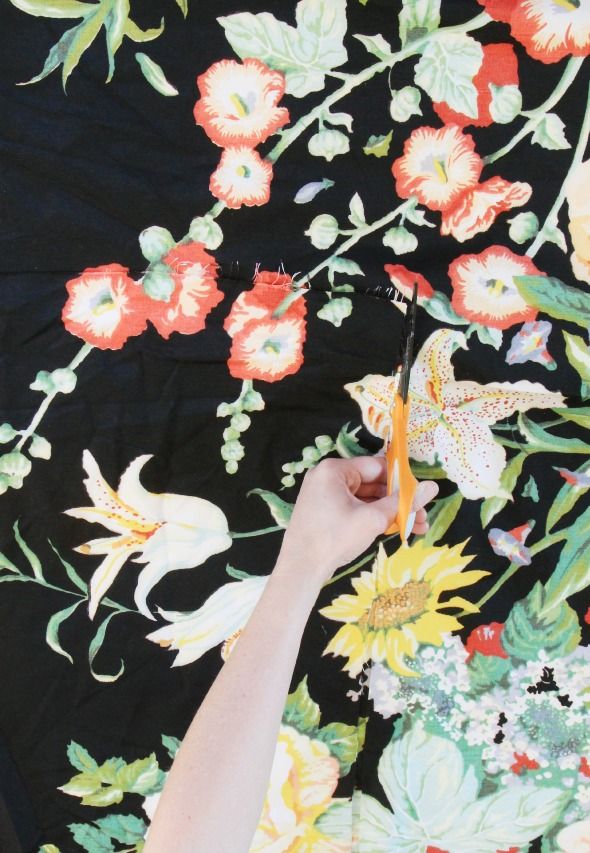
I wanted the fabric to look almost wallpapered, so we cut two sets of each pattern repeat, so there would be two sets of two matching doors.
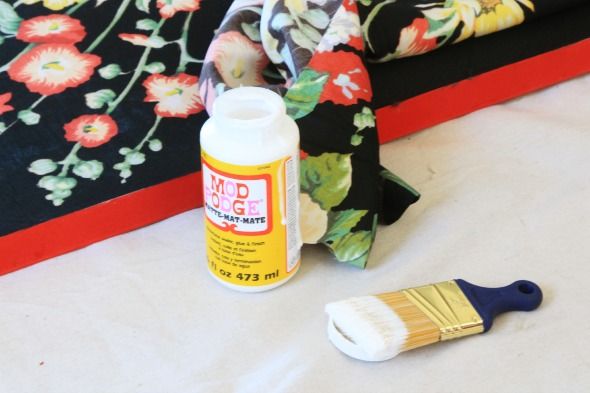
The fabric decoupaged chair project worked out so well that I was quick to pull out the Mod Podge again on this project.
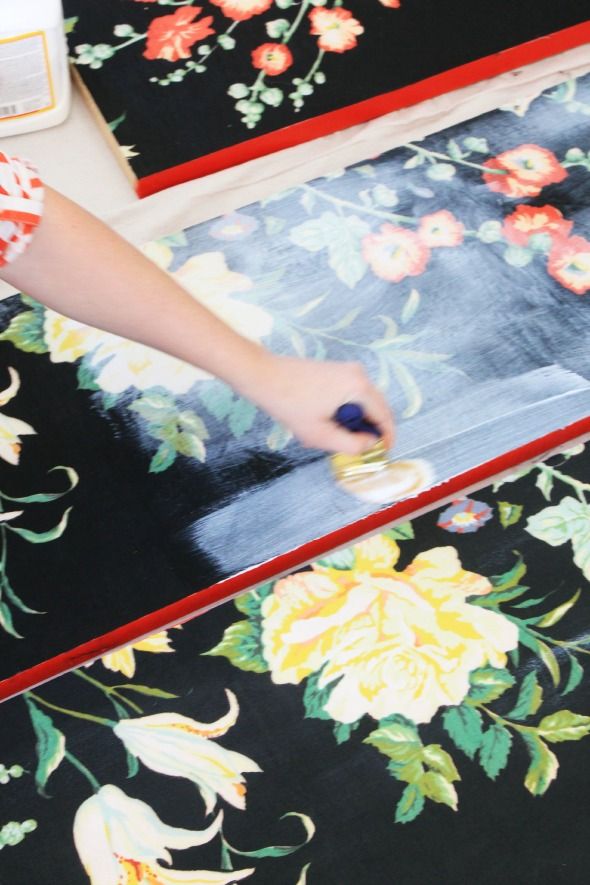
I brushed on an even, thick coat on the unpainted side of the doors, about two feet at a time.
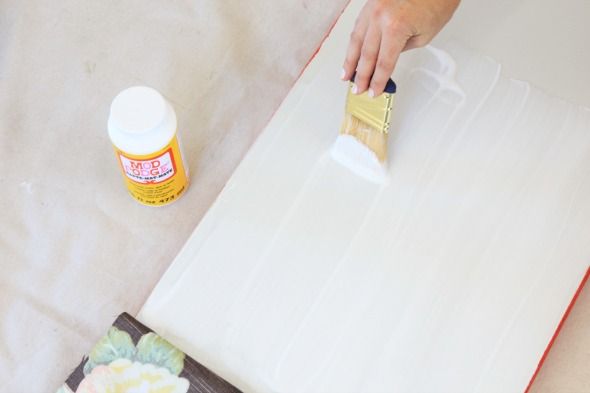
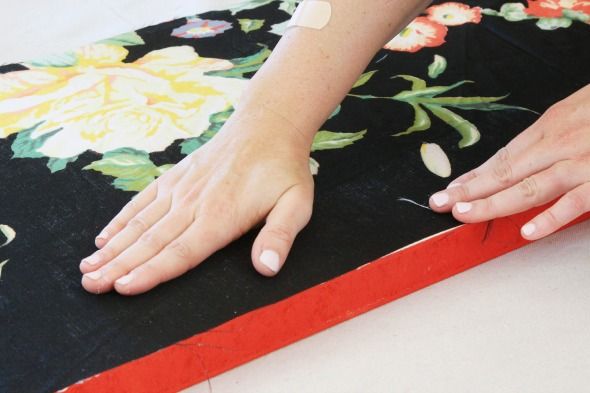
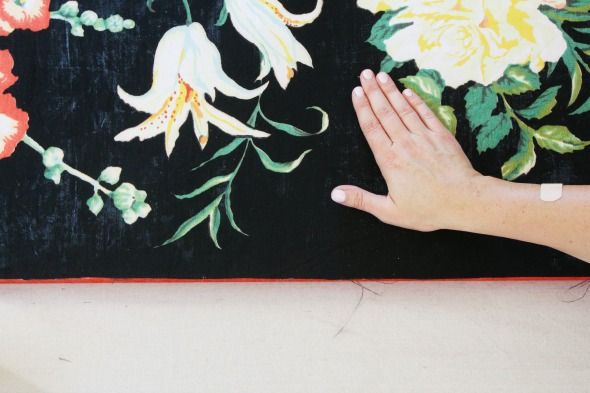
I used the black edge as my guide and smoothed out the fabric as I went. It's really important to get out all the air bubbles before the Mod Podge dries.
Once the fabric had dried a bit, I cleaned up the edges with an X-acto knife, just like with the chair project.
Then we brushed on a top coat of Mod Podge, to even out and seal the fabric, especially around the edges.
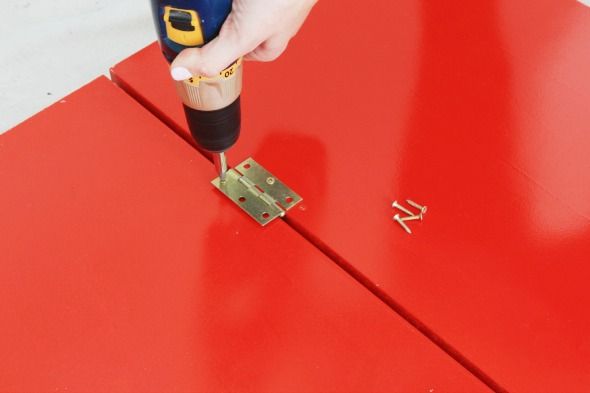
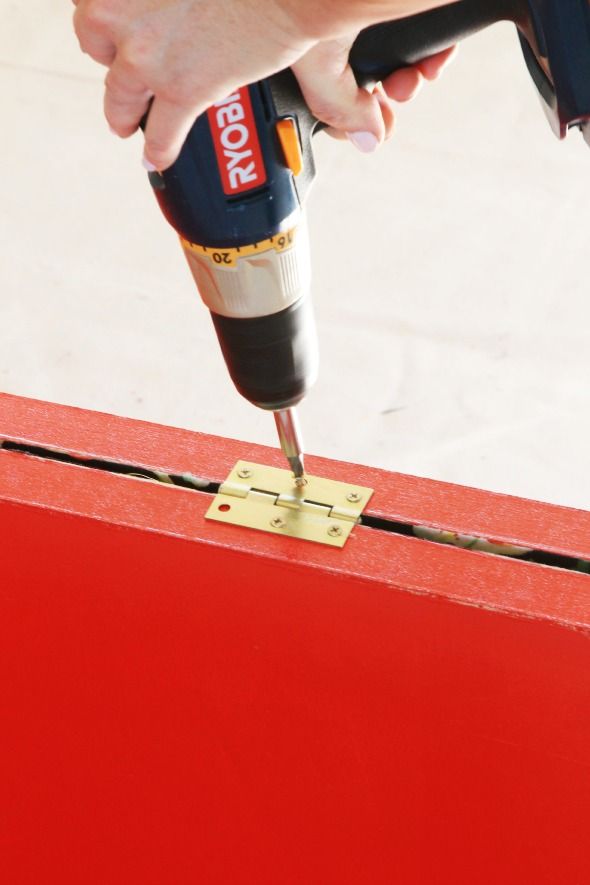
After the top coat had dried, we flipped the doors over and screwed in new brass hinges. Each pair got three hinges installed on the backs, just like this, with the spine of the hinge facing down:
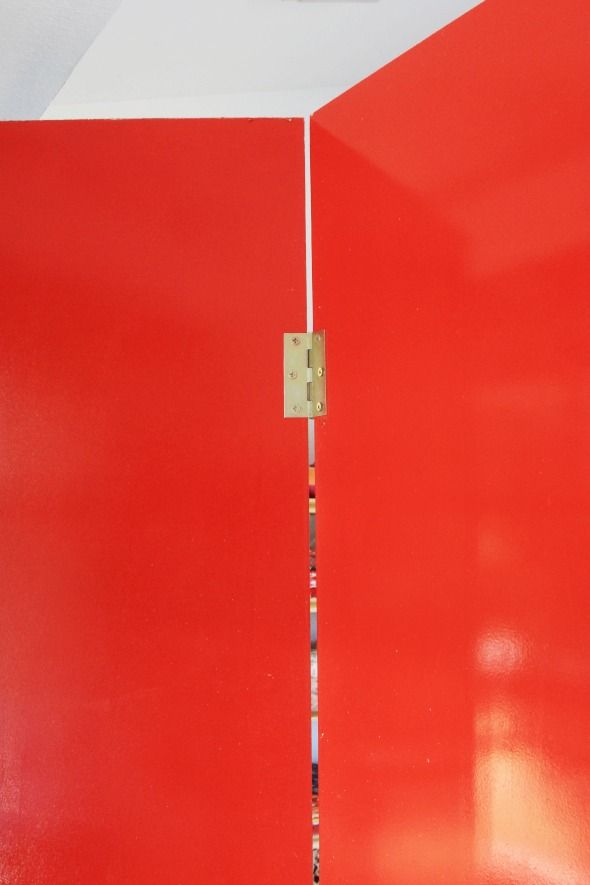
And then the two pairs were connected with three hinges installed inside the inner lip of the doors, so that the doors would zig and zag and fold correctly. Again, the hinge spine was facing down here.
Isn't the brass so pretty against the glossy red of the door backs?
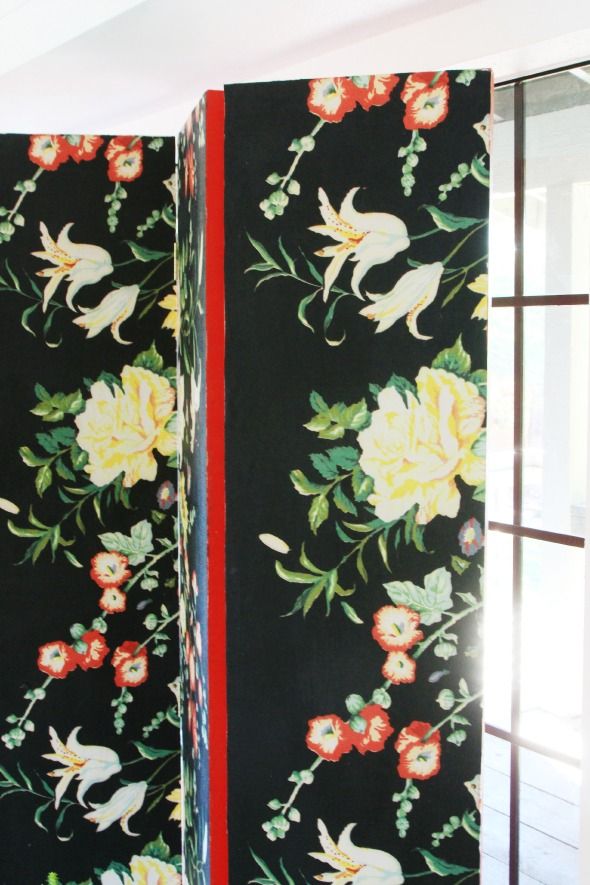
And the pop of red peeking out from behind the black floral is so striking!
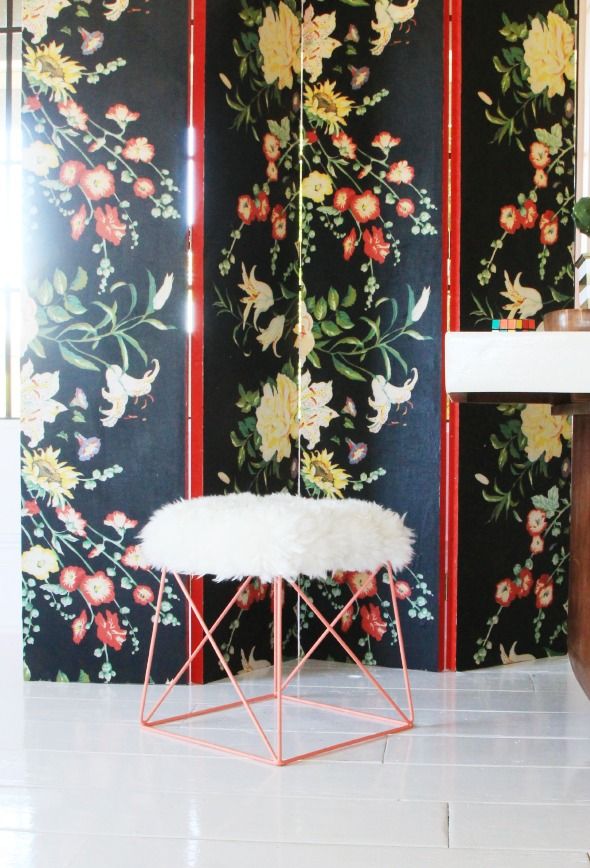
It's hard to tell in these photos, but the top coat of Mod Podge made for a really dreamy, matte wash over the pattern. It is SO pretty.
I really love the folding screen application, but I'm also thinking this would be a great way to dress up boring old bifold doors for a closet space! It's a really cheap way to get a wallpaper look in a room without the cost, hassle and commitment.
Have you seen any other folding screen projects around lately? I'm looking around my house thinking of all the places that could use one. They're so easy to make and so pretty! :)
0 comments:
Post a Comment