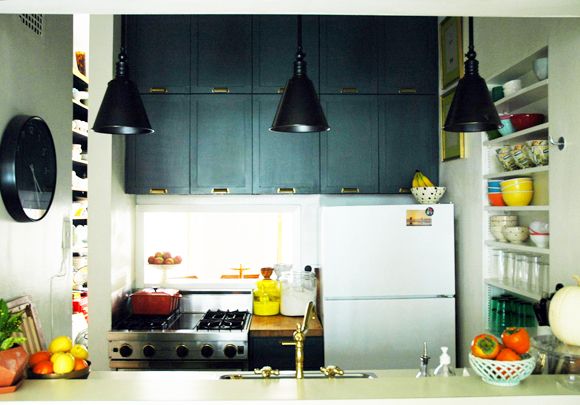
There really should be a big fat "IN PROGESS" slapped on the bottom of that photo because the space is far from done. Those white appliances are helping to brighten the space I guess, but... they're so -- white. Also, the floors need to get finished (you can see a little sneak peek here of the direction I'm going). I'm still thinking of that marble backsplash. And next spring I'm going to try making my own concrete counters for the sink side. But the good news is I won't be incredibly embarrassed to host Thanksgiving here next week.
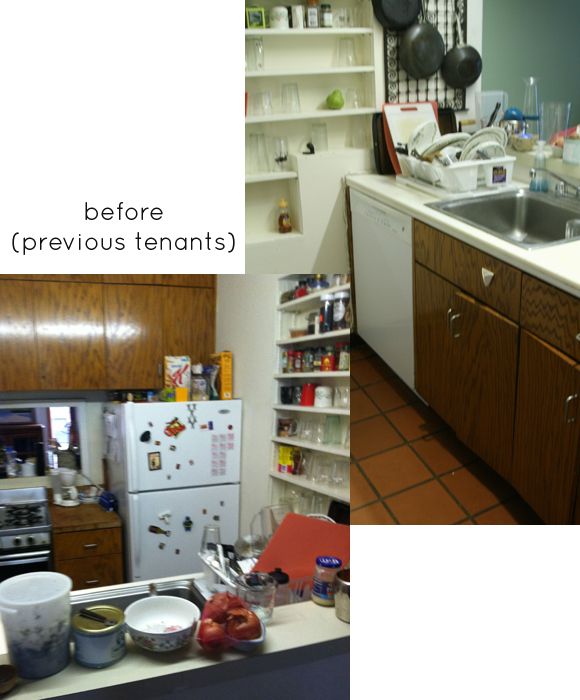
Whereas I would cry if visitors were going to be subjected to this:
So here's the run down on how I finished these! I definitely learned some things along the way...
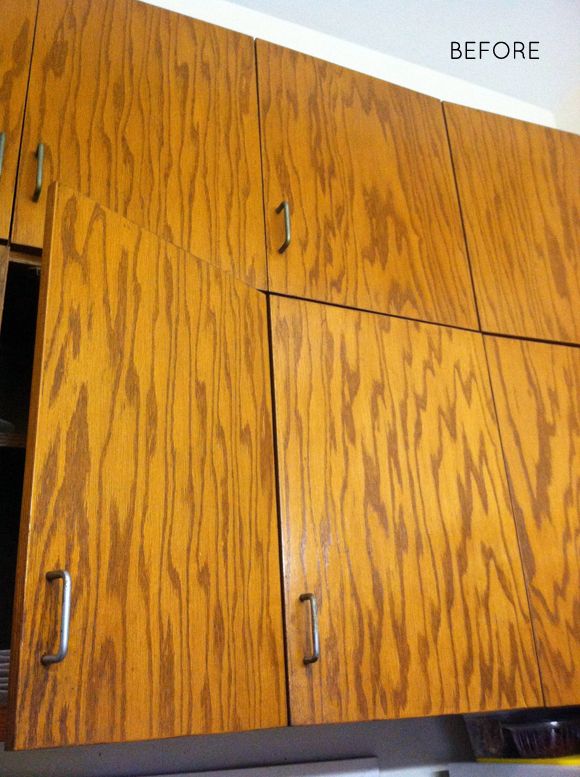
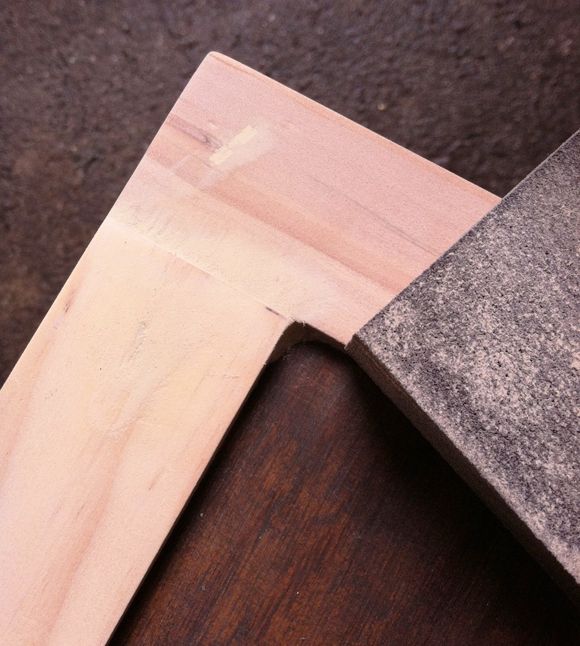
As a reminder, we started out with these heavily grained oak doors. (and here's what I was going for)
I sanded and filled them with grain filler,
Then added flat trim moulding to the borders.
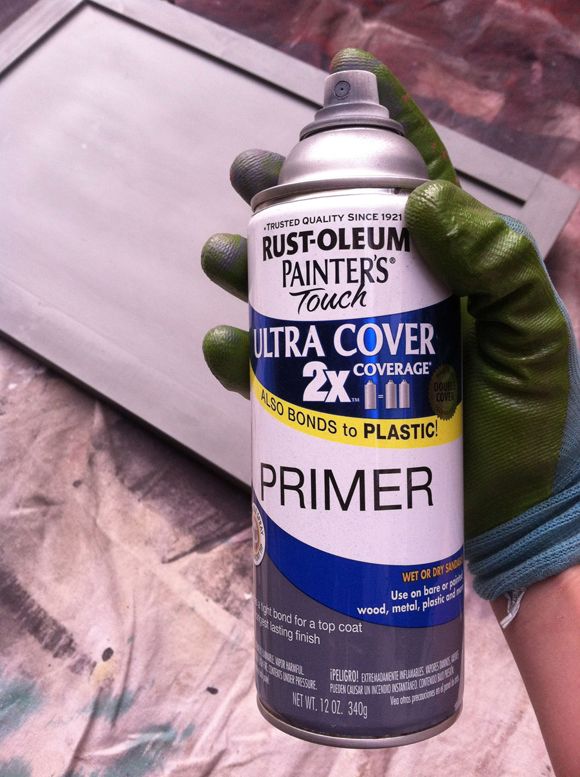
After sanding and wiping the doors down with a microfiber cloth, I sprayed them all with a dark Rustoleum primer. I sprayed the fronts and backs
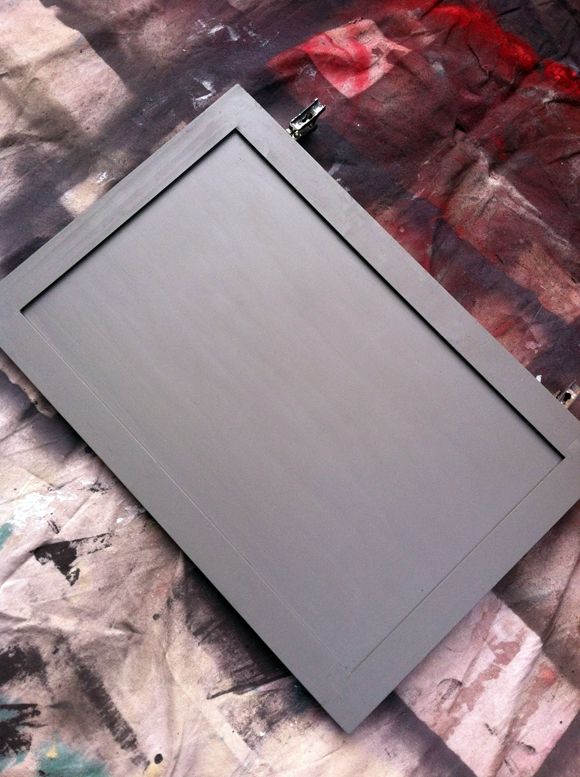
Here's where things got a little experimental. I rolled on the first coat of paint (F&B Down Pipe) with a foam mini roller and that gave me a consistently smooth surface. Then I went back to touch up the inside corners of the moulding with my two-inch angled brush and I got a little cocky. I wanted to see how well I could do fully brushing the final coat. It turned out to be a bad idea. They looked very bad-DIY once everything had dried. I thought I had a steady hand, but I will definitely be sticking with foam rollers from here on out.
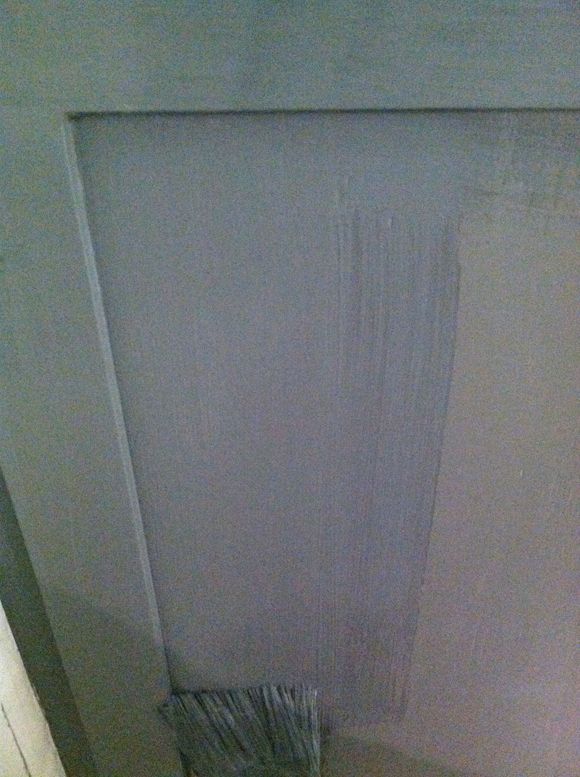
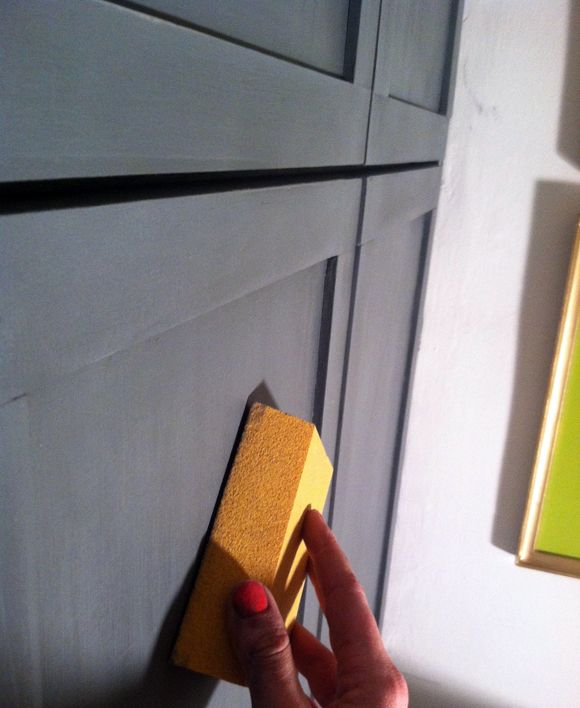
So I had to sand off all the brush marks.
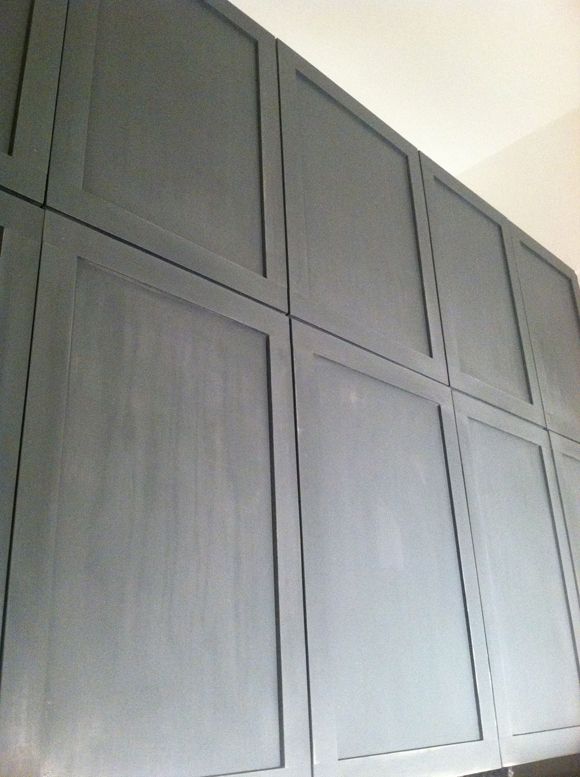
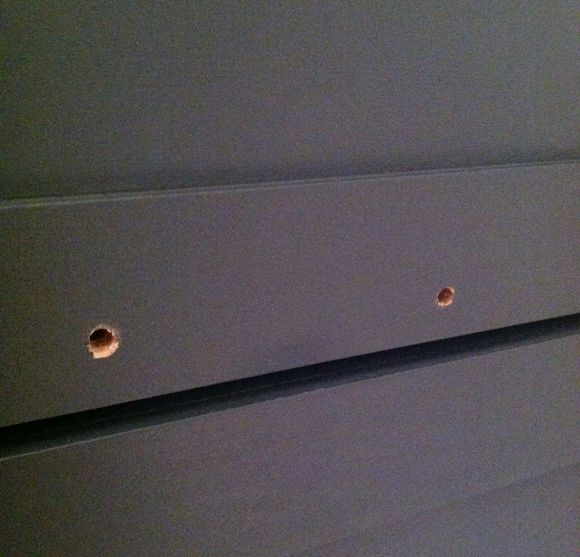
And after rolling on the third coat I drilled holes for my hardware. I used one of the pulls to make a template using painters tape.
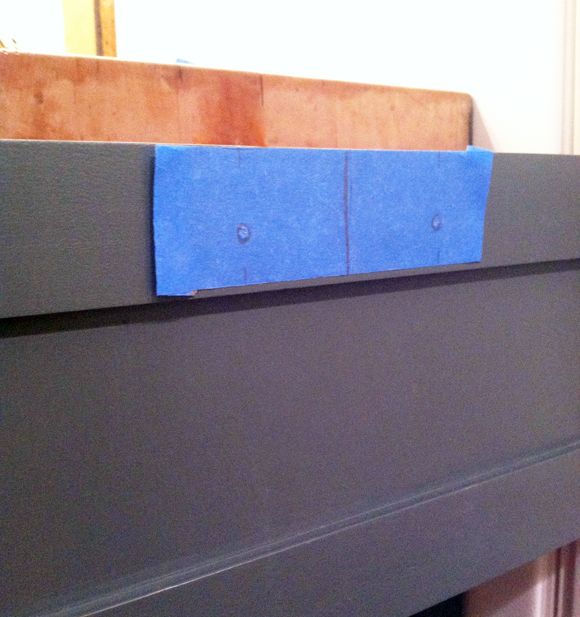
It made it a really fast process to drill all the holes. I just measured the center, marked it with chalk and then lined up the center mark I had drawn on my tape.
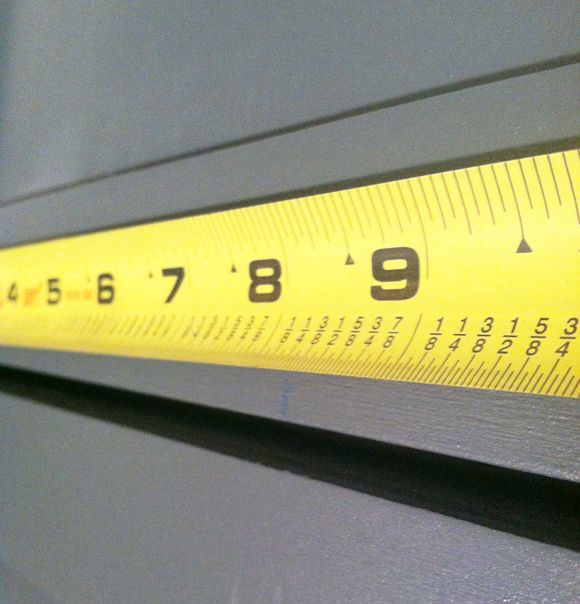
Made for consistent holes for about 90% of the time. I've used and loved this tool before too (couldn't find it when I was ready to put the pulls on so I improvised with the tape)
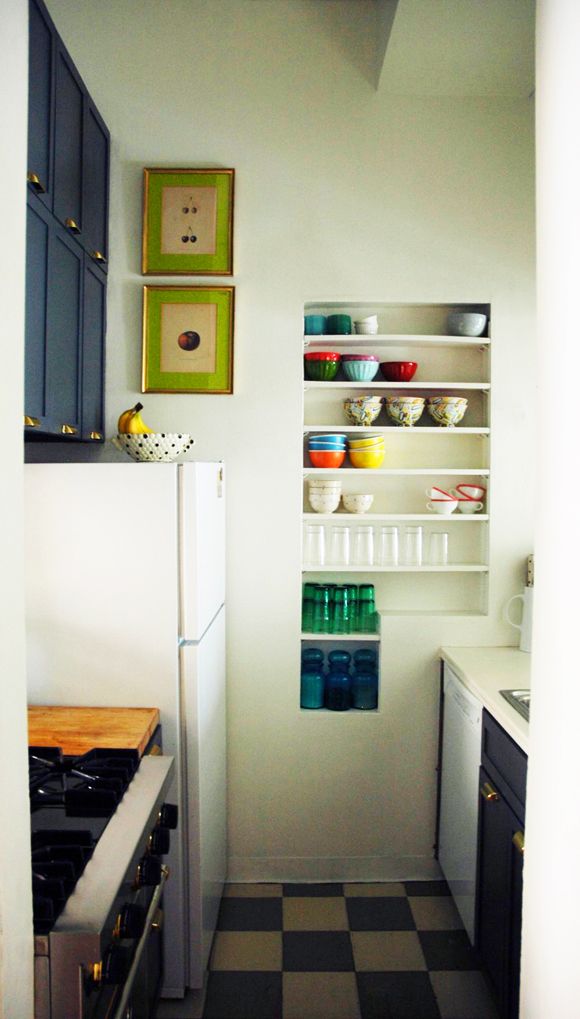
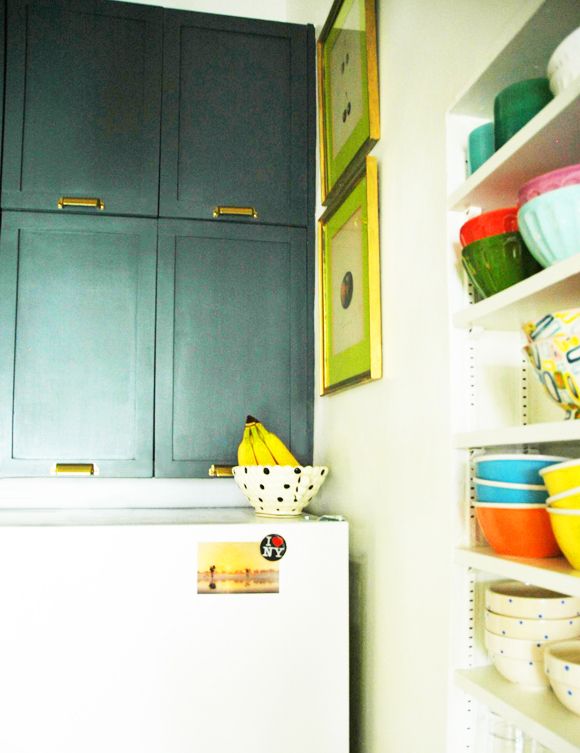
I love the way the hardware looks on the gray.
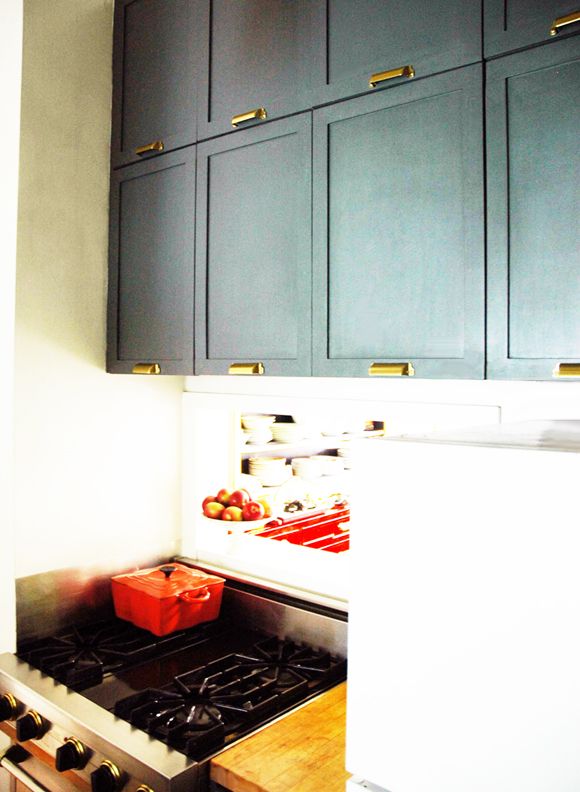
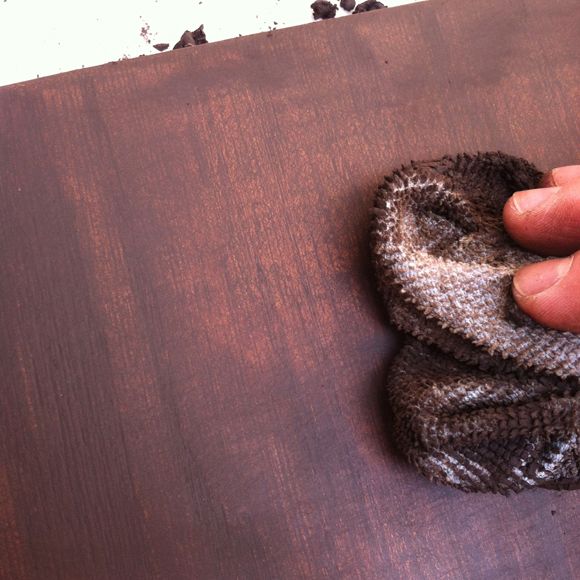
As far as sealing goes, I rubbed on a little furniture paste wax to help protect the finish (per the Farrow and Ball rep's suggestion), but I didn't want to varnish these and ruin the matte finish.
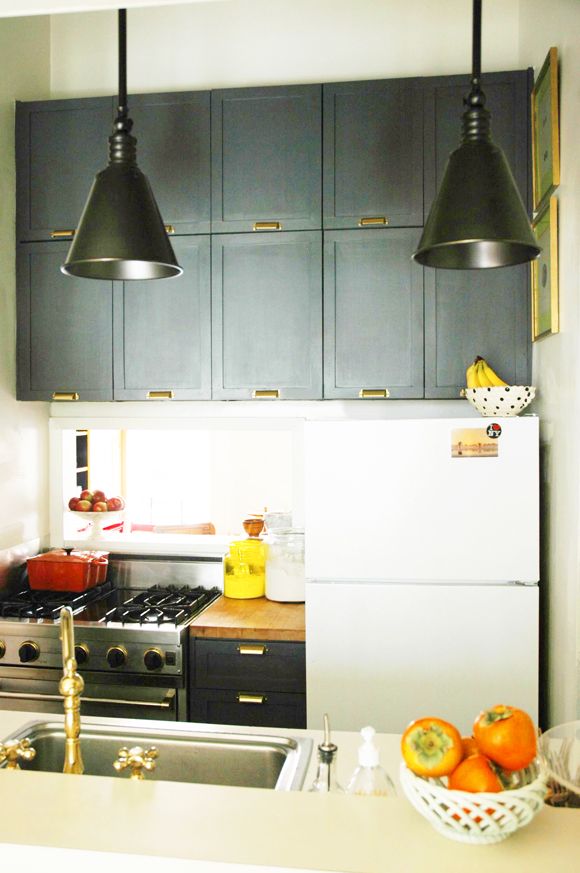
The finish is not totally perfect, but it is pretty smooth in person (sorry about the splotchy photos - the new pendants are casting weird shadows). It was a good bit of work refinishing these, but it was broken up over a few weeks, so it felt manageable. Also, I spent less than $100 to do it, which means more room in the budget for other house stuff! Totally worth it.

0 comments:
Post a Comment