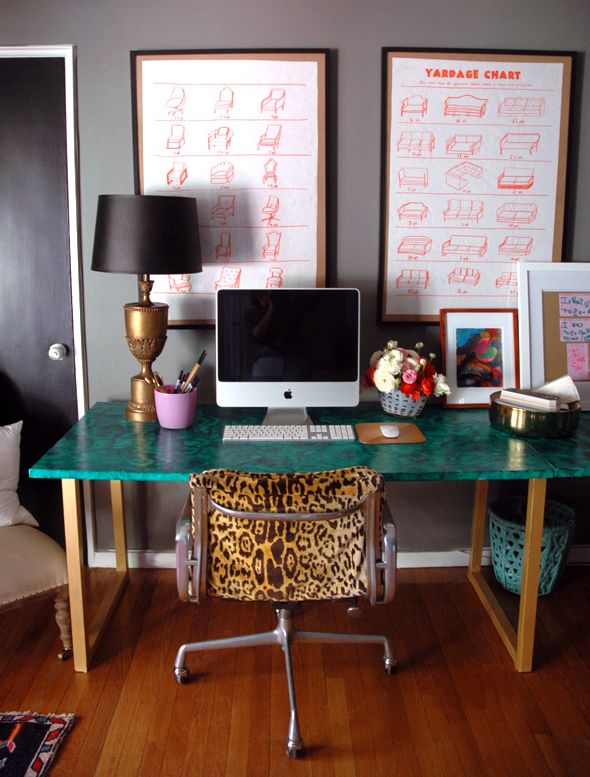
I would have never guessed a couple years ago when I made this double wide desk from IKEA components, that I'd still be using this inexpensive combo today. I really love it - it's great to have so much work space - but it was time to change up the look a bit. When Sherwin-Williams invited me to use some of their green paint to dream up a project for National Painting Week, I knew my old trusty desk was going to be the lucky target.
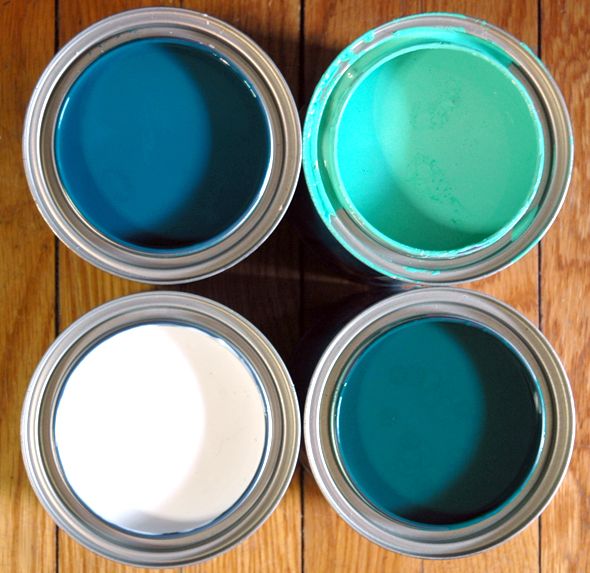
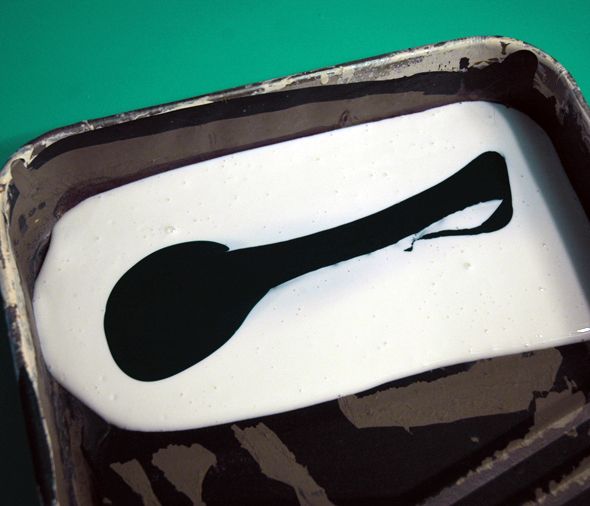
I shared last week that I've been dying to try my hand at a faux malachite painting technique, but I've been a little intimidated. I had no idea just how easy it would be! Here are the paint colors I used, all of the colors were mixed in Sherwin-Williams All-Surface Enamel Latex Gloss, going clockwise from top left: Cape Verde (SW 6482), Active Green (SW 6986), Country Squire (SW 6475), and Faux Impressions Clear Glaze.
I put a coat of primer down on the desk, just make sure the surface was smooth and clean. I did a little sanding too, just with a hand block.
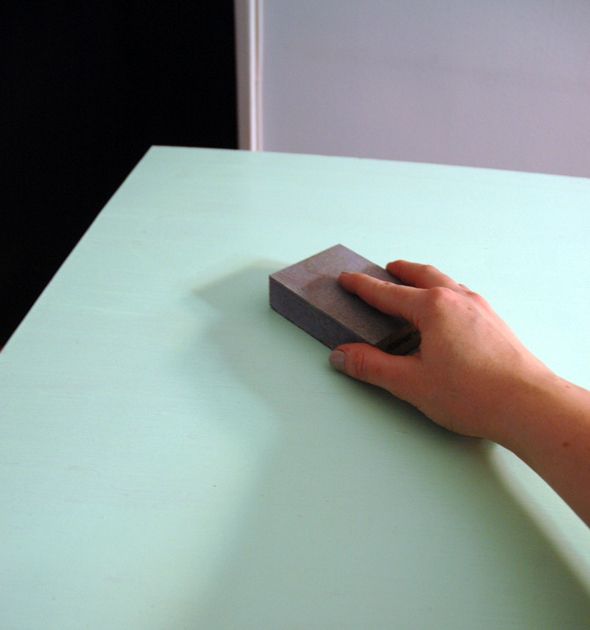
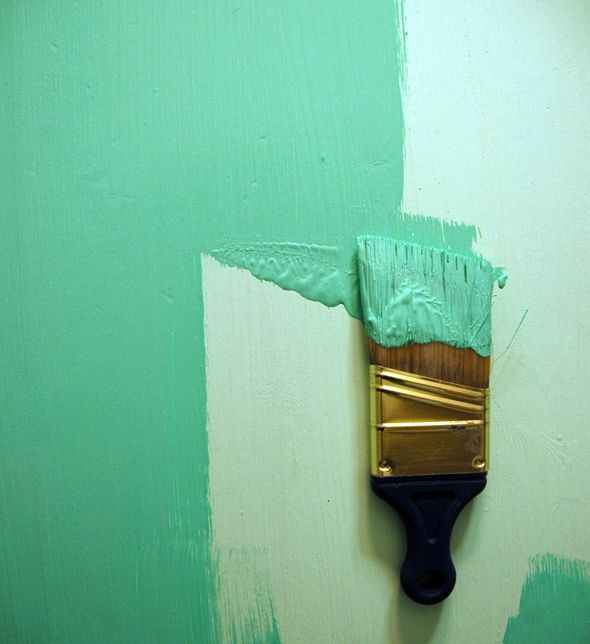
Then I brushed on a coat of Active Green for the base of the malachite.
I let that dry for at least a couple of hours.

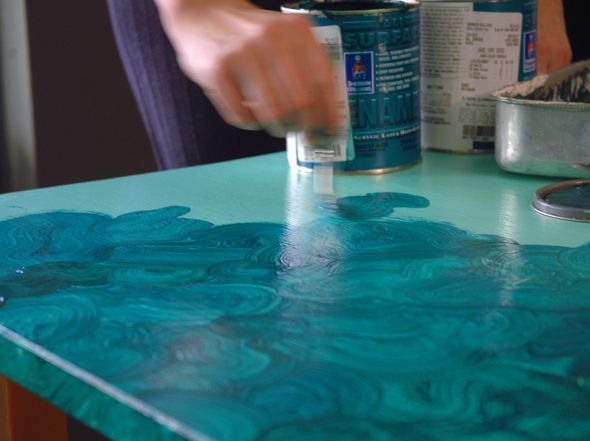
I made glaze mixtures in both the dark green and dark teal colors. The mixture was about one part paint to three parts glaze, and then it was mixed well.
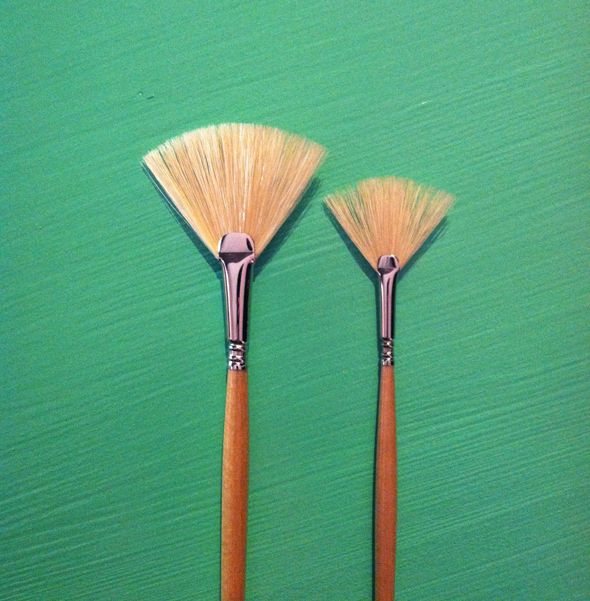
I think the secret to doing a very easy faux malachite is two sizes of fan brushes. If you can find something very small and another very large brush, that would be ideal.
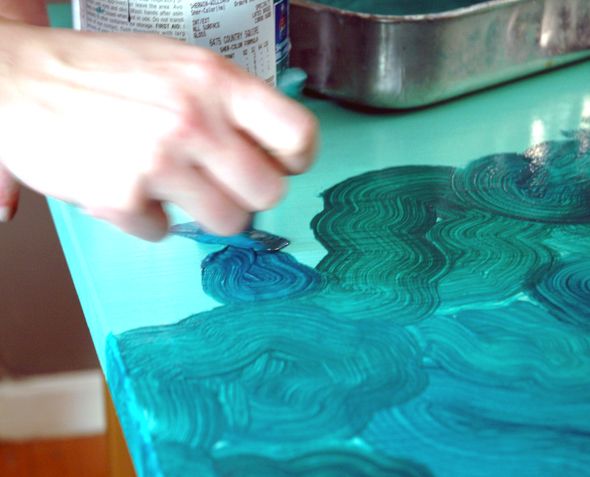
The malachite pattern part is fun and easy. I started at one end and worked in rows. The trick is to layer the swirls on top of each other. You cover up the start-stop part of each swirl with the smooth, round part of a new swirl. The glaze makes it so the paint dries a little slower and you can layer on the swirls in a clean way, so that the clear bright green base shows through.

Turn on some music and try to keep a loose hand. :) The trick is to not go over the same part twice, if you can avoid it. Also, rather than doing perfectly rounded circles, add some wiggle to the brush so that the lines of the swirls have some movement. It takes some playing with to get the hang of it, but it's fun to do and it goes really fast!
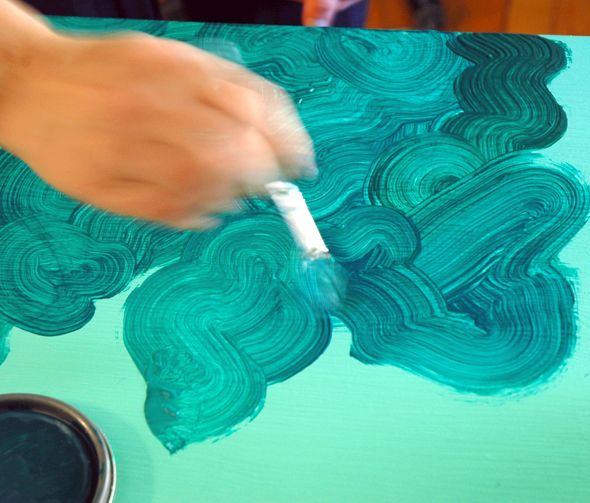
Don't forget to switch back and forth between the small and large fan brushes and the dark green and the dark teal glaze mixtures. I mixed the mixtures together sometimes too (such a rebel, I know).
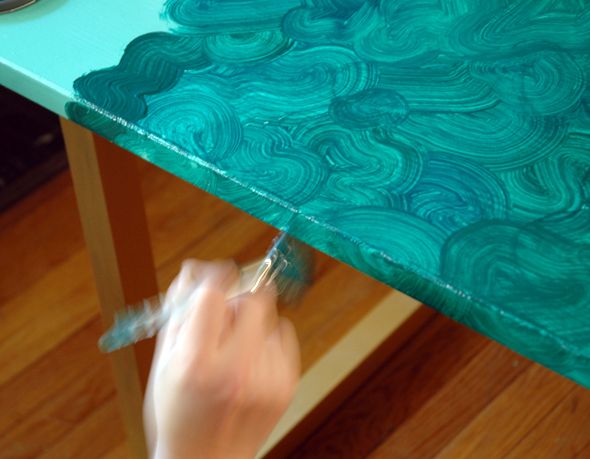
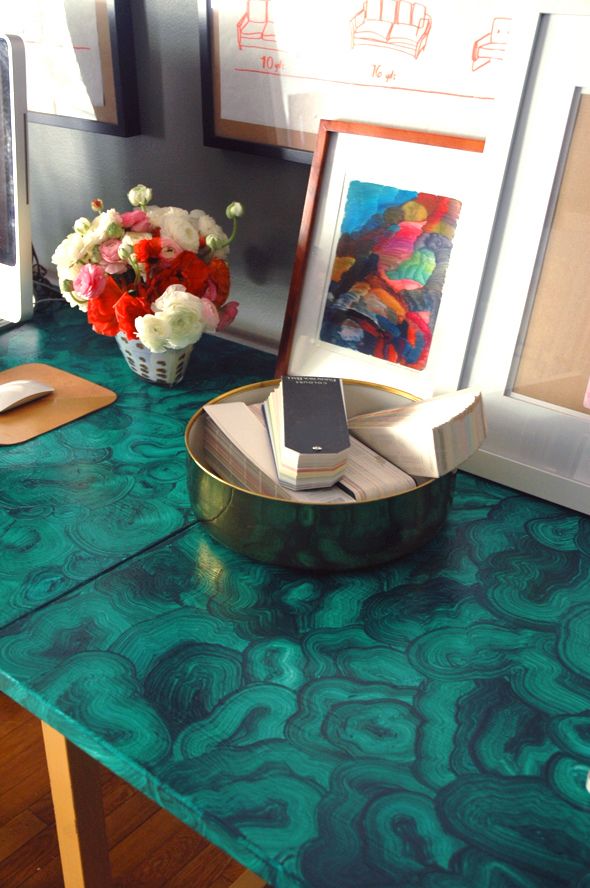
I also tried to continue the same swirl pattern and glaze color down the side of the table top for a consistent look.
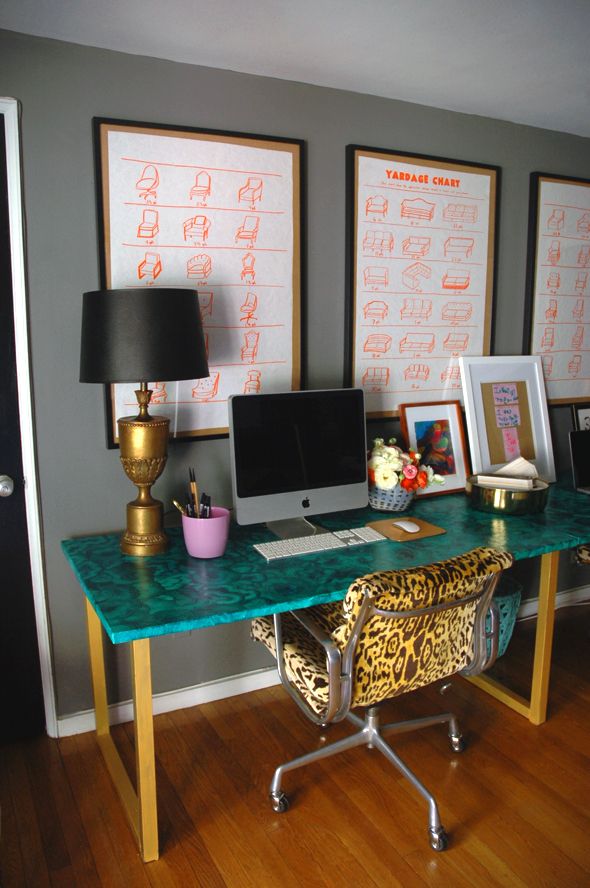
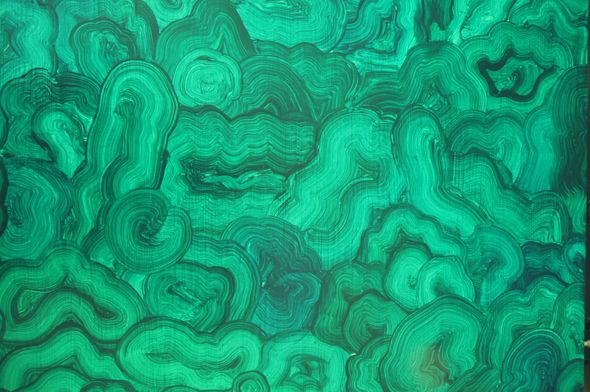
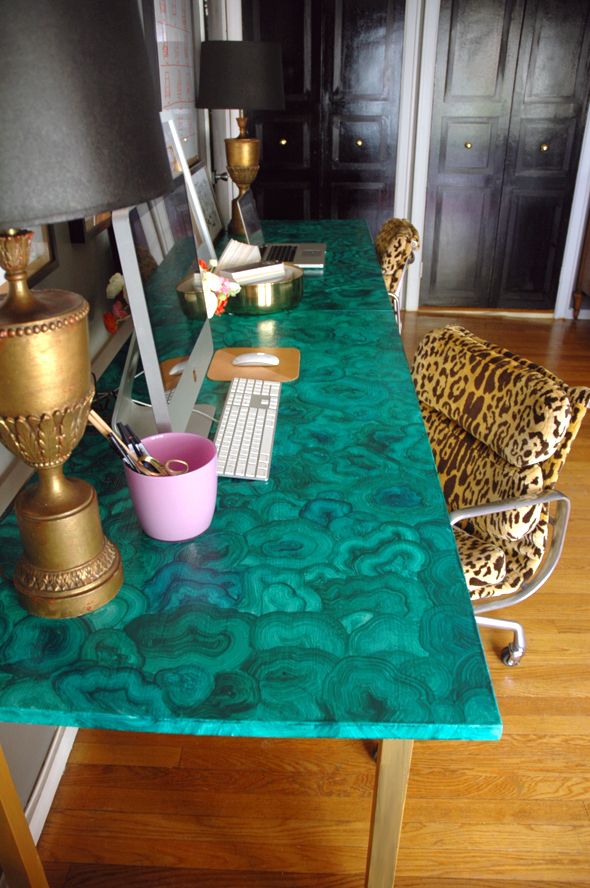
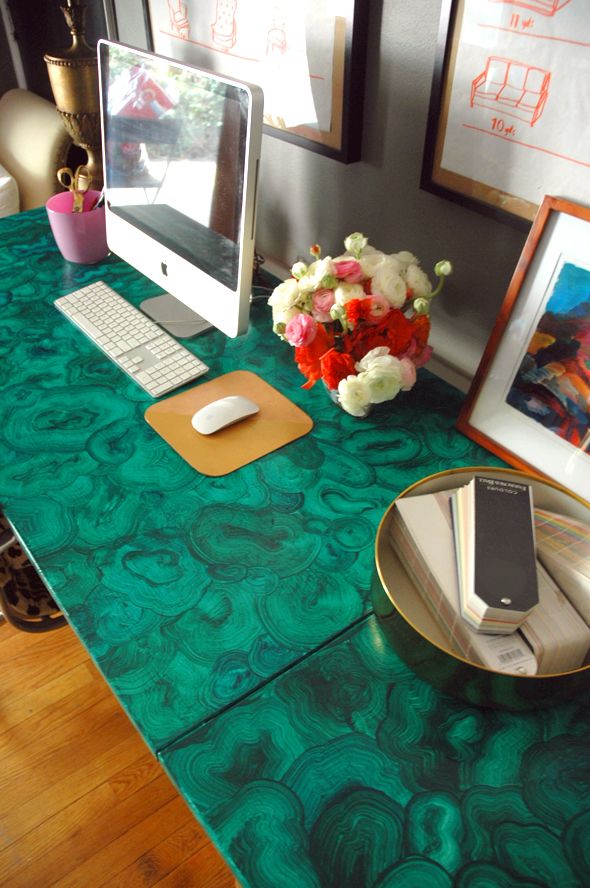
And here's the dried, finished look:
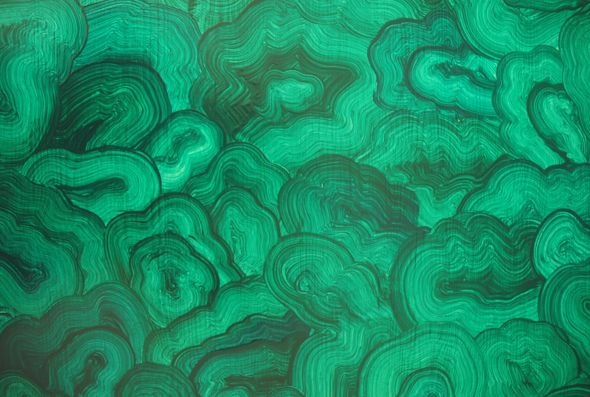
It's definitely not meant to fool anyone into thinking it's real malachite. It's just meant to be a pretty, abstract look. I love it!
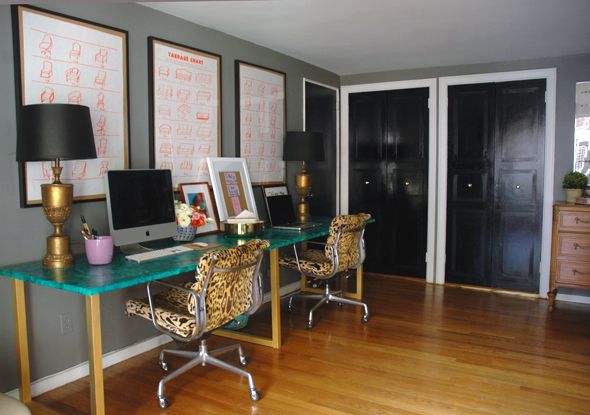
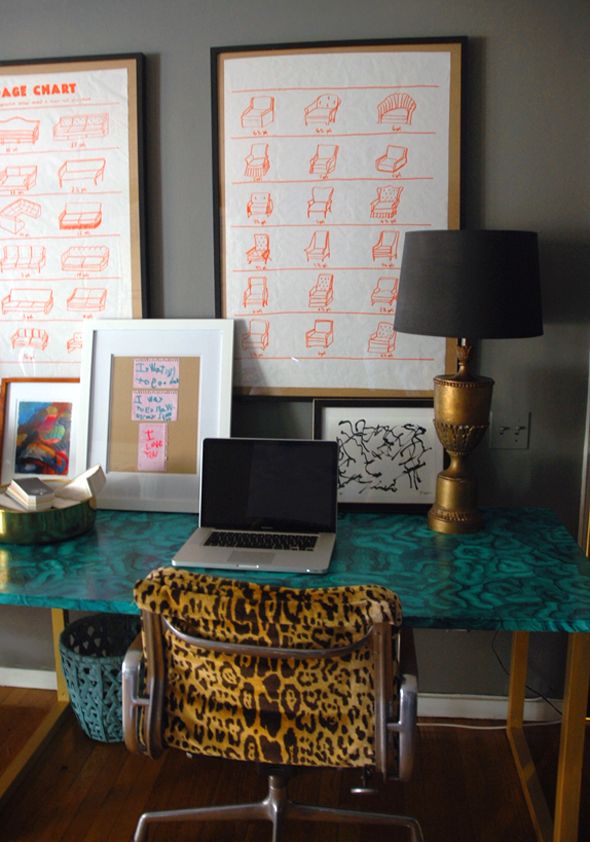
I like how much blue there is in the finished desk - I think the SW colors were perfect! I'm really loving how they look against my dark gray walls and with my leopard Eames chairs.
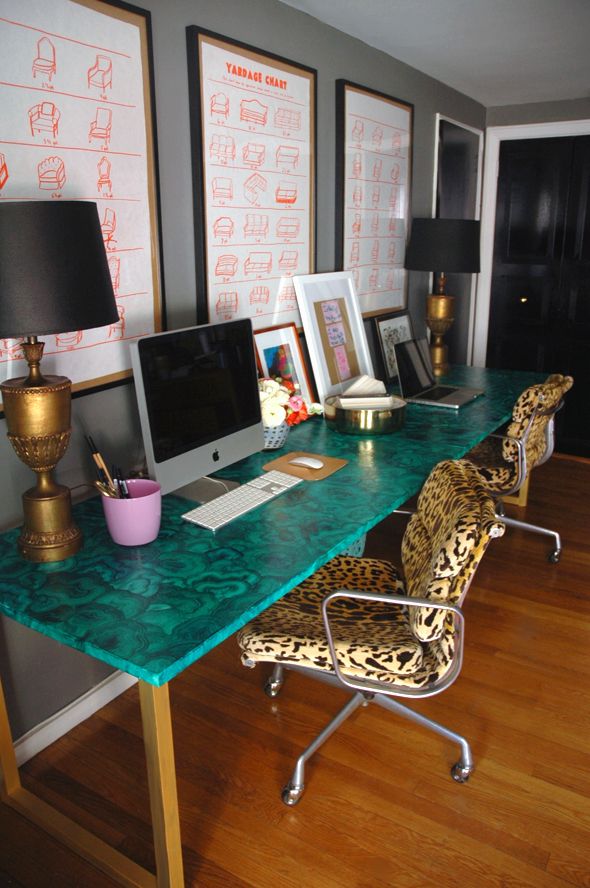
And now for the barrage of photos of the desk at all angles!


I loved getting to try another faux painting technique - especially one that had such quick and easy results! A big thanks again to Sherwin-Williams for sponsoring LGN and letting me participate in this year's National Painting Week. And be sure to catch the thirteen other design bloggers' projects this week! Today, Cassandra at Coco + Kelley has another green project (I love the color she chose!) and tomorrow Erin from House of Earnest and Justin and Cassity at Remodelaholic will share their yellow projects. It's going to be a colorful week in blogland! :)
0 comments:
Post a Comment